Mannequin to Photo Shoot
This guide shows you how to turn two mannequin photos into a photo shoot in one conversation with Agent: a front and back view, a close up, a new color, and a video. Every step uses the exact message from the video, so you can follow along with your own product.
Every example below was made in Agent at 4:5, 2K, Quality (set in Generation settings).
What you need
The first message uses four images: the front and back of your product, a portrait, and shoes. Mannequin photos are used here, and on-person and flat-lay photos work too.
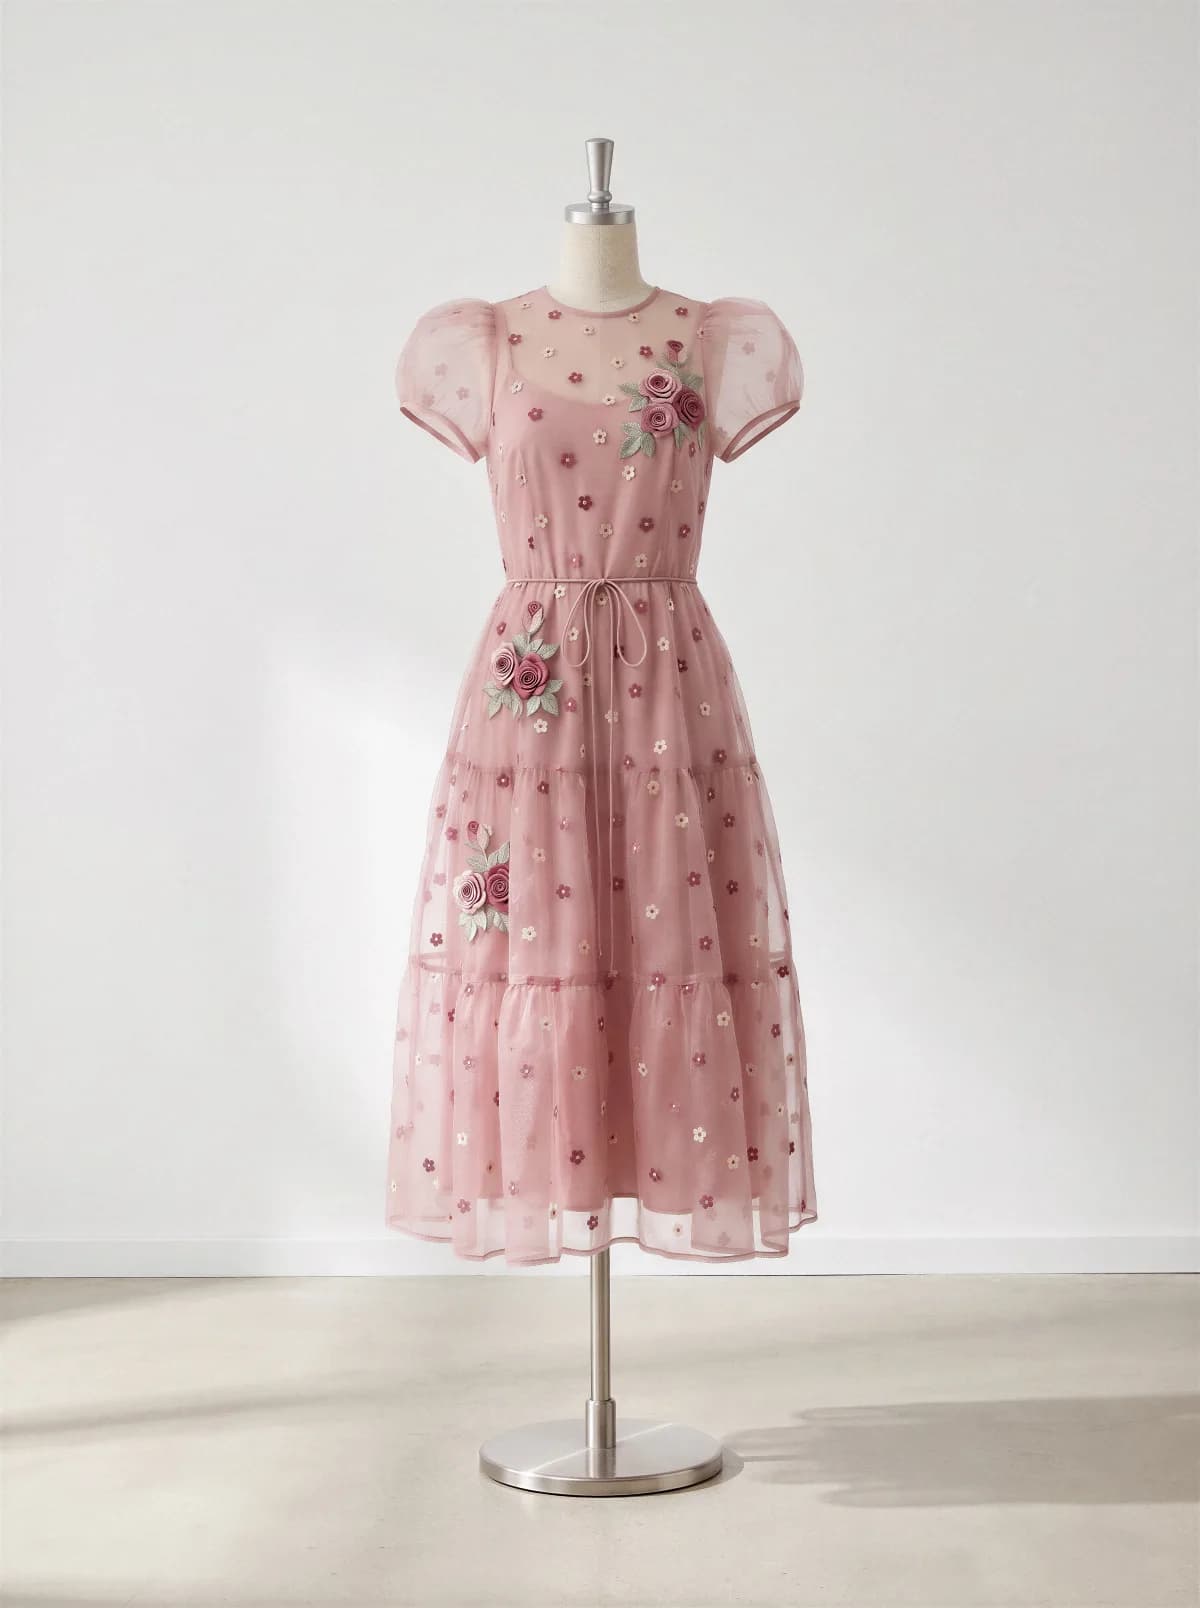
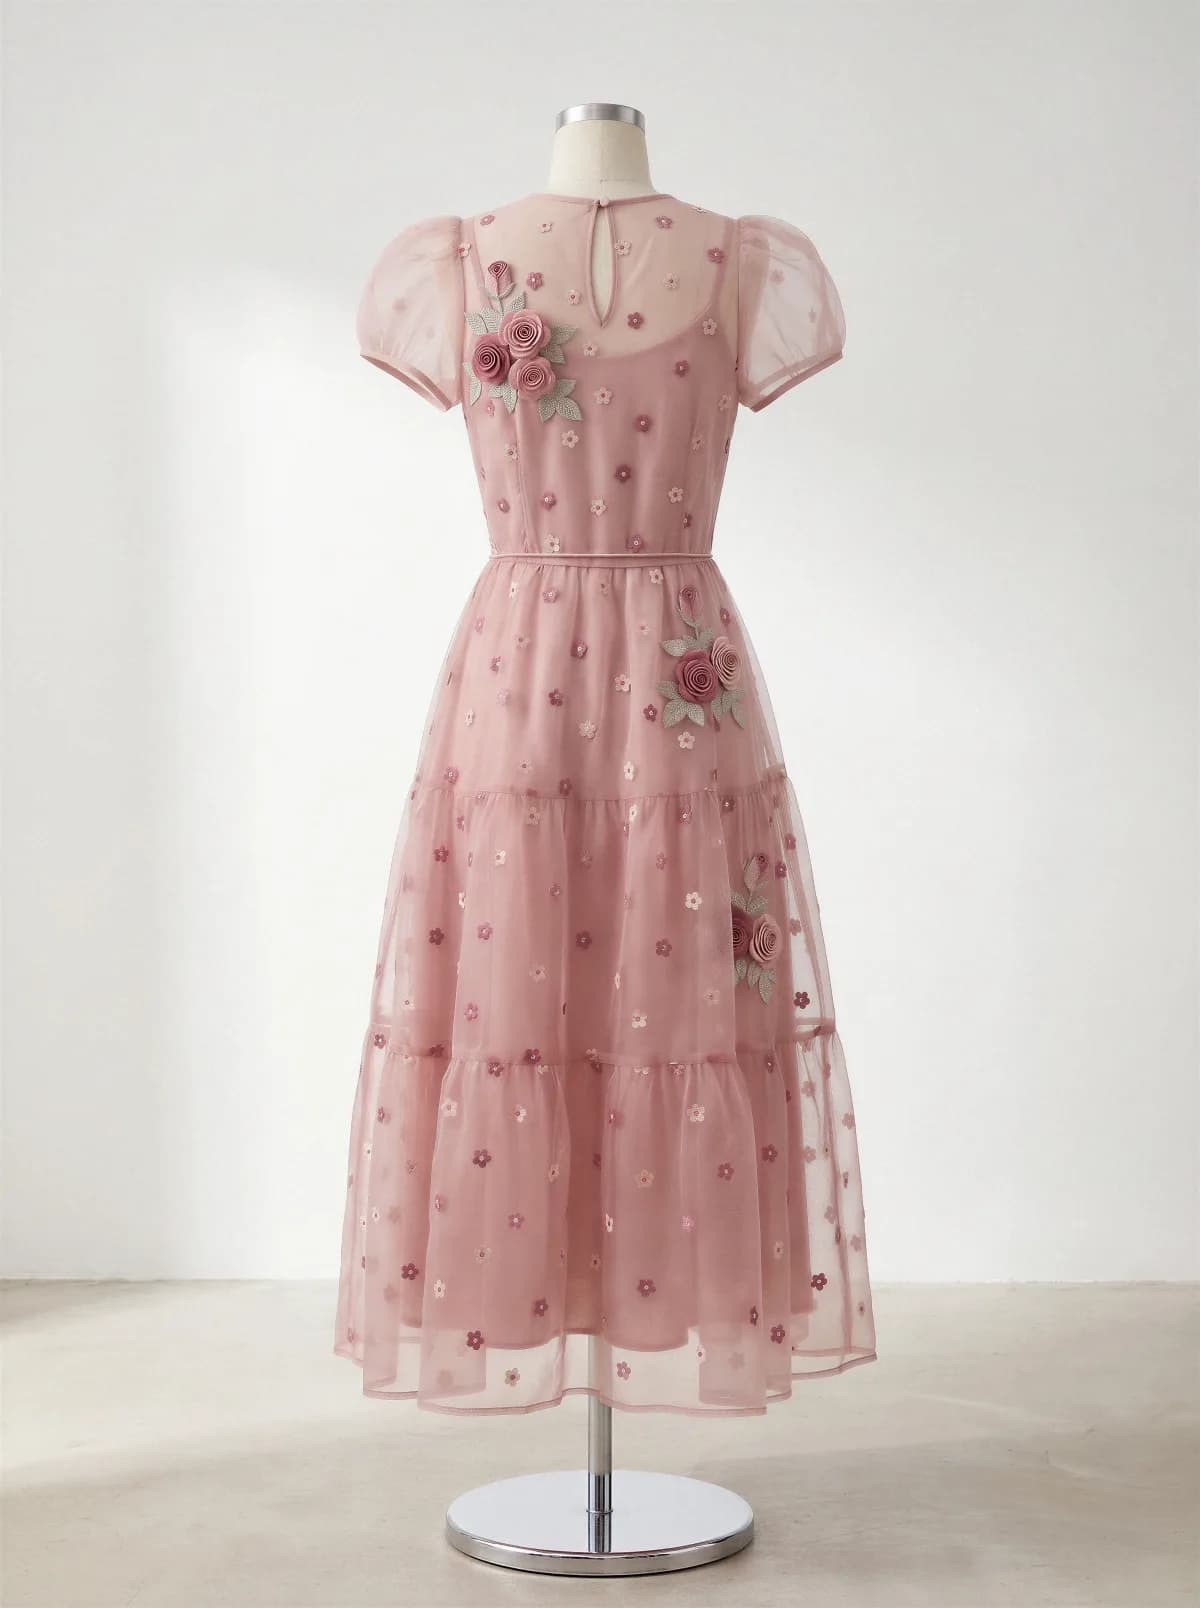
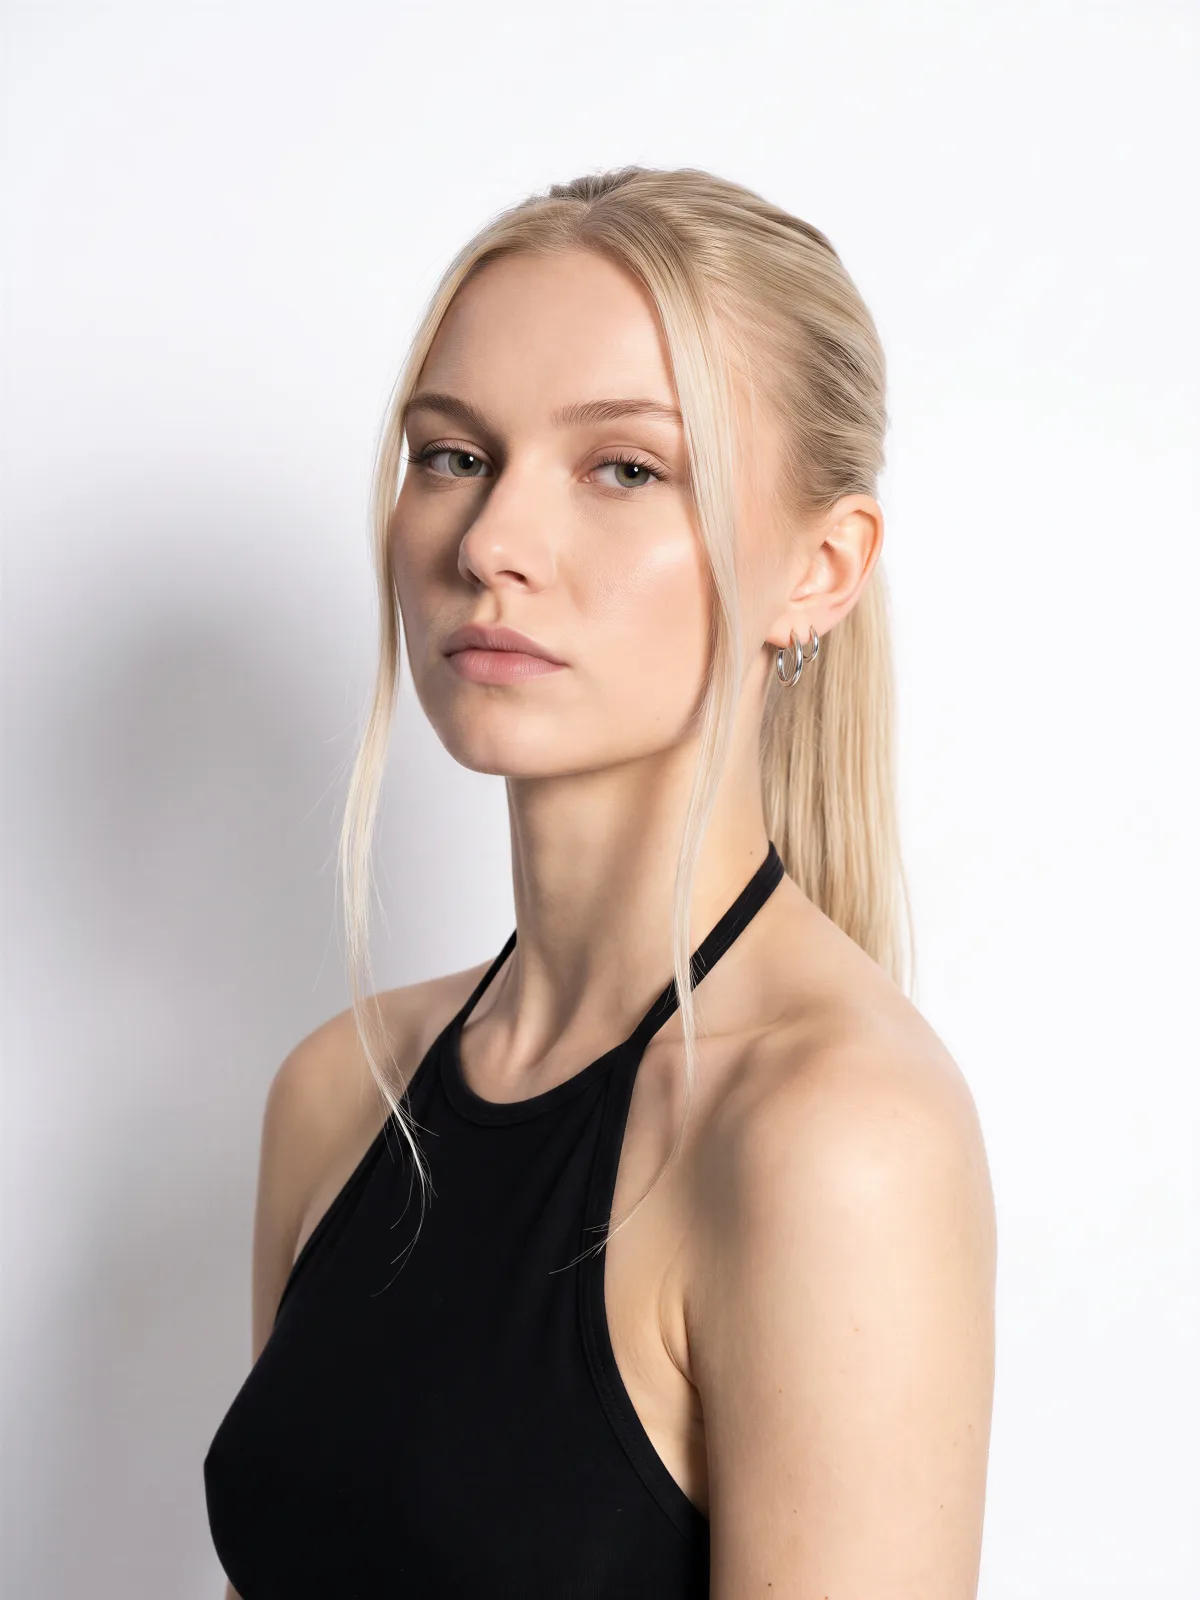
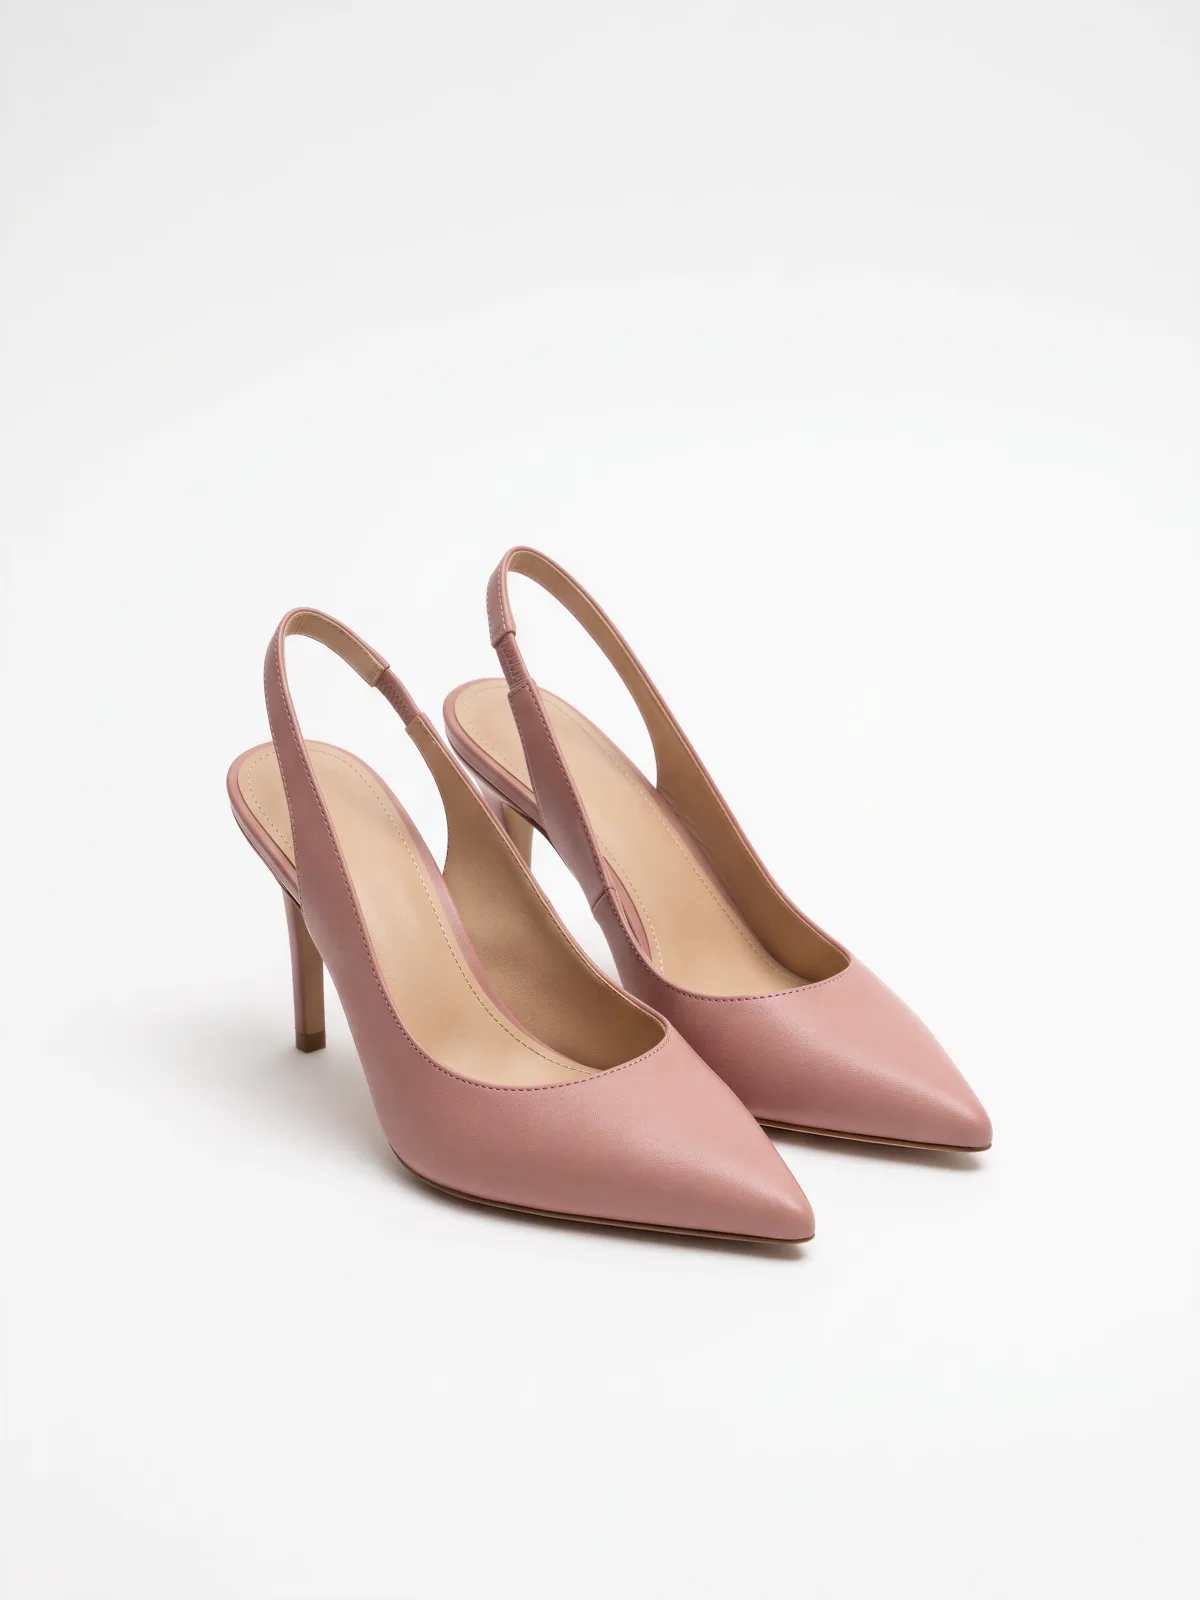
You can add your own portrait and shoes, or pick them from Elements. To use Elements, open Add images in Agent, select Browse Elements, and choose from the Portraits and Shoes tabs.

Step 1: Front and back
Attach all four images and ask for both views in one message.
New conversation
Put this dress and these shoes on the model. Create a front and back view.
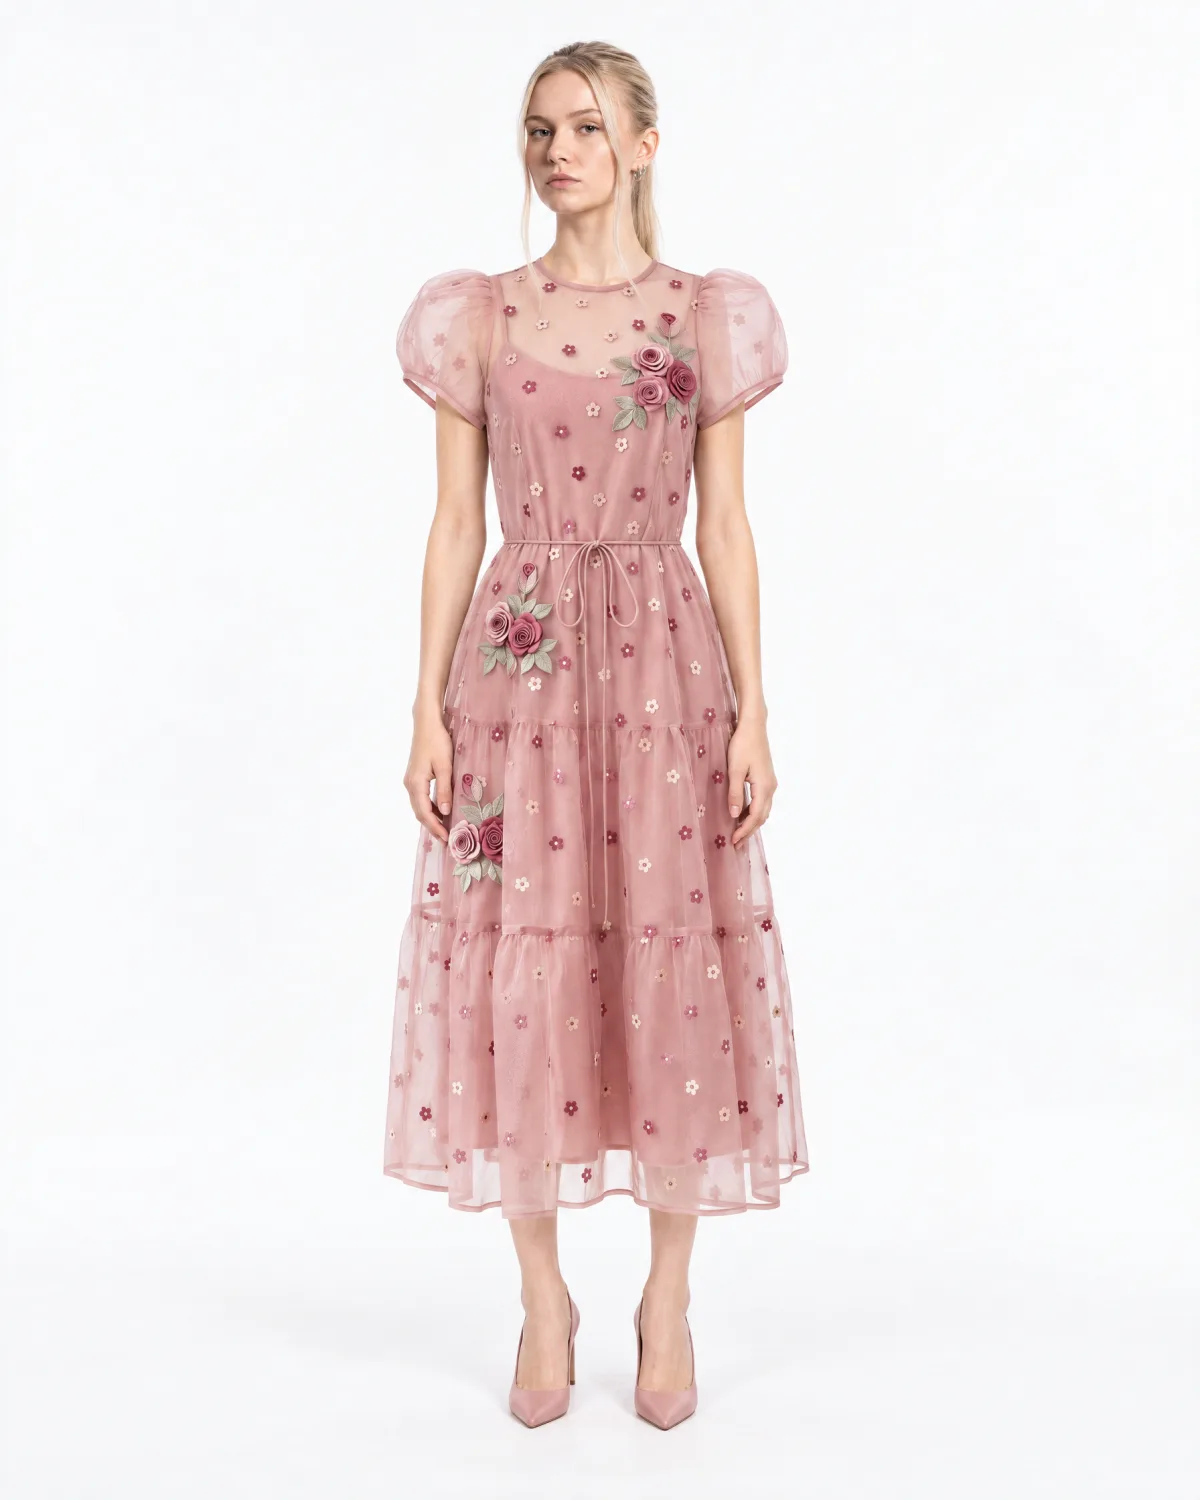
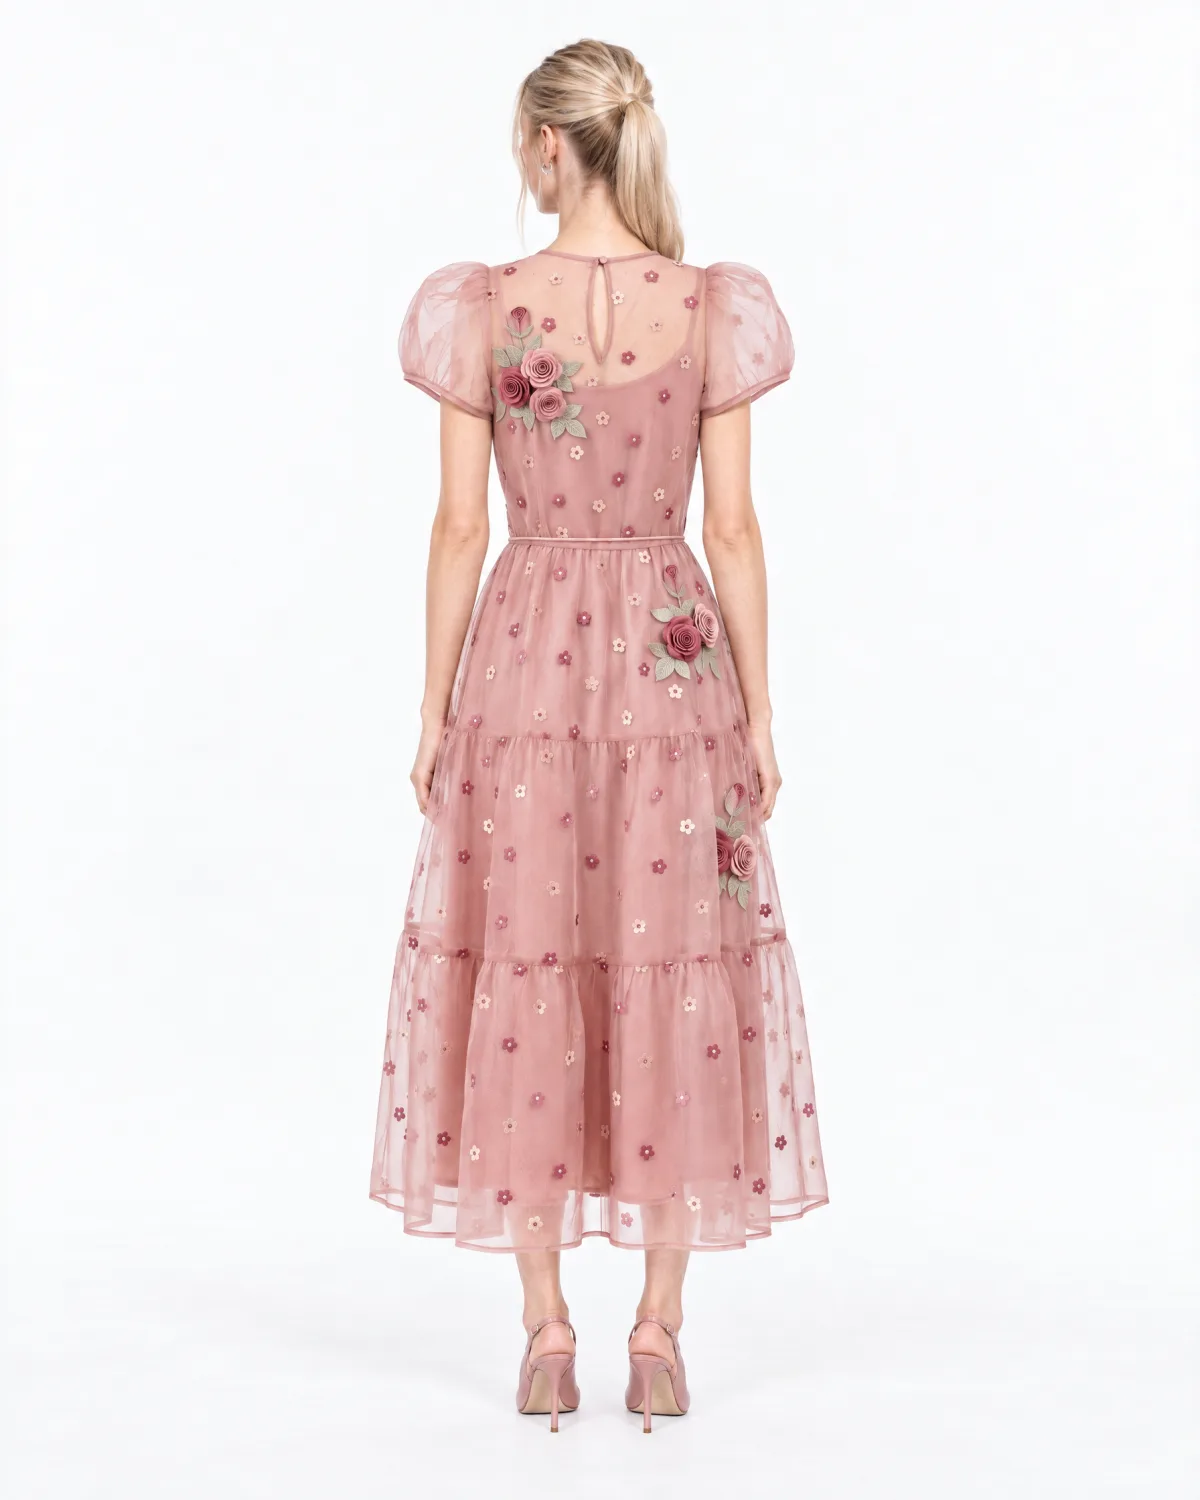
Always give Agent the front and the back of your product, so it does not have to guess what the back looks like.
Step 2: Close up
For a detail shot, stay in the same conversation and ask for a close up.
Continue the conversation
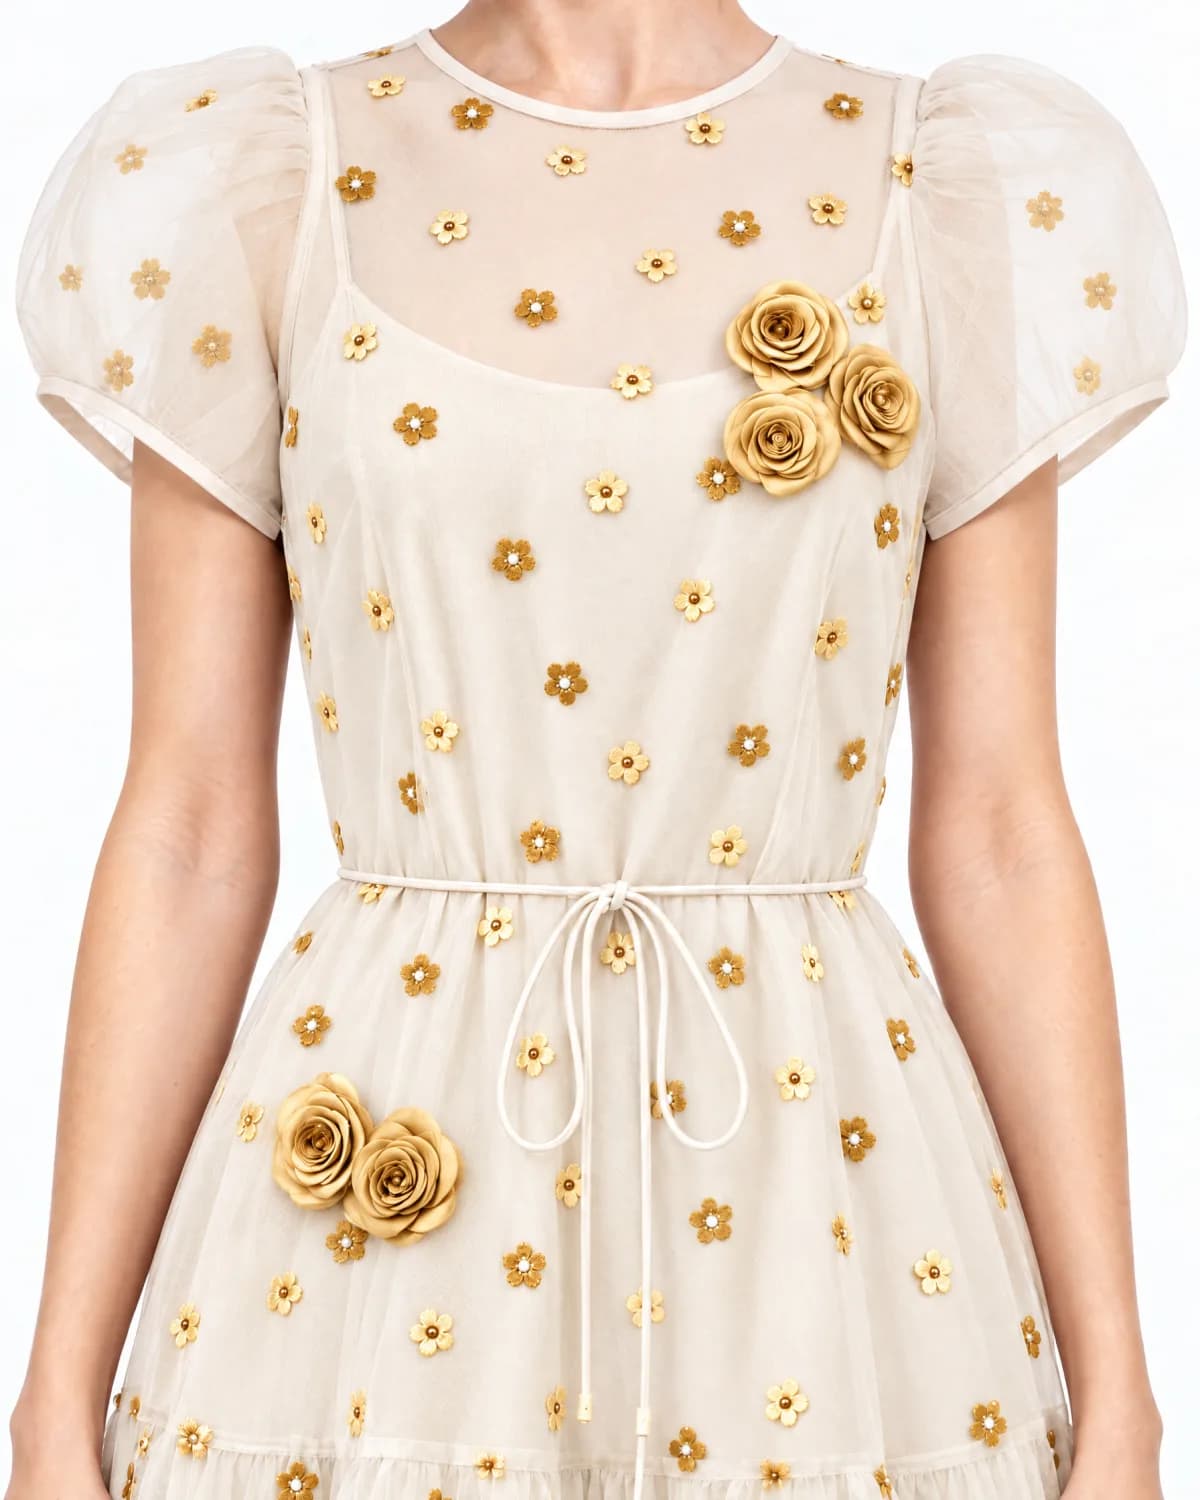
Make a close-up of the embroidery on the front.

Step 3: New color
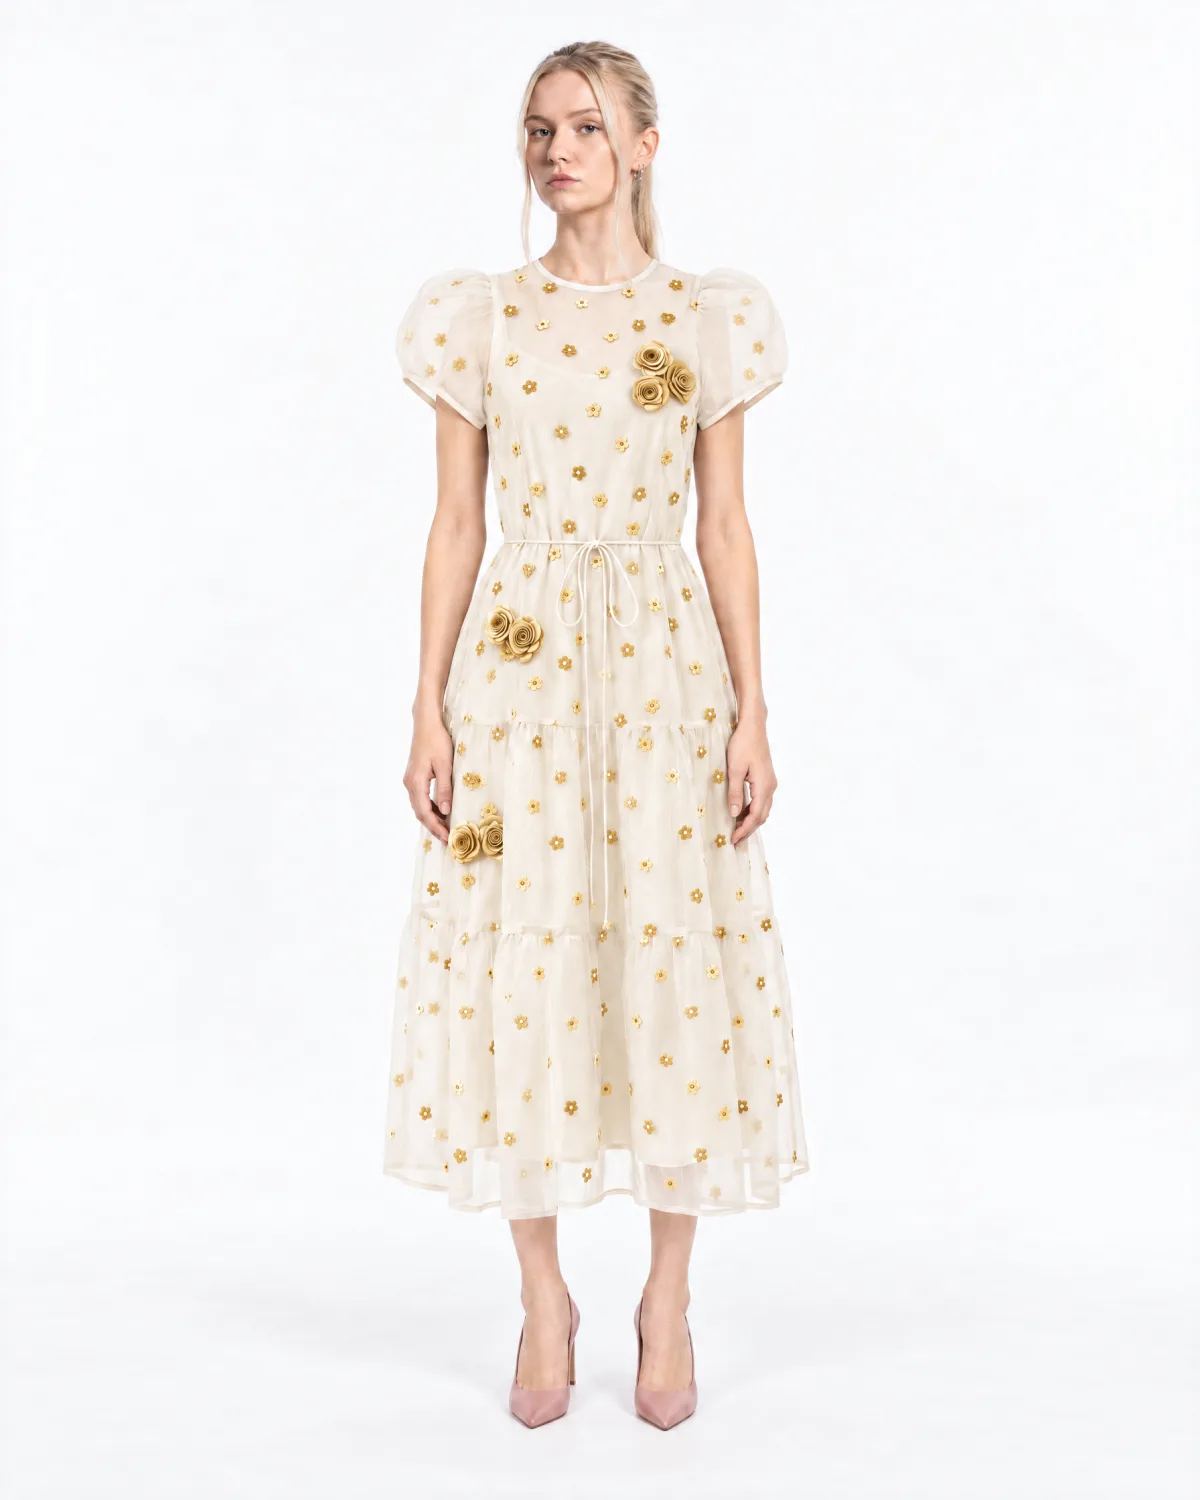
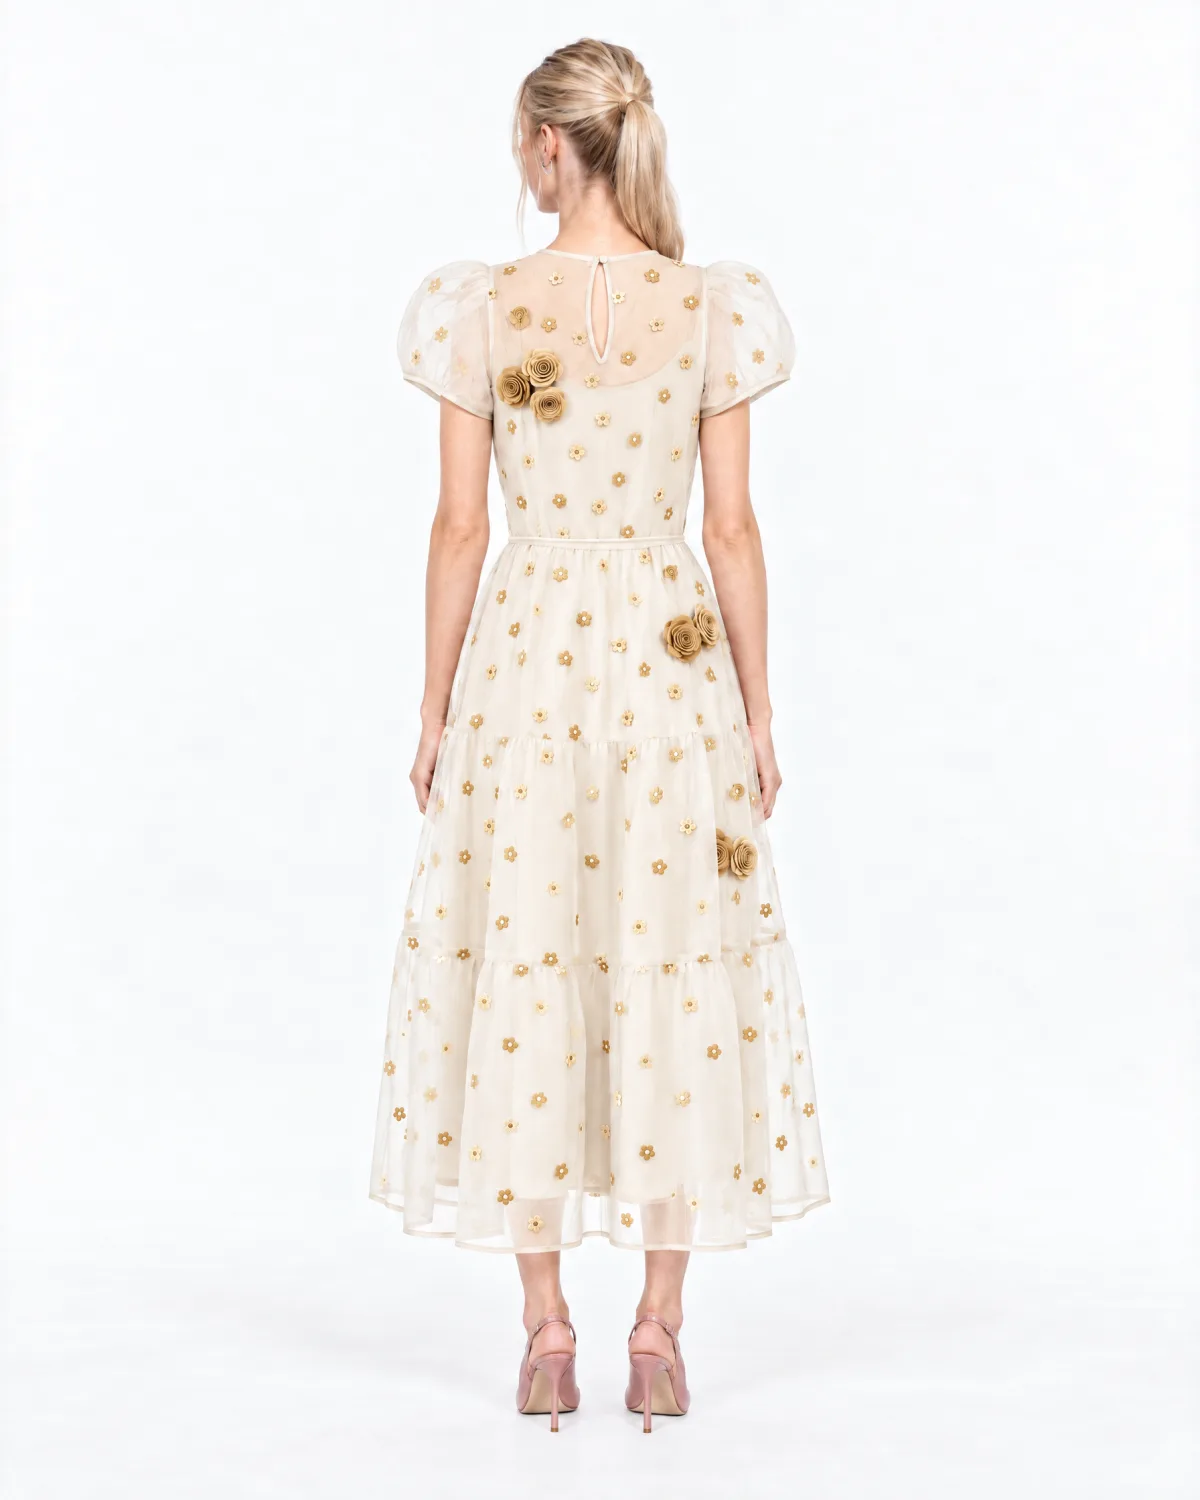
Now change the color and the embroidery in all three images with one message.
Continue the conversation
Make the dress ivory with gold flowers with no leaves in all three images.
Step 4: Video
Last, turn the close up into a short video for your product page.
Continue the conversation
Make a 5 second video of the close-up with camera movement.
What to remember
- Front and back: give Agent both product photos so it does not have to guess.
- One conversation: stay in the same conversation, so each message builds on the last result.
- Short messages: say what you want in plain words, and Agent writes the detailed prompt.
- All at once: one message can change every image in the conversation.
Keep going
- Need your own model first? Read How to Create a Realistic AI Model.
- Want to dress a model image you already have? Read Getting Started with Virtual Try-On.
- For more on Agent, see Create and edit images and Create videos.