Getting Started with Virtual Try-On
Virtual try-on puts your product on a model. You start with a model image and a product image, and the images do the work instead of a long prompt. The model stays exactly the same and the garment comes out just like your product photo. This guide follows the video step by step in Agent, from a single dress to a full outfit with accessories, a new pose, and a back view.
Every example below was made in Agent at 2K, Balanced (set in Generation settings).
What you need
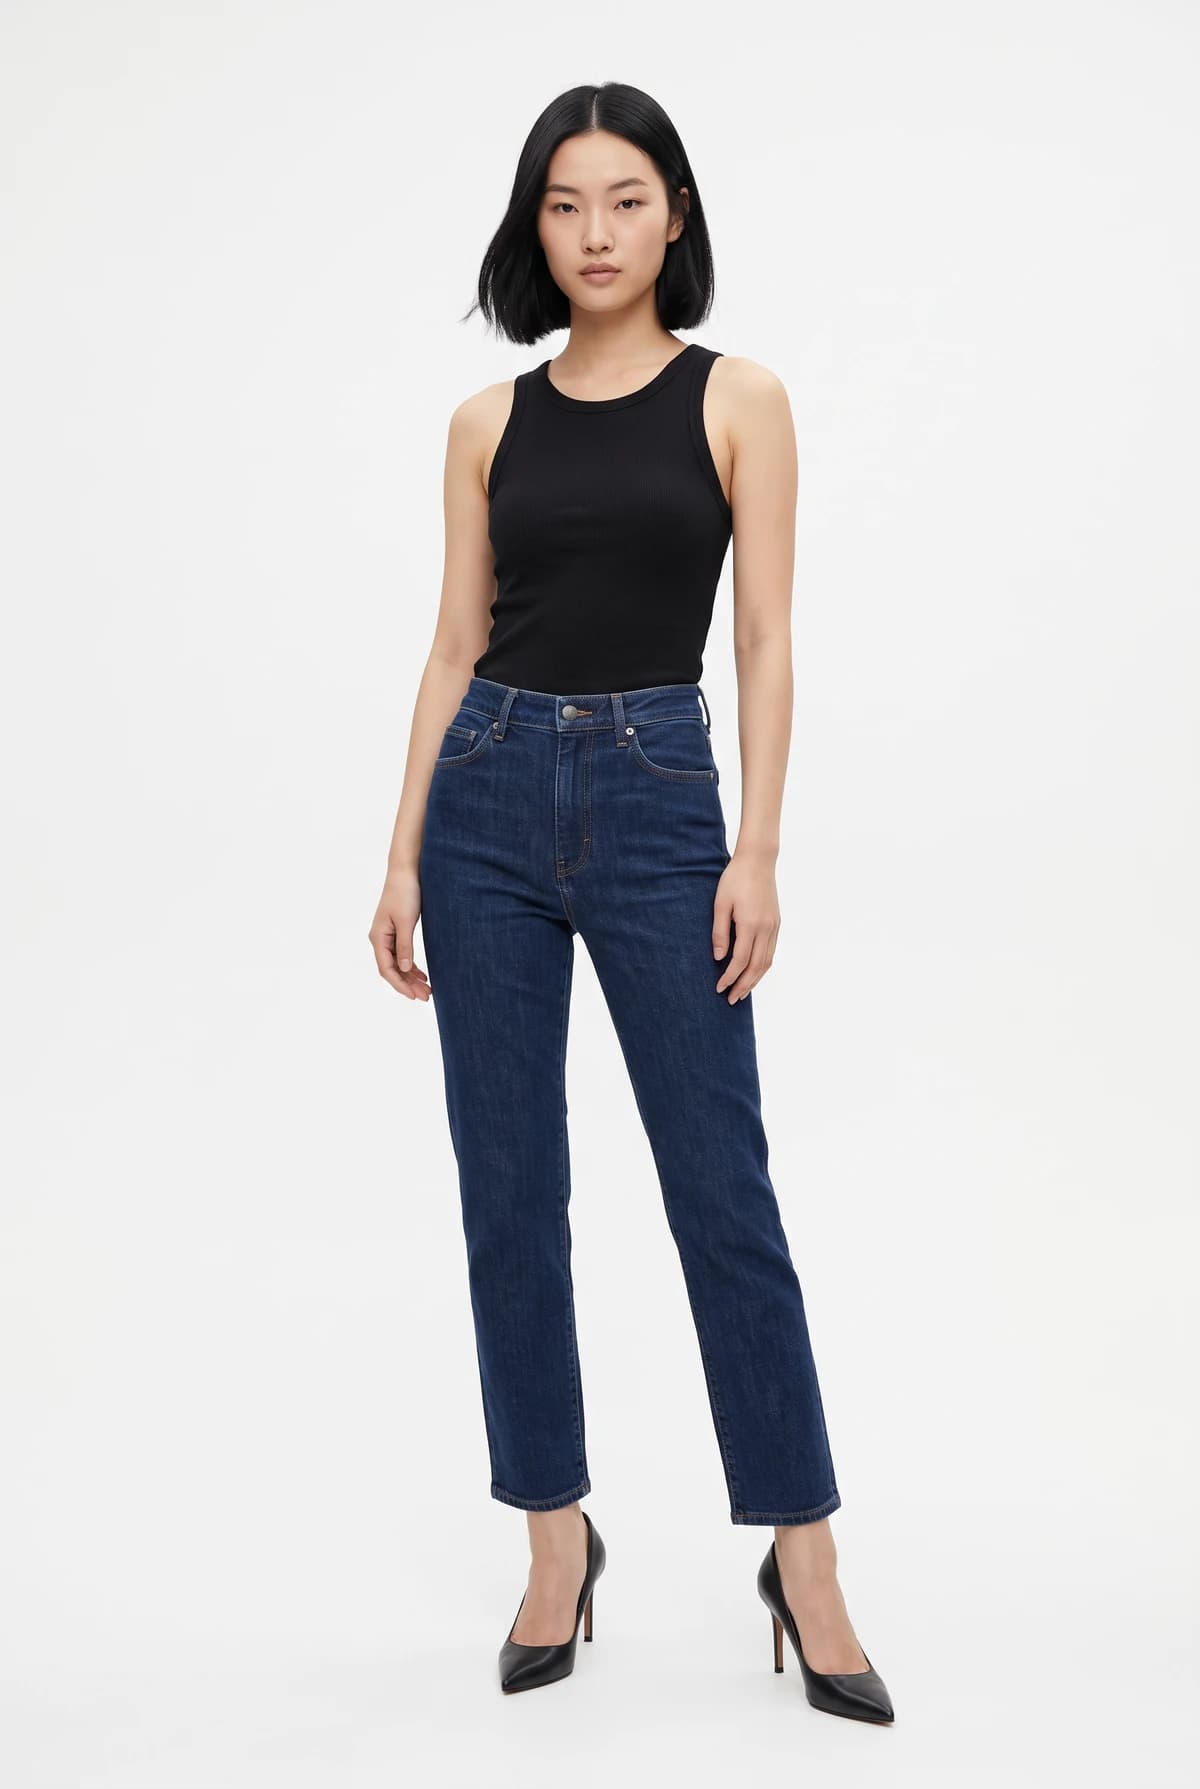
Model image
The person who will wear your product. Use a model you created in Agent, a model from Elements, or any photo of a person.
Product image
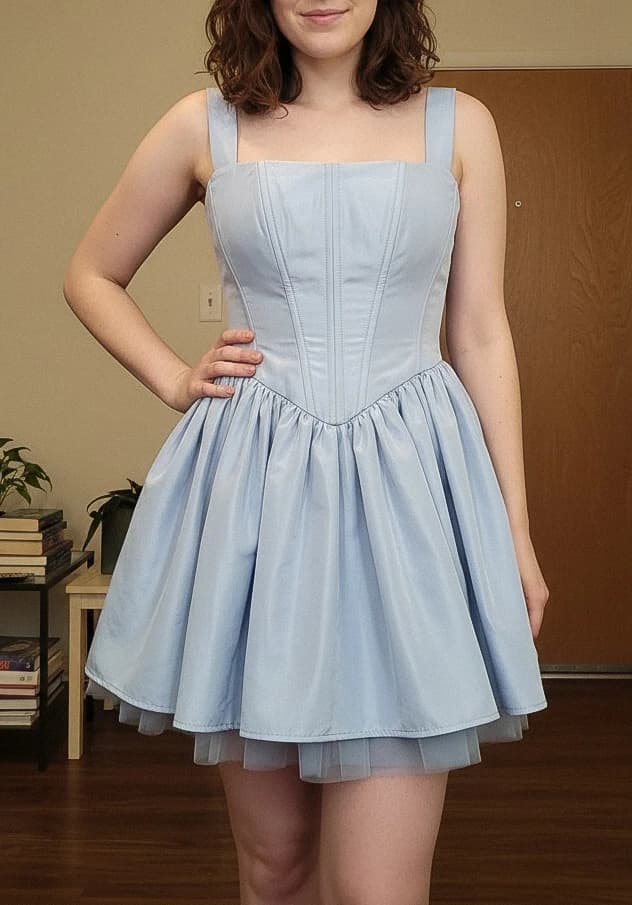
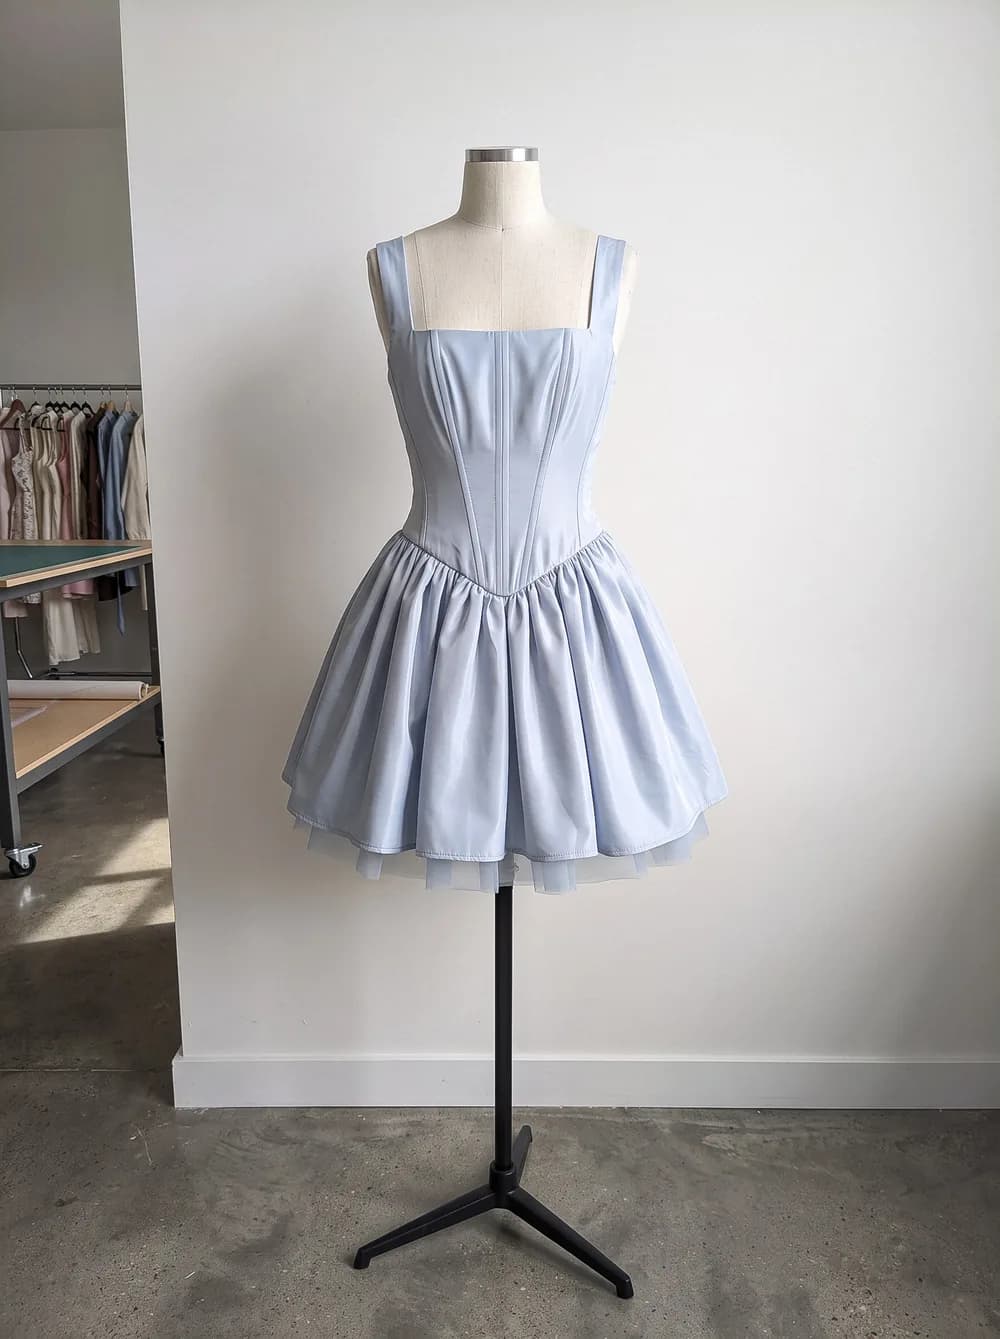
Product photos come in three types: on-person, flat-lay, and mannequin. All three work, but on-person photos are the best because they show exactly how the product should fit.
Product photo
On-person
Attach the model image and the product image, then send the message.
New conversation
Put the product on the model
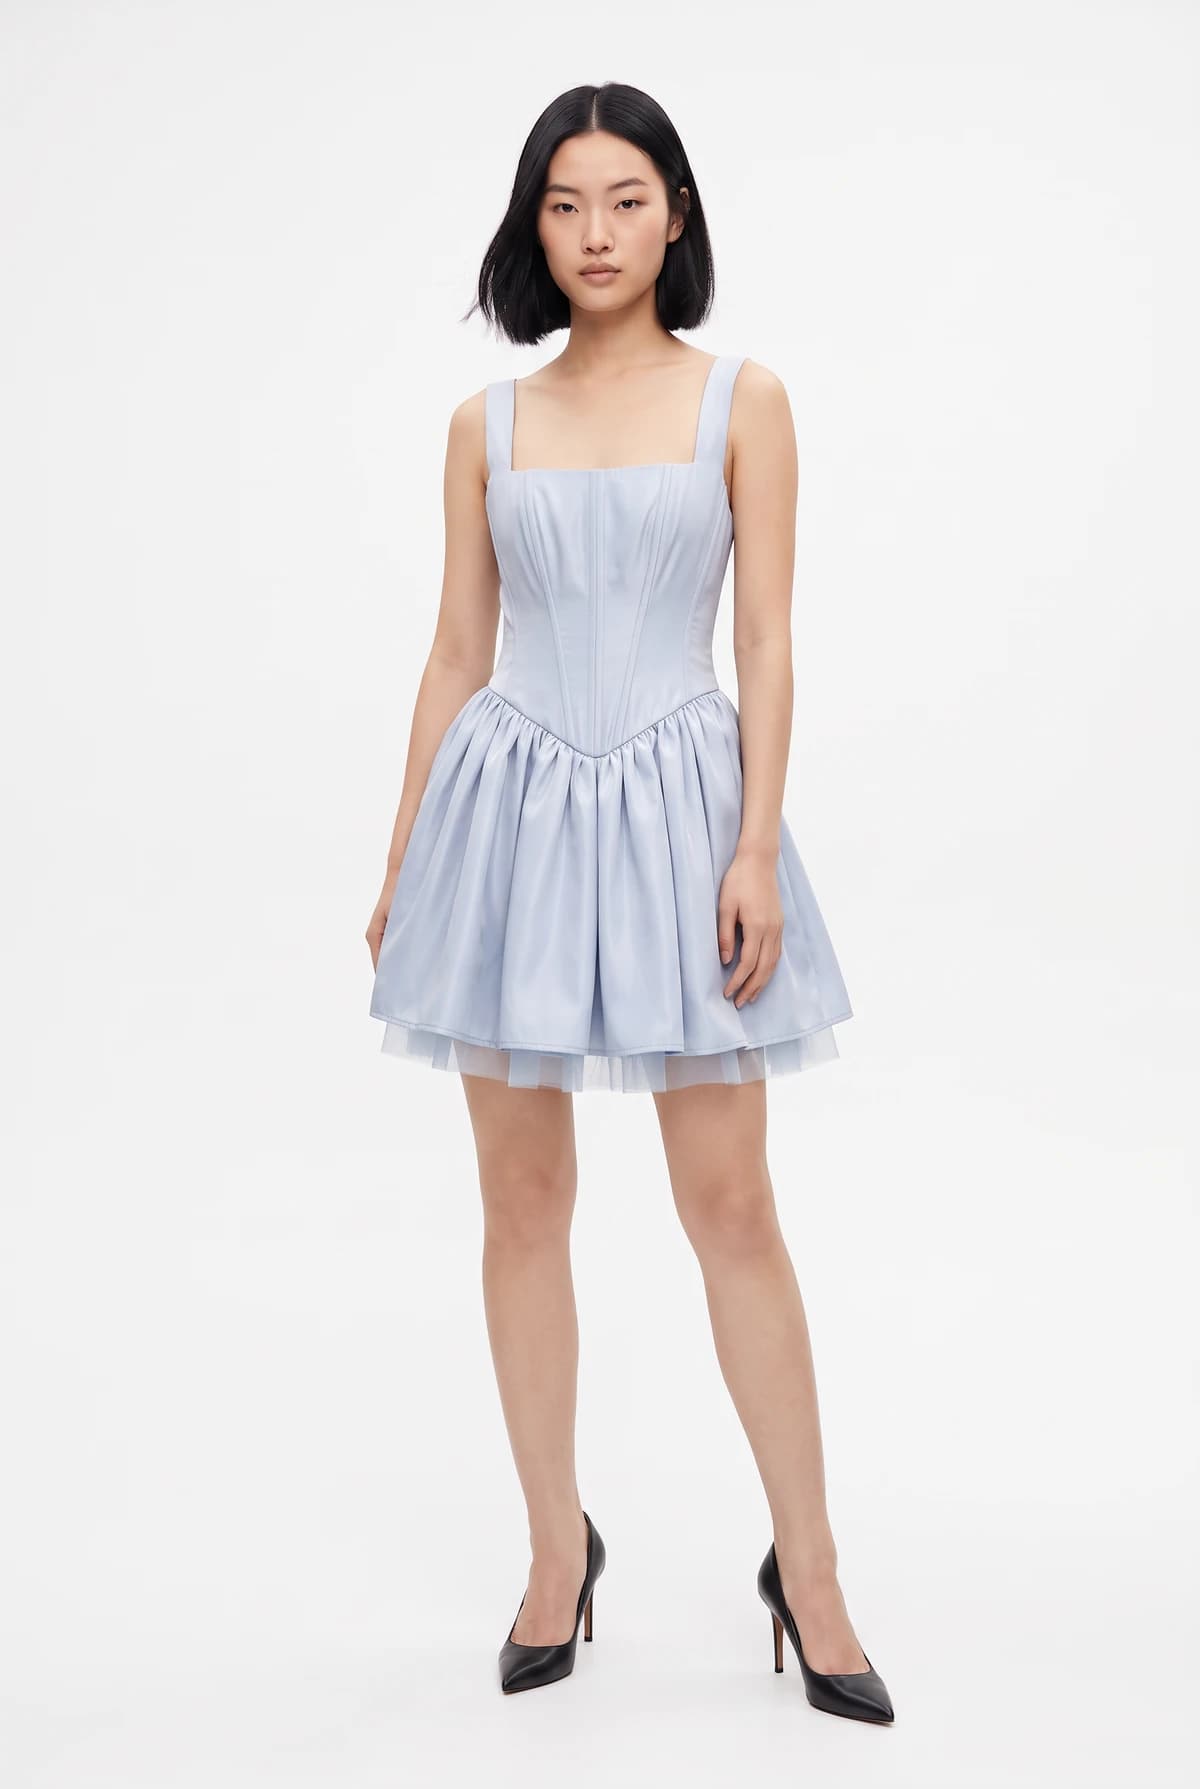
The result looks like the model image except for the dress, which is the only thing taken from the product photo.
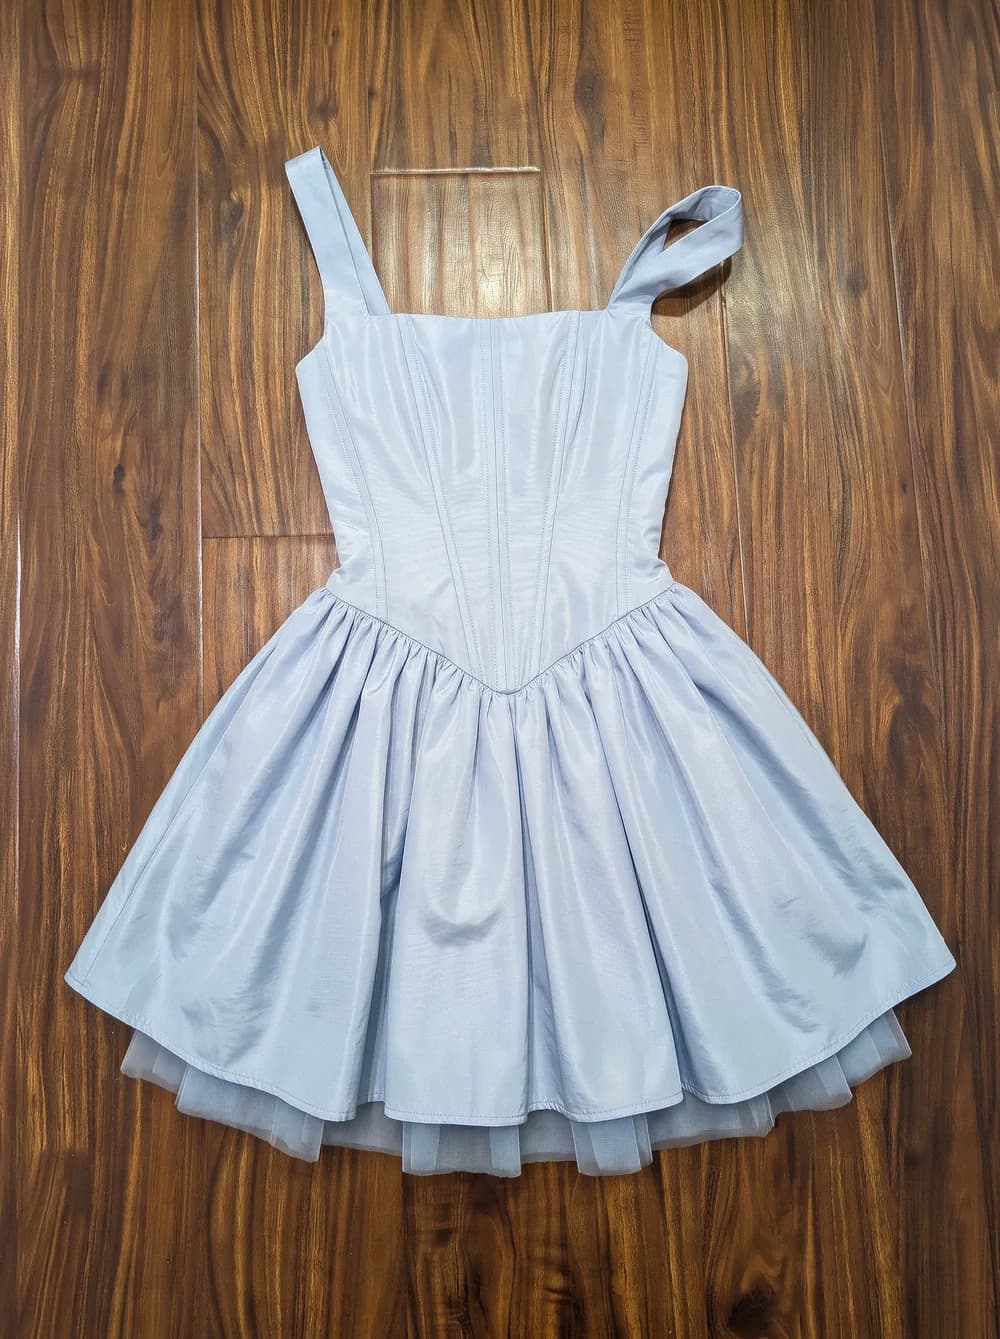
Flat-lay
A flat-lay on the floor works just as well, and it is the easiest product photo to take. This time, try it without a text prompt.
New conversation
No text prompt
Agent asks what you want to do.

Continue the conversation
Virtual try-on
Mannequin
New conversation
Put this product on this model
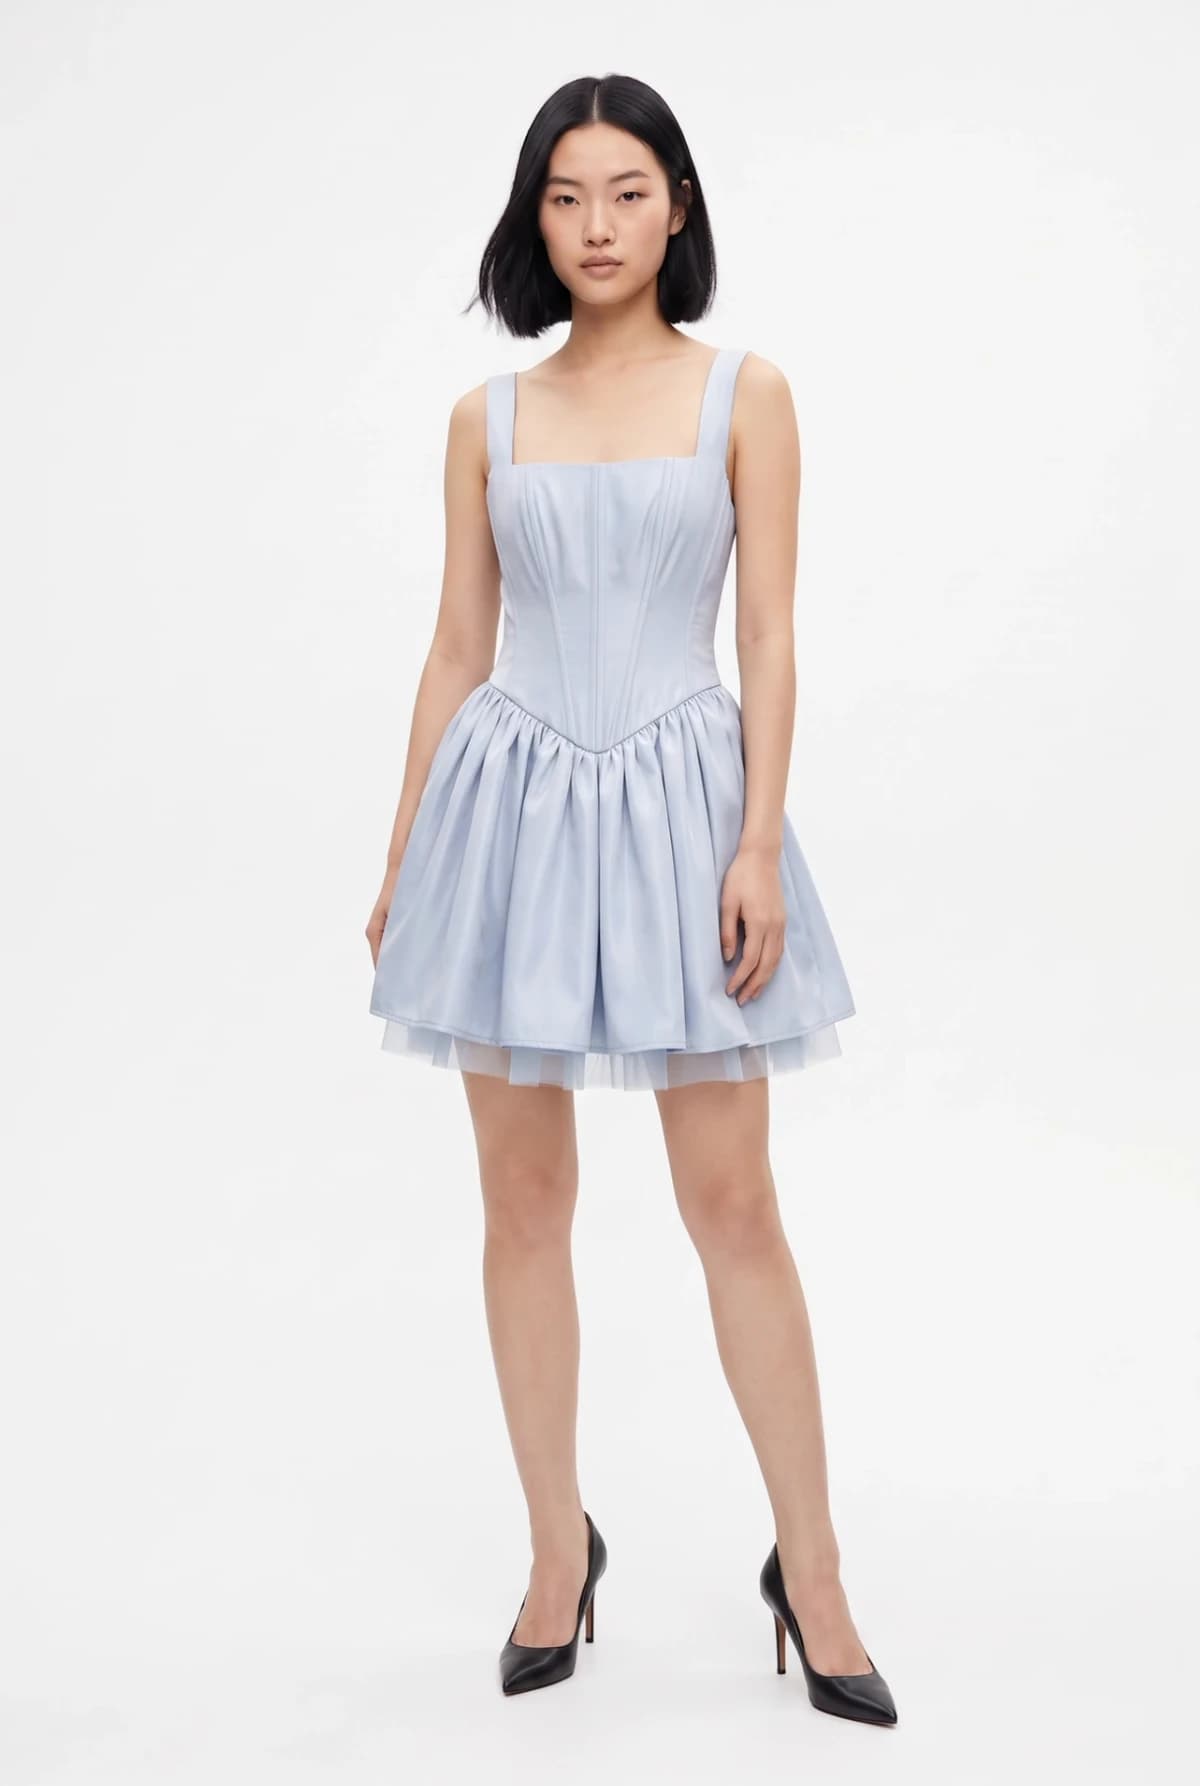
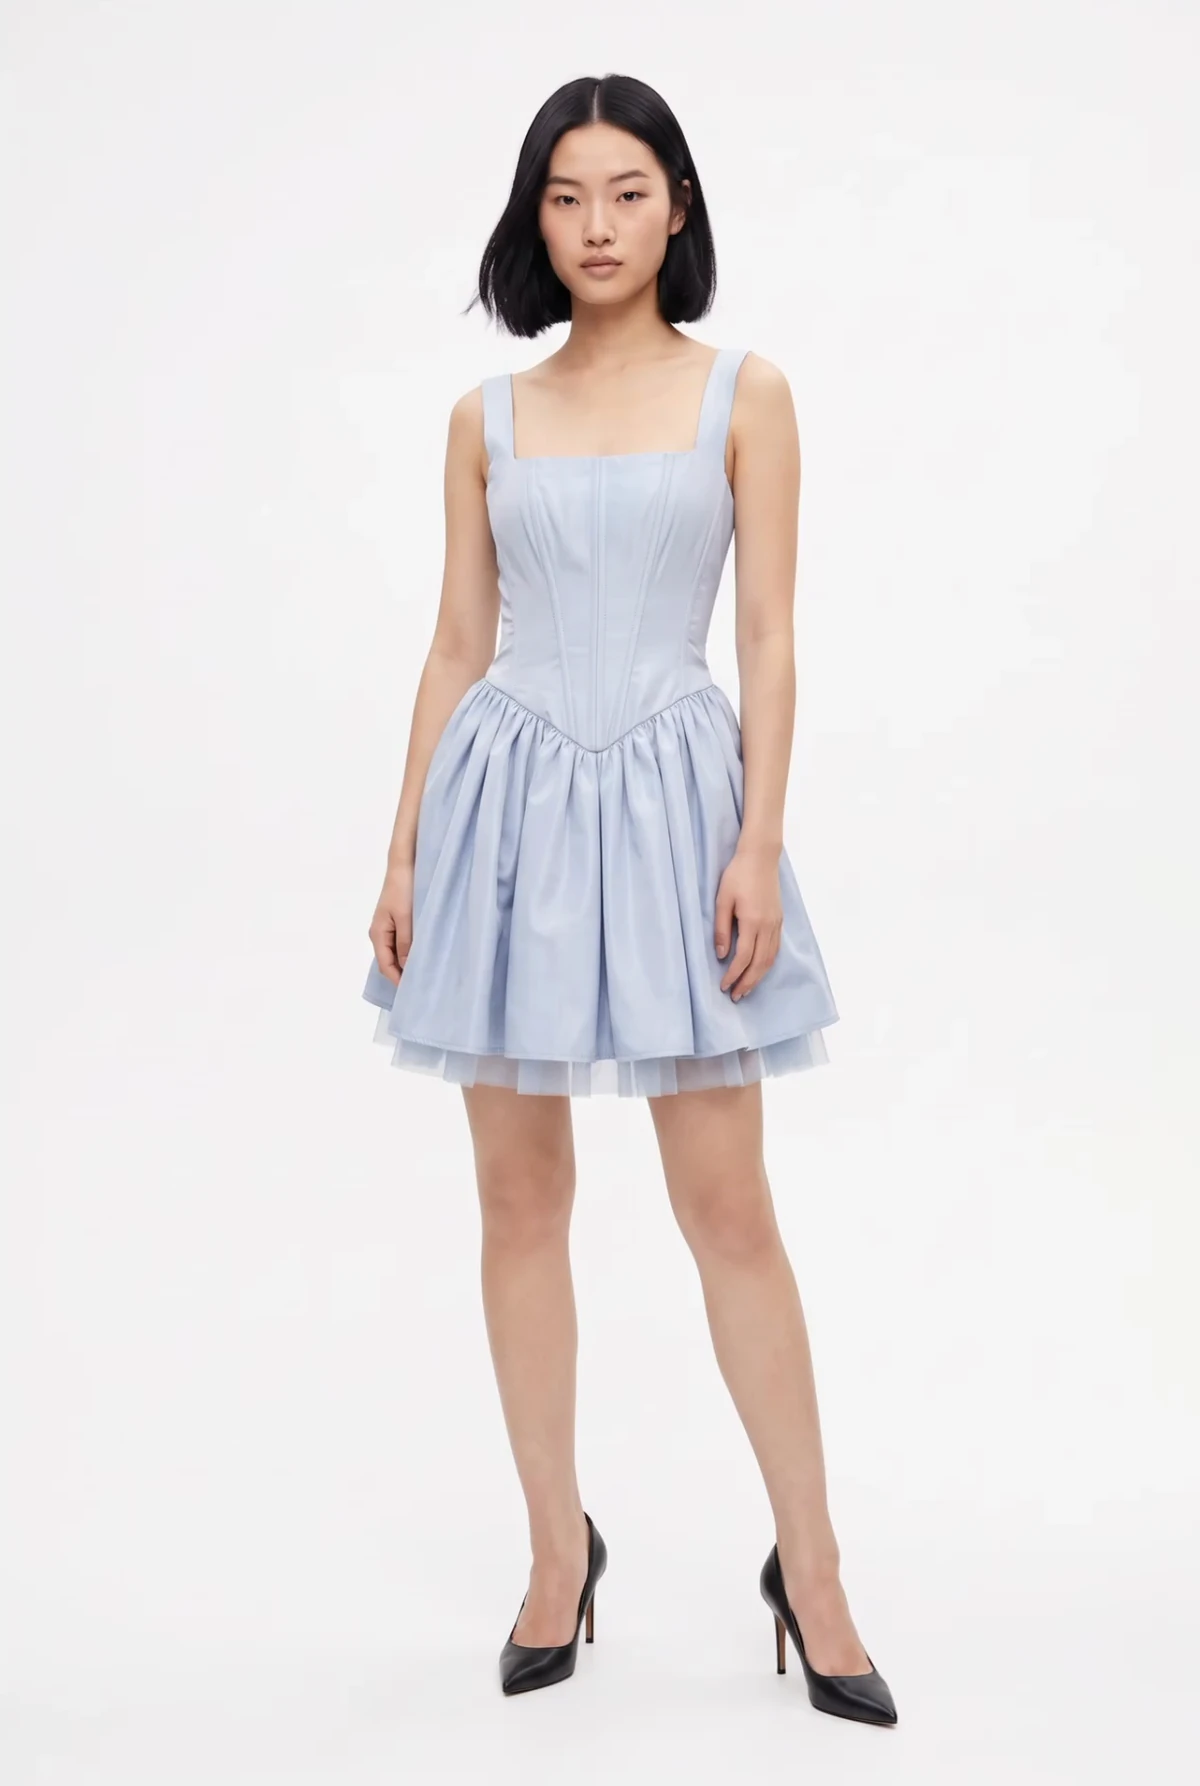
All three product photos work great. Whichever you use, make sure the details you care about are visible in the product image.
Clothing types
Top
New conversation
Put the product on the model
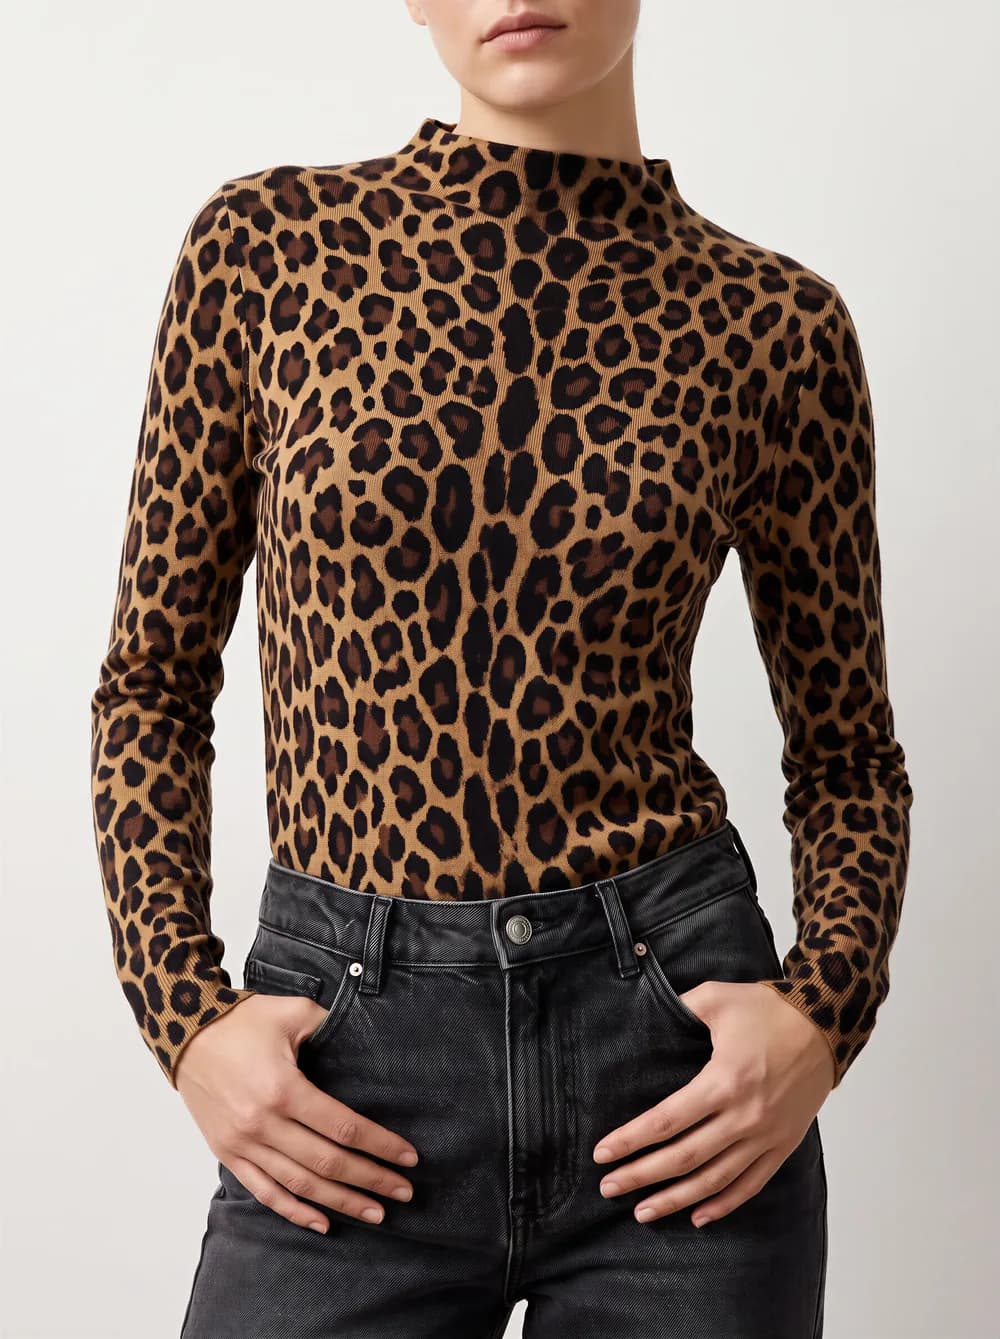
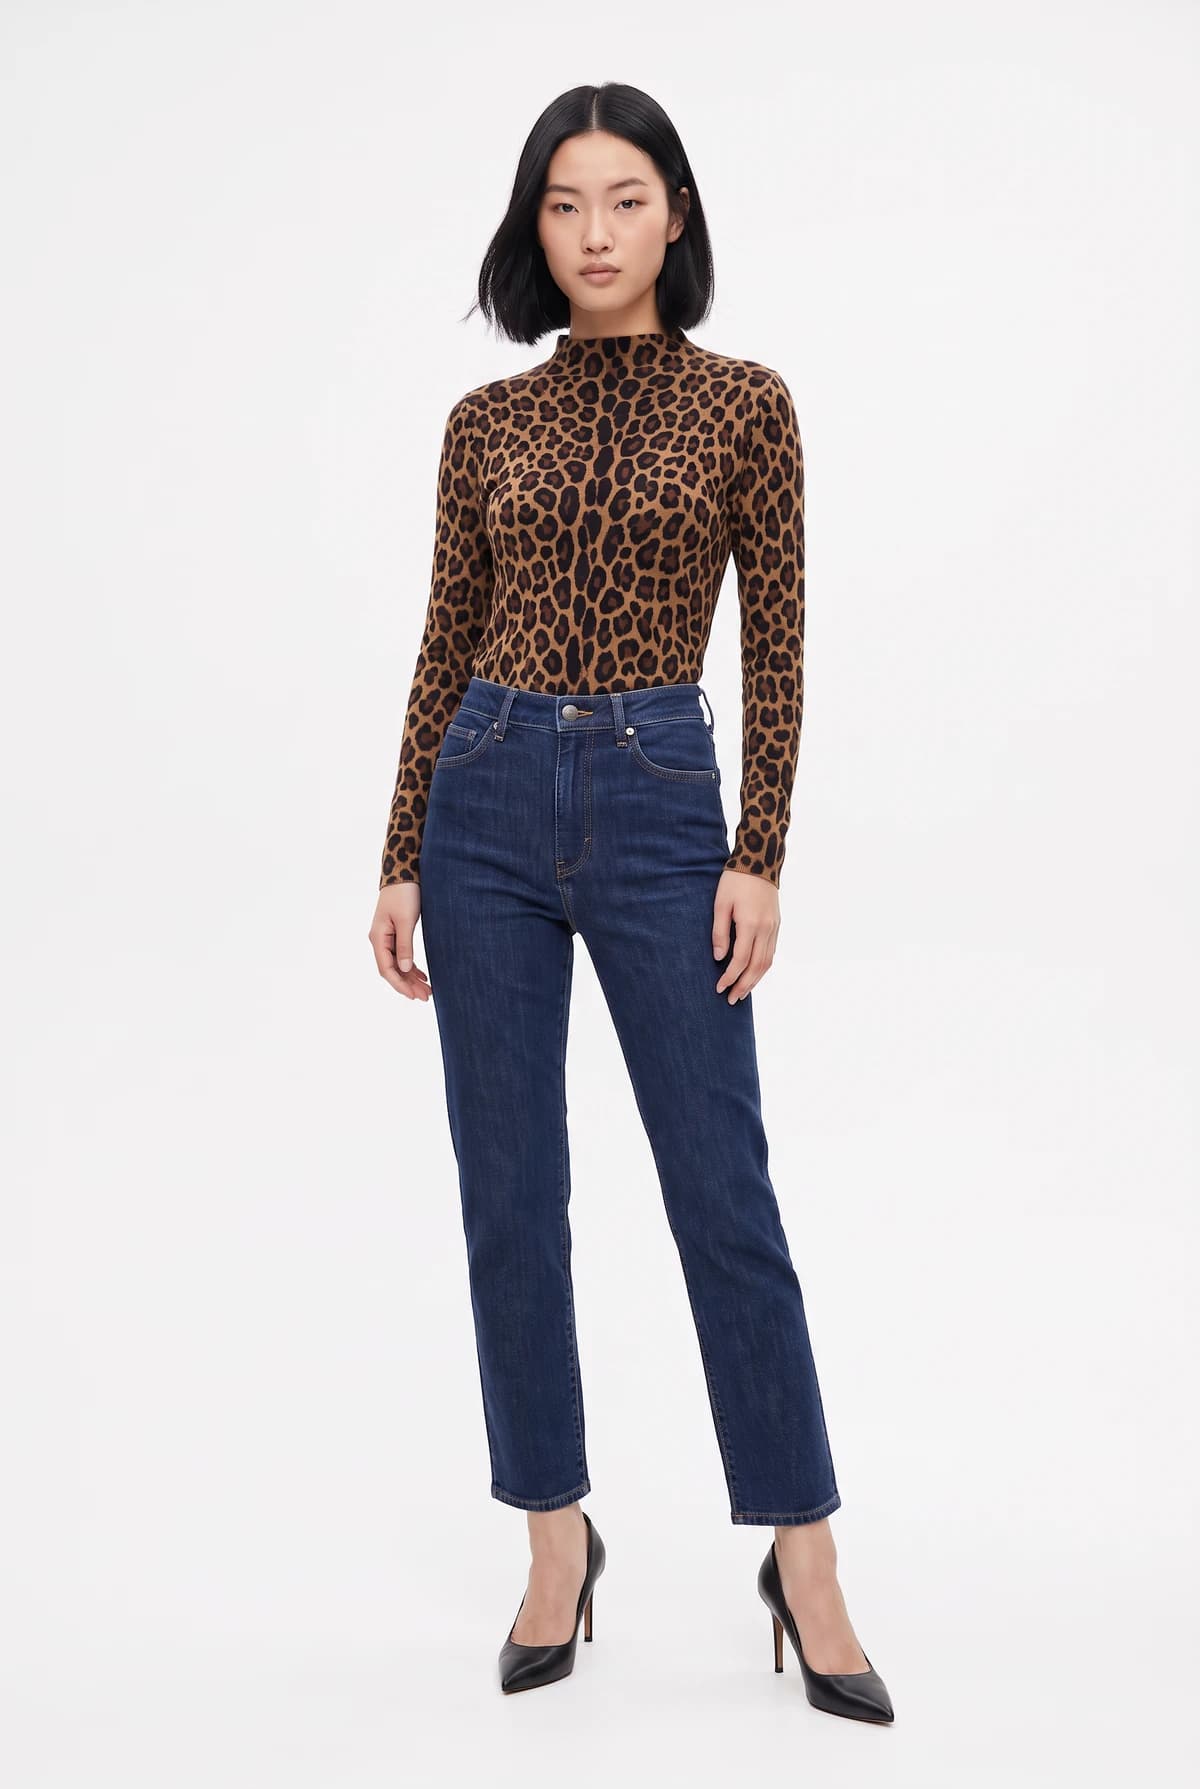
Only the top changed. The jeans, shoes, pose, background, and model stayed the same.
Bottom
New conversation
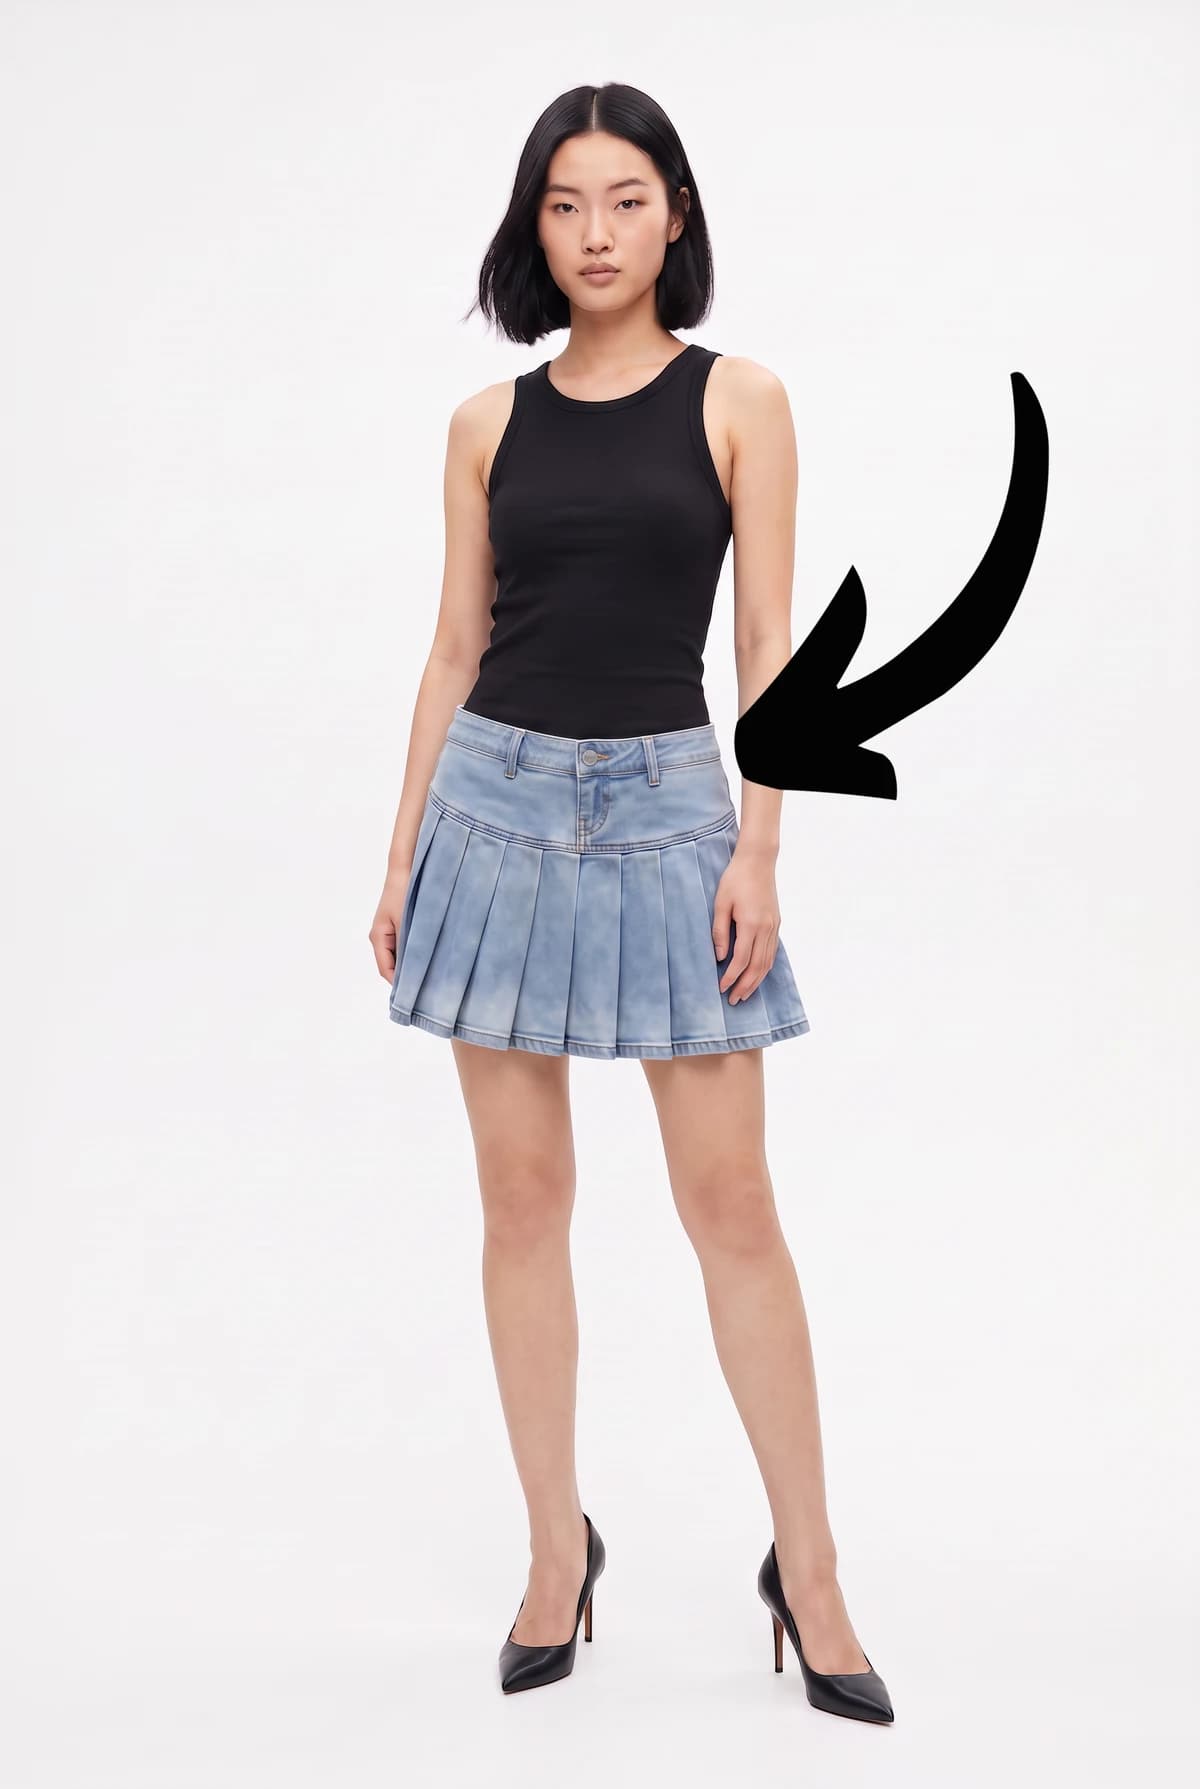
Put the skirt on her
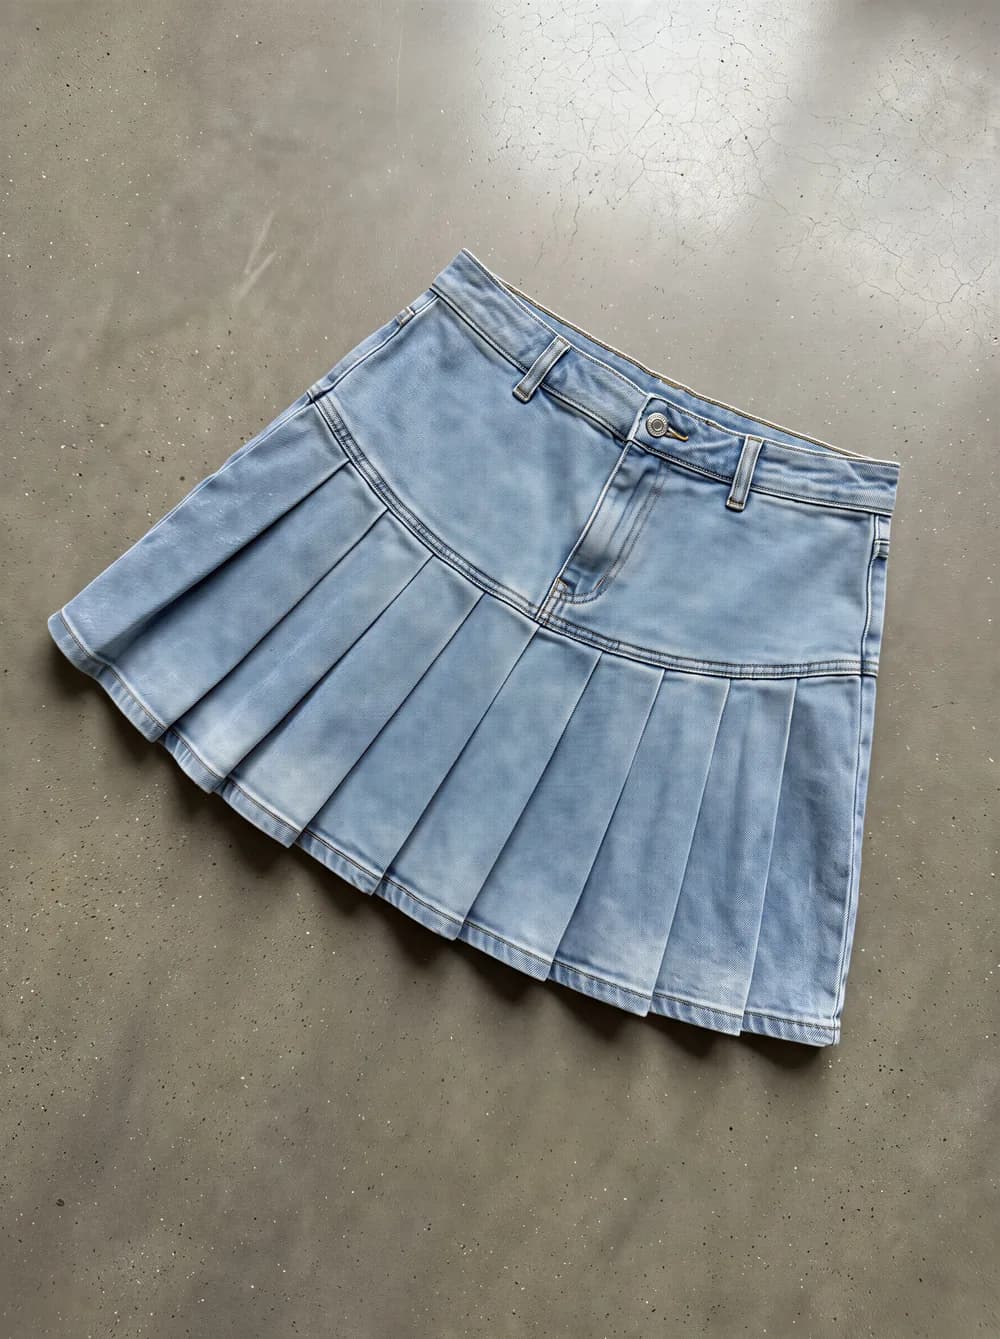
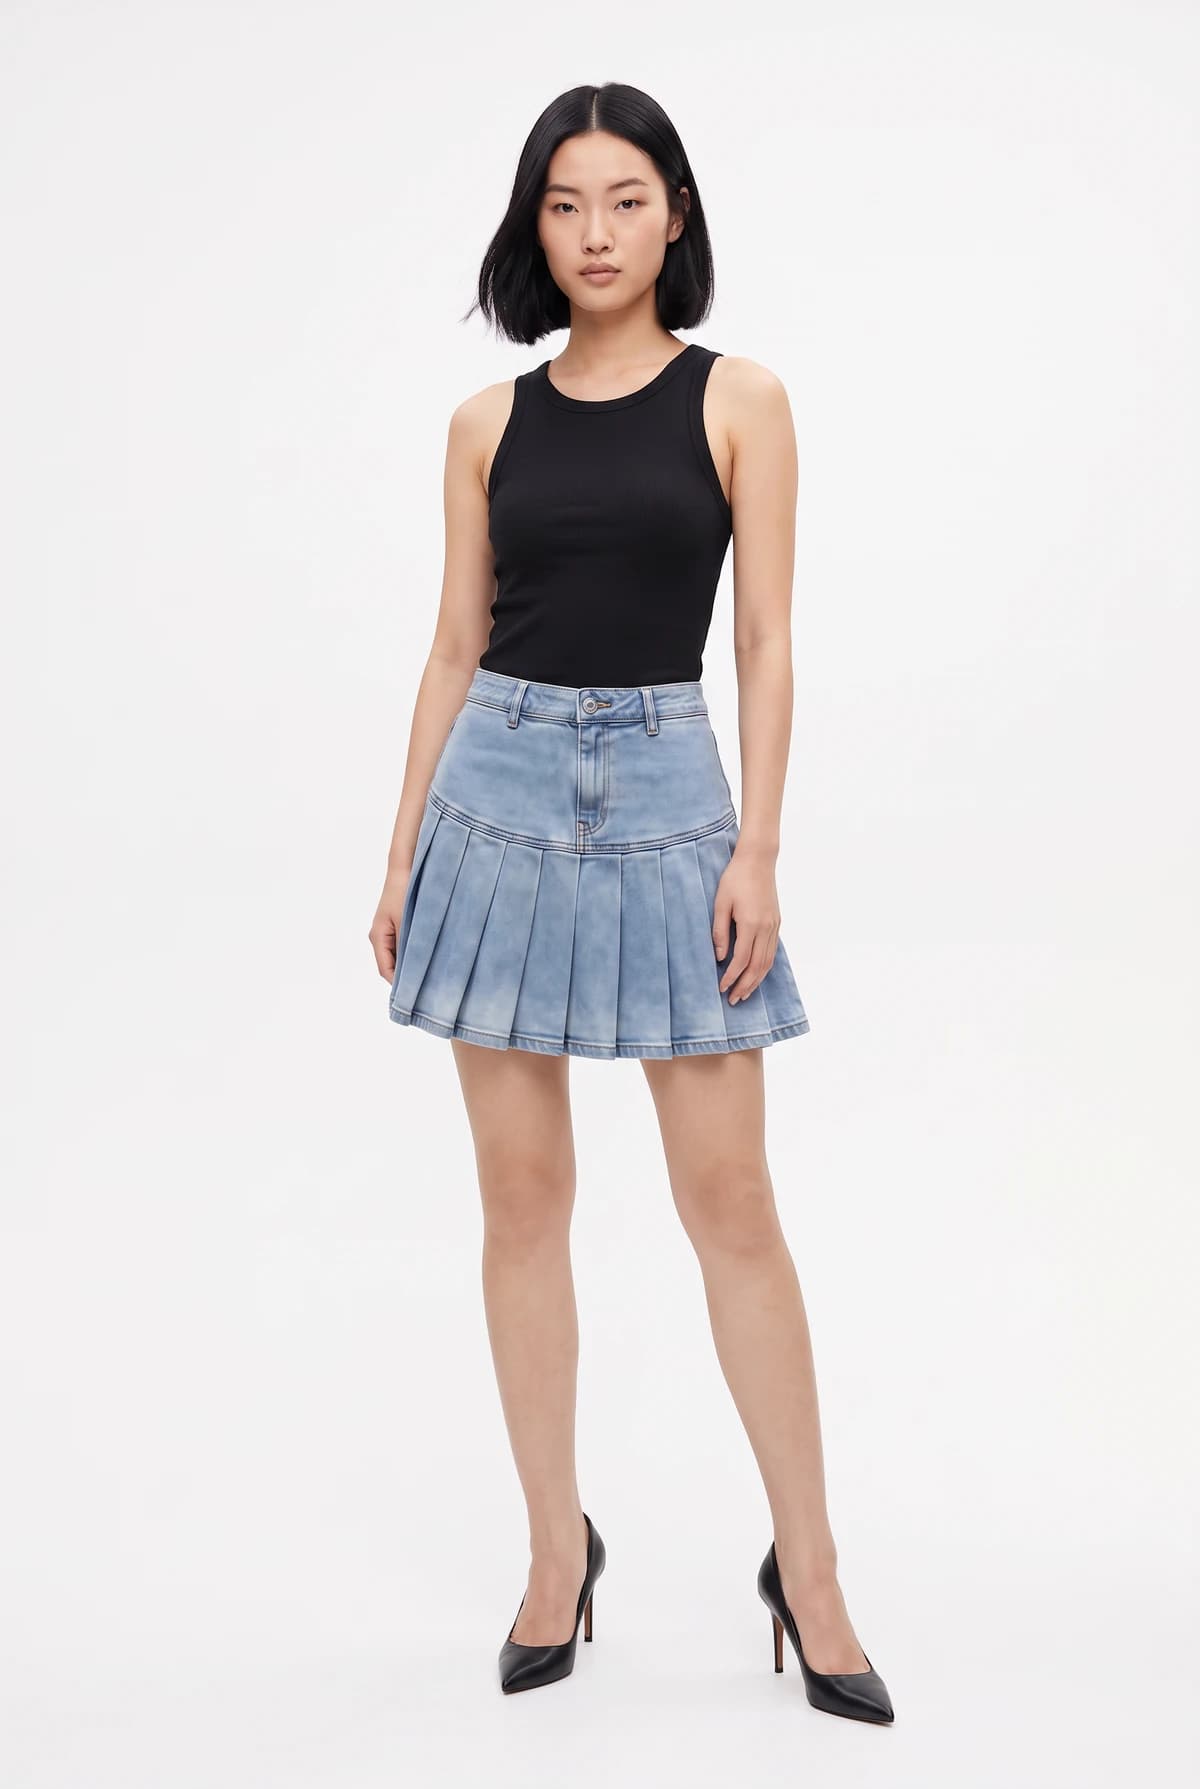
Fix with text
This skirt is meant to be low-waisted, but it came back high-waisted. Use text to tell Agent the change you want to make.
Continue the conversation
The skirt should be low-waisted
Top and bottom
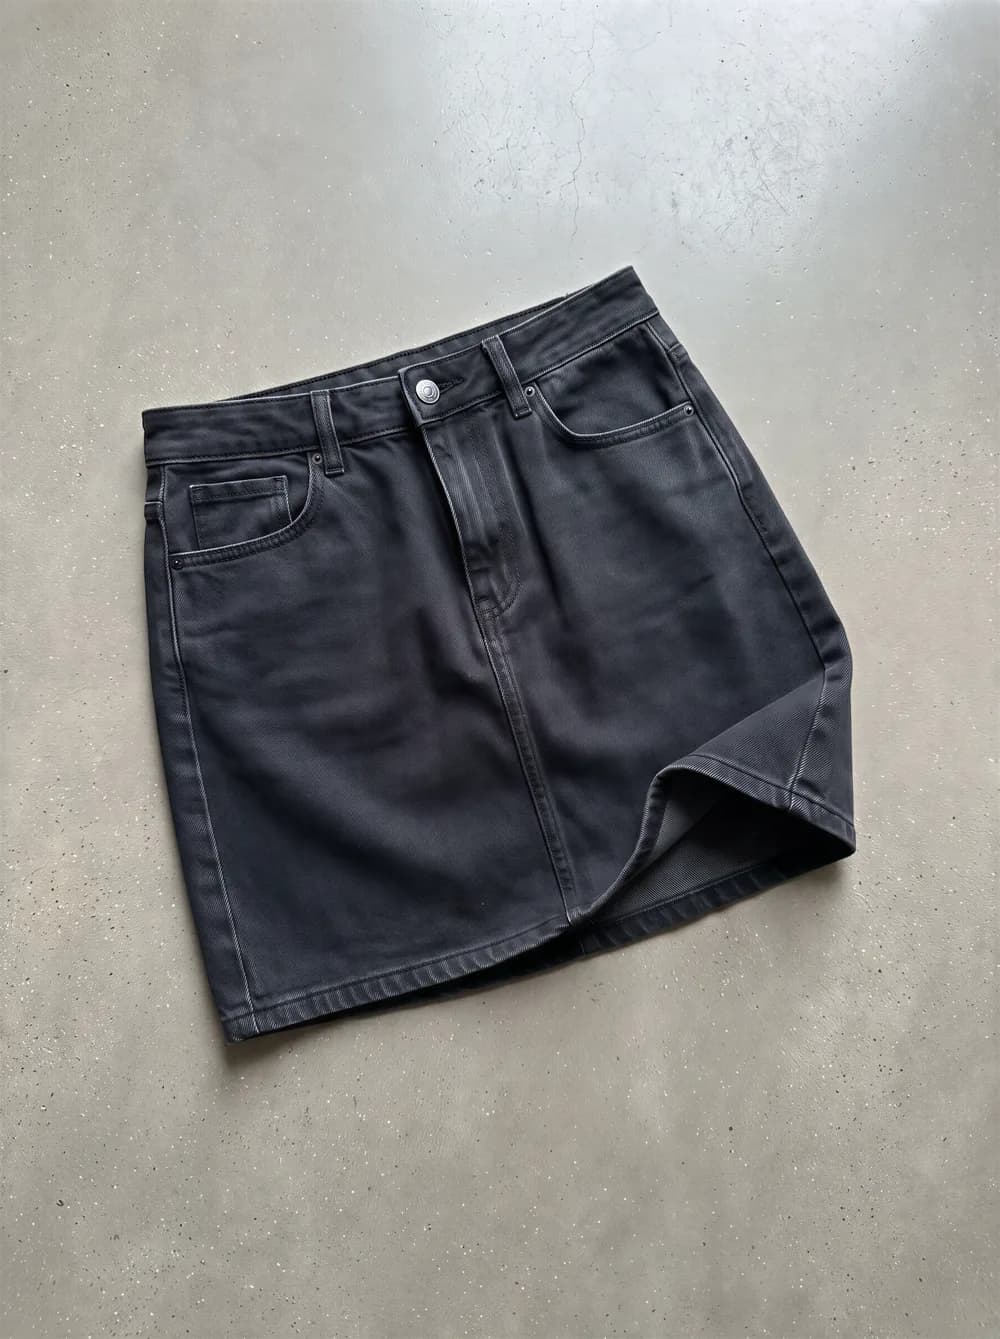
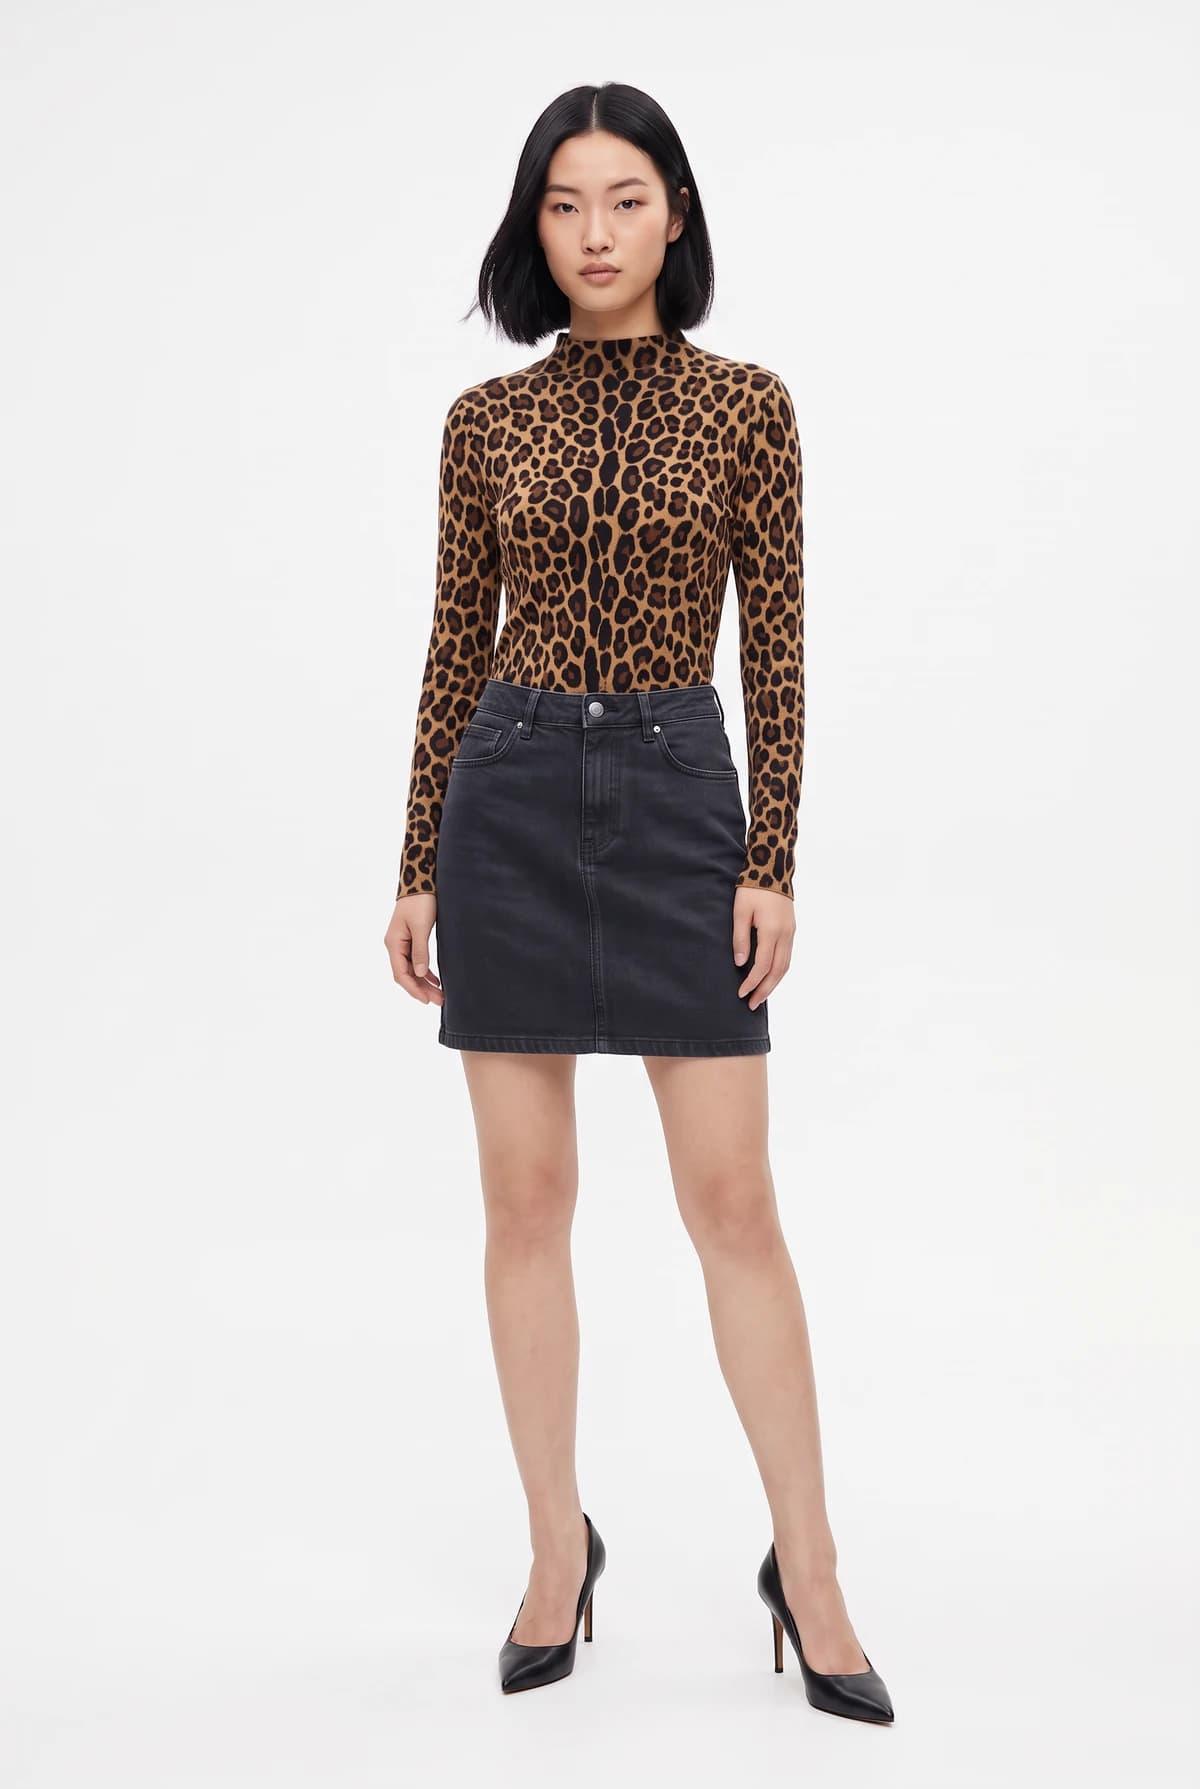
You can send more than one garment at a time, with up to four images in one message.
New conversation
Put these products on the model
Jacket
New conversation
Put the jacket on her
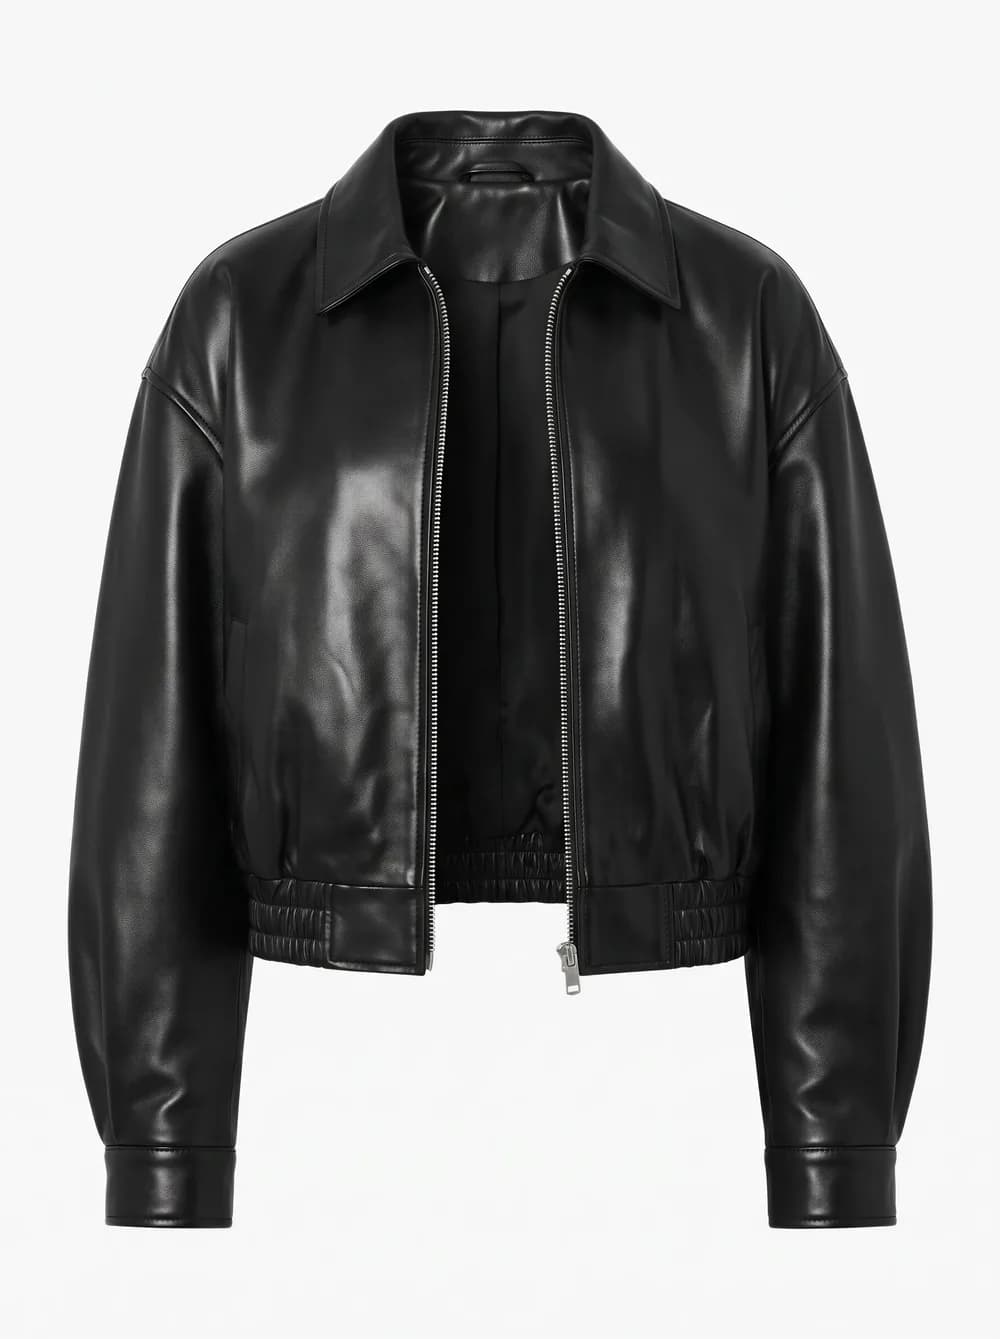
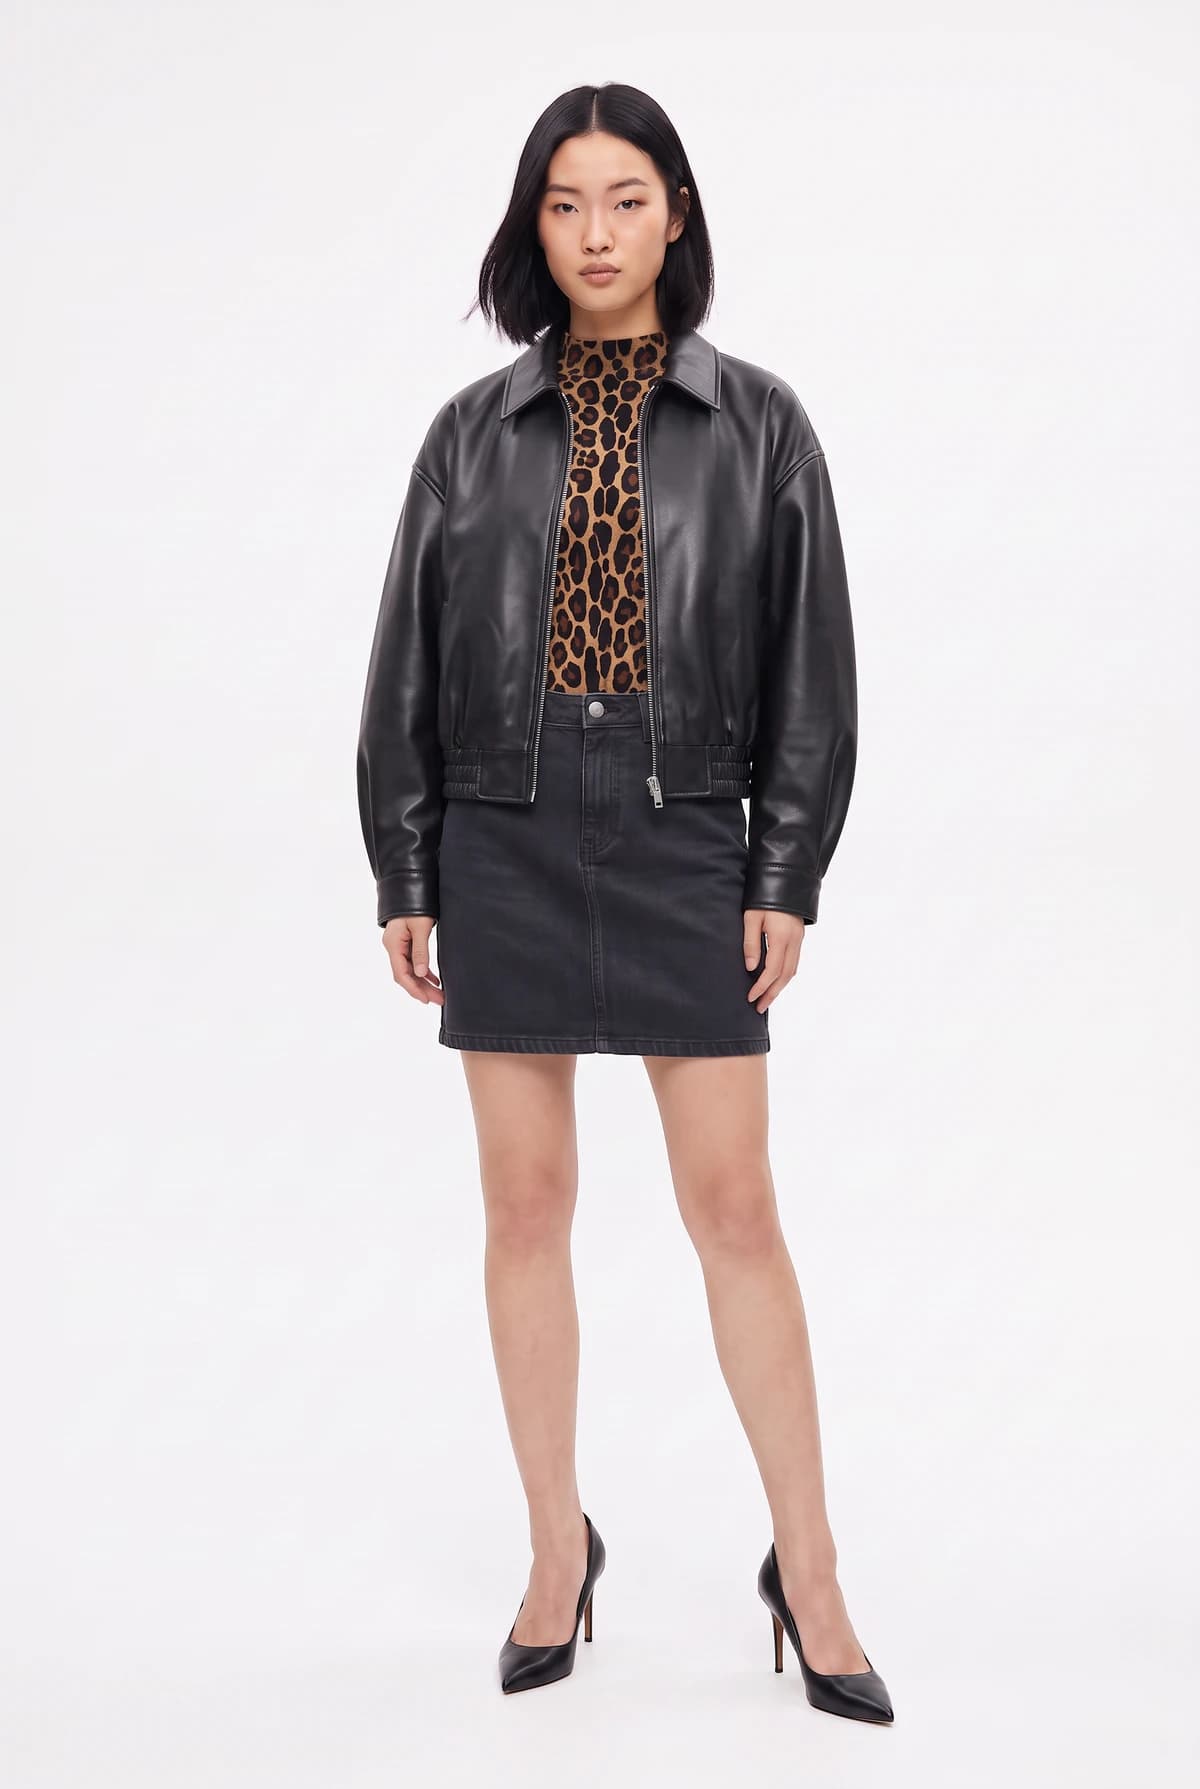
Jackets and outerwear go over what the model is already wearing instead of replacing it.
Accessories
Accessories work the same way. Upload your own accessories or choose from Elements.
New conversation
Put these on her
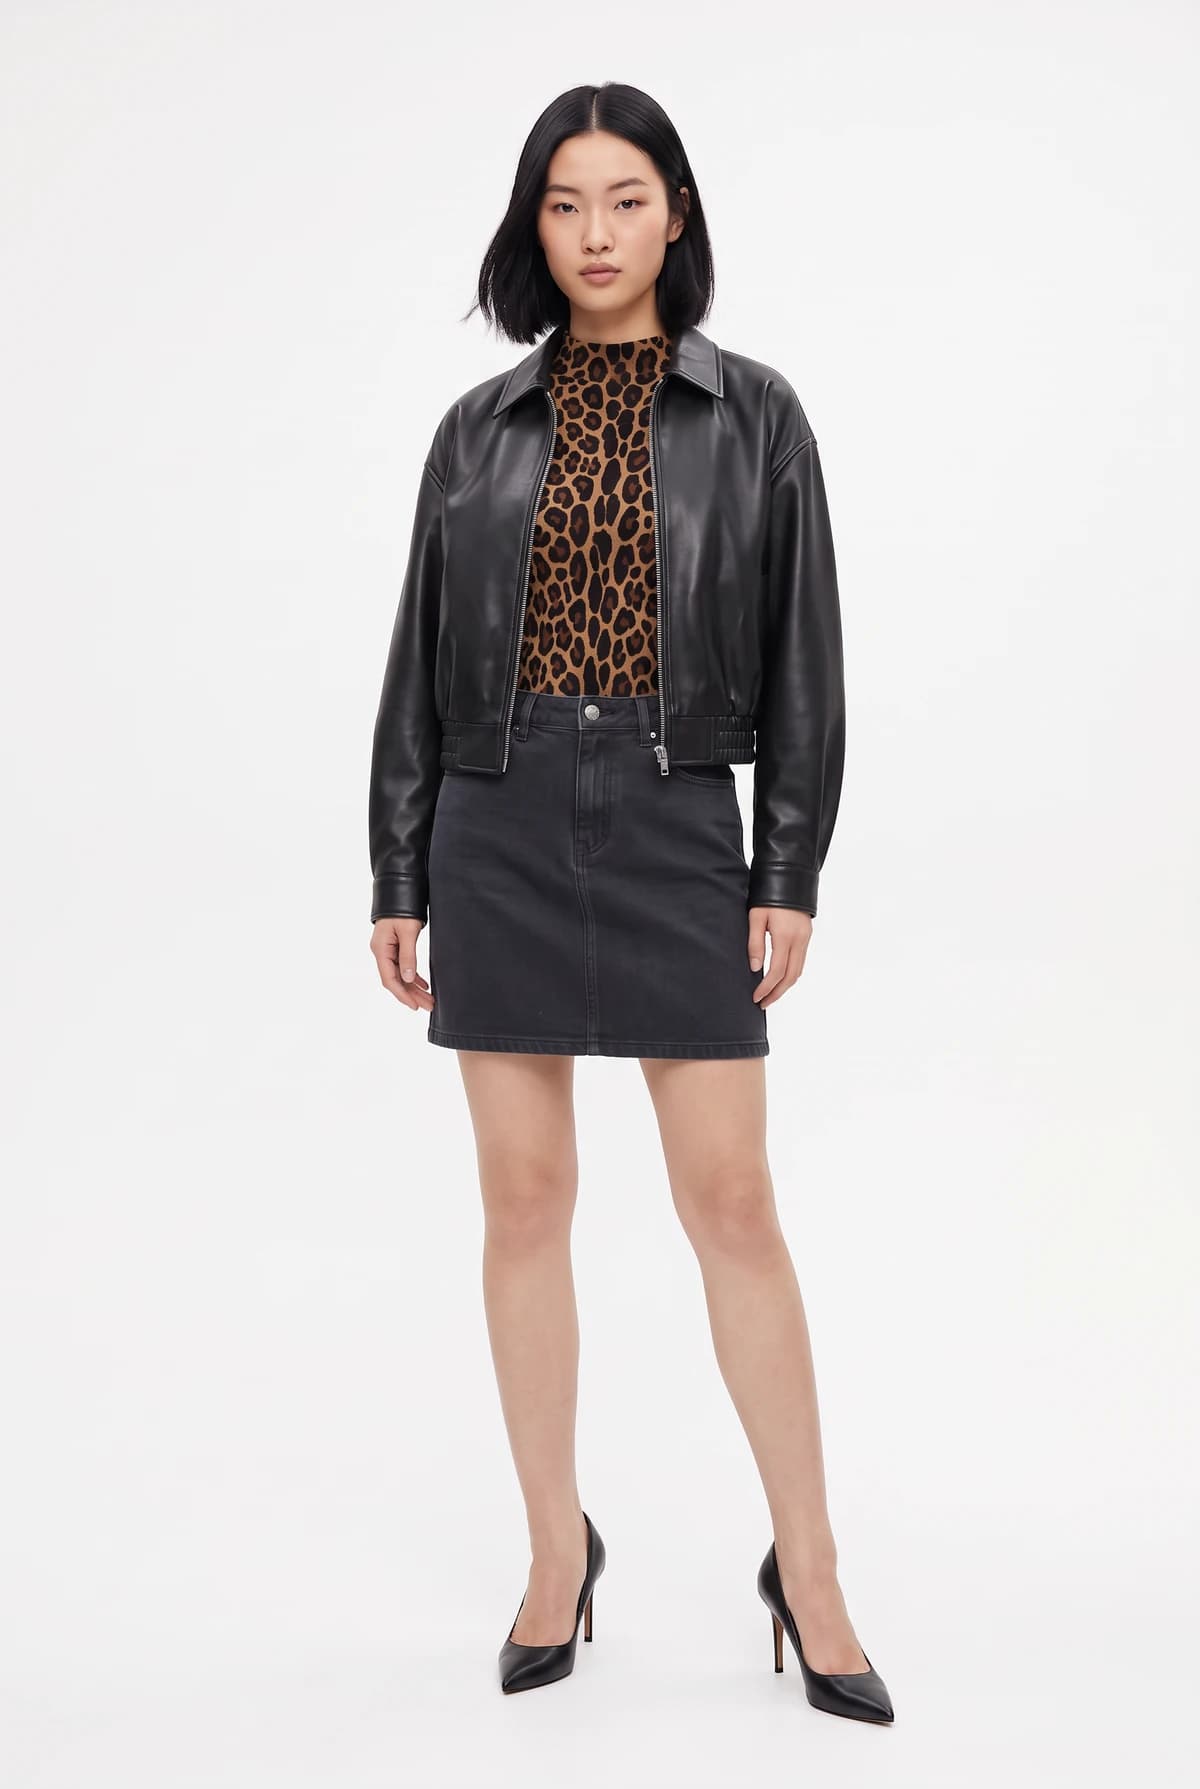
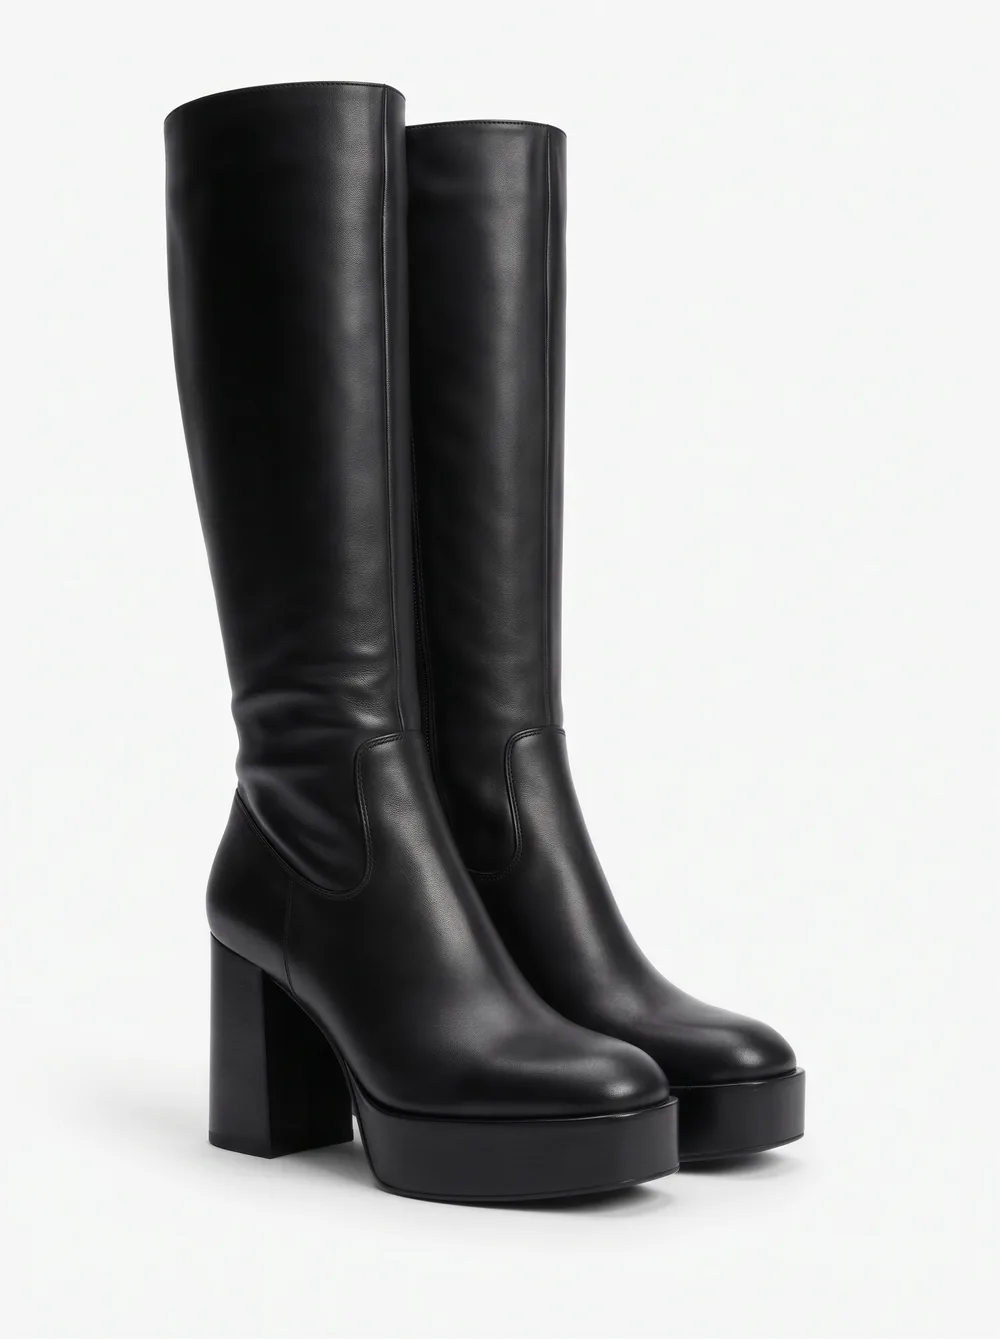
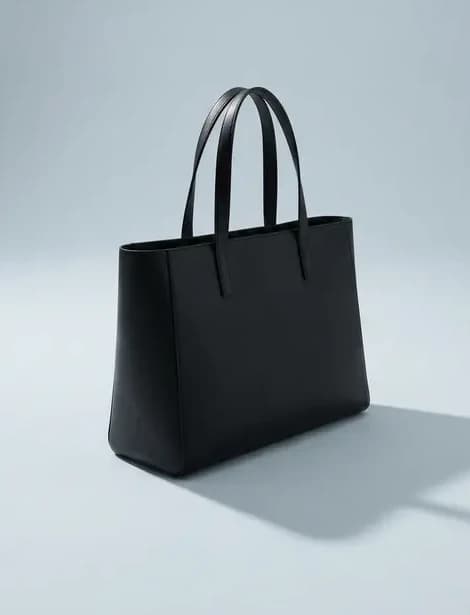
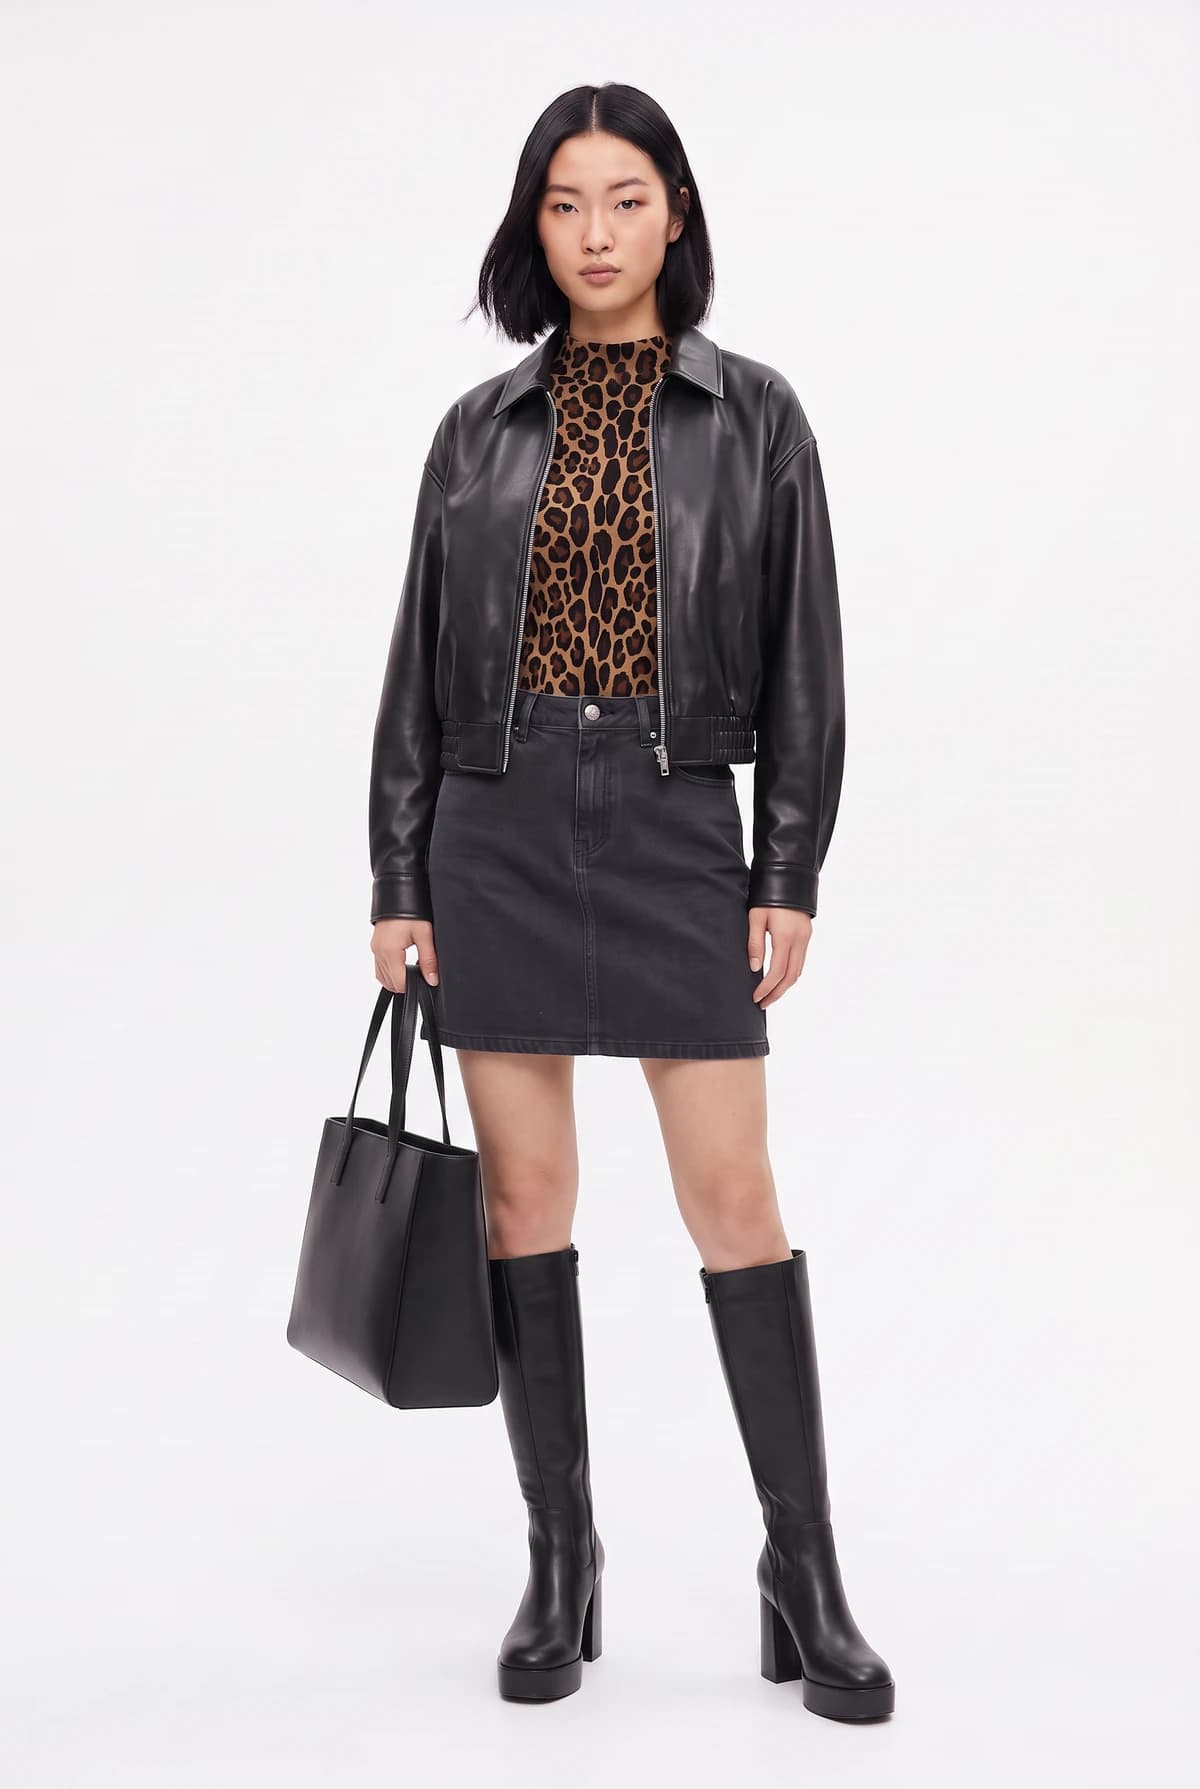
The boots and bag were added to the look and everything else stayed the same.
Pose and angle
You can shoot the finished look in different poses and from different angles.
Change the pose
New conversation
Change her pose
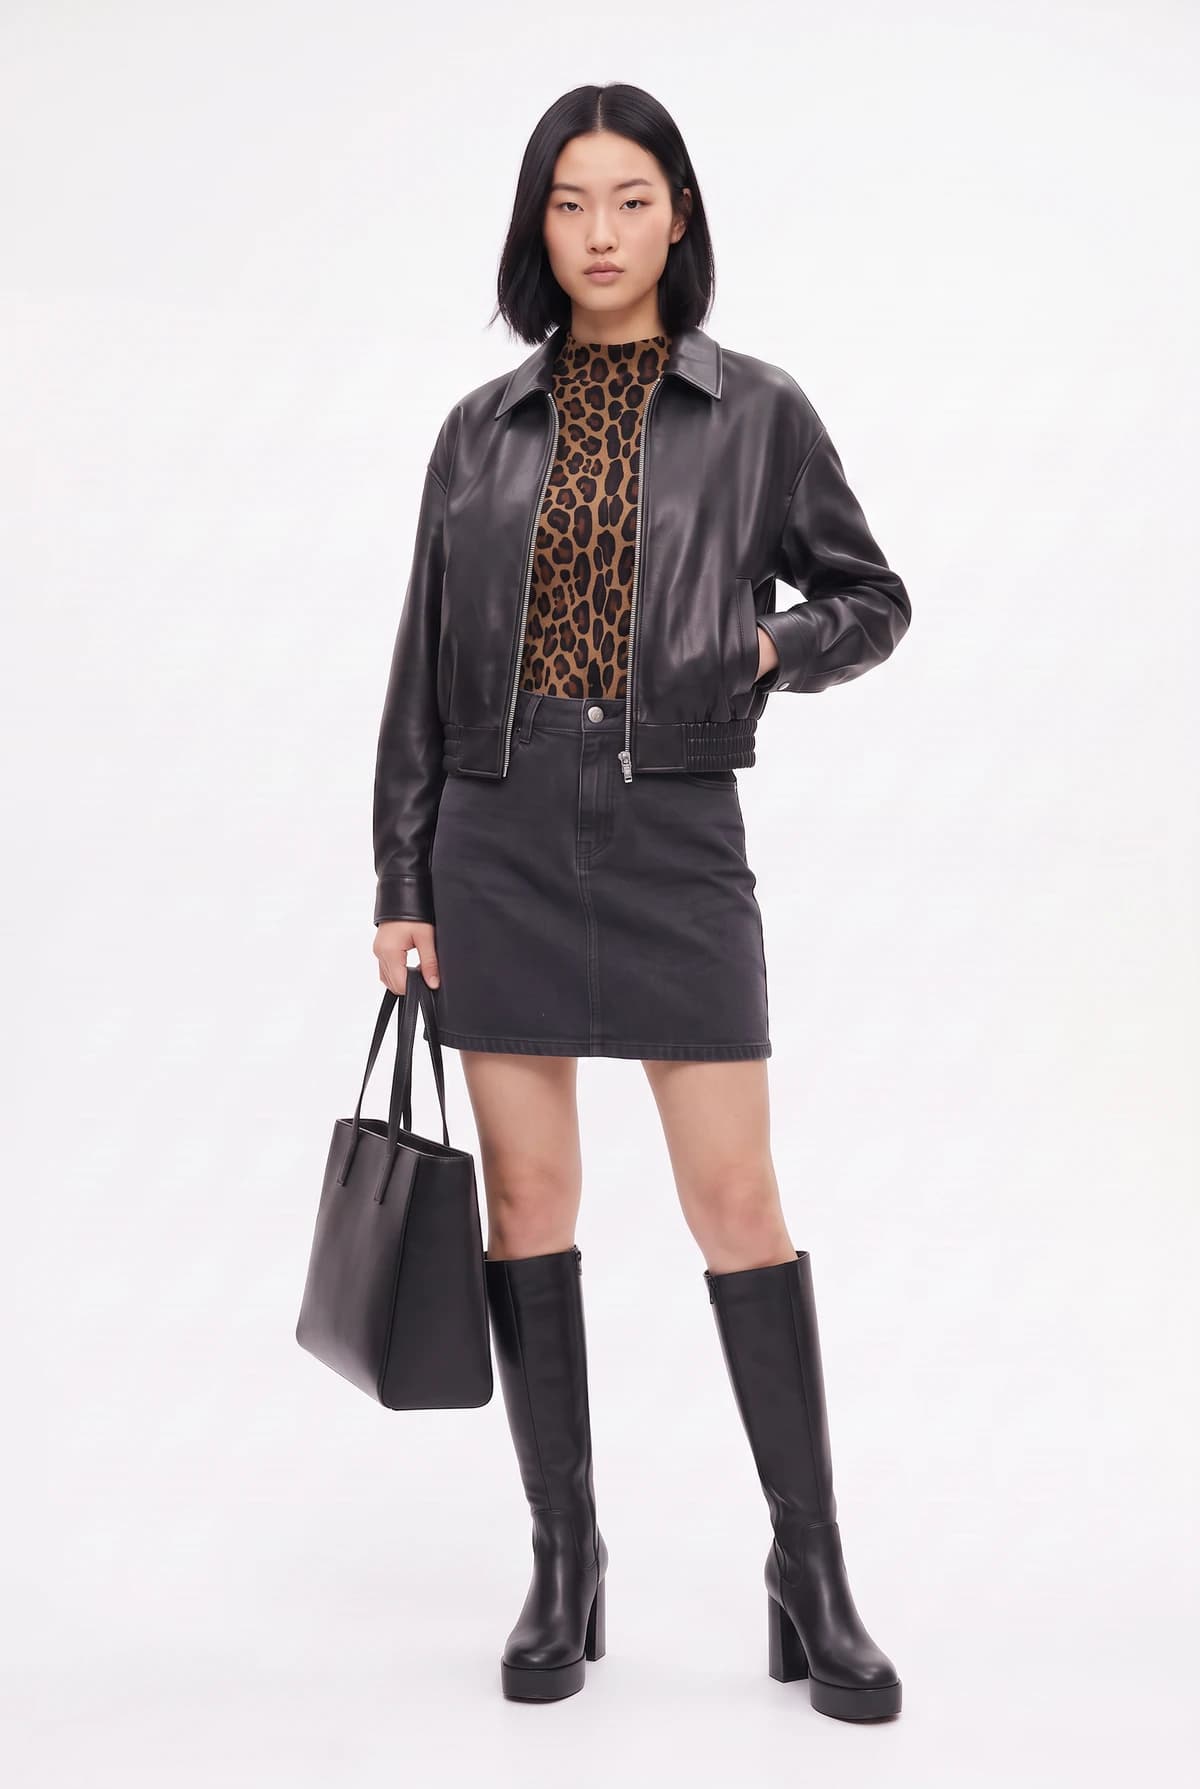
Only the pose changed and everything else stayed the same. You can also be specific, for example "she is walking towards the camera" or "her pose is relaxed."
Show the back
Reference the original image by selecting its @ button in the media panel and describe the change.

Continue the conversation
@input1 show me the back
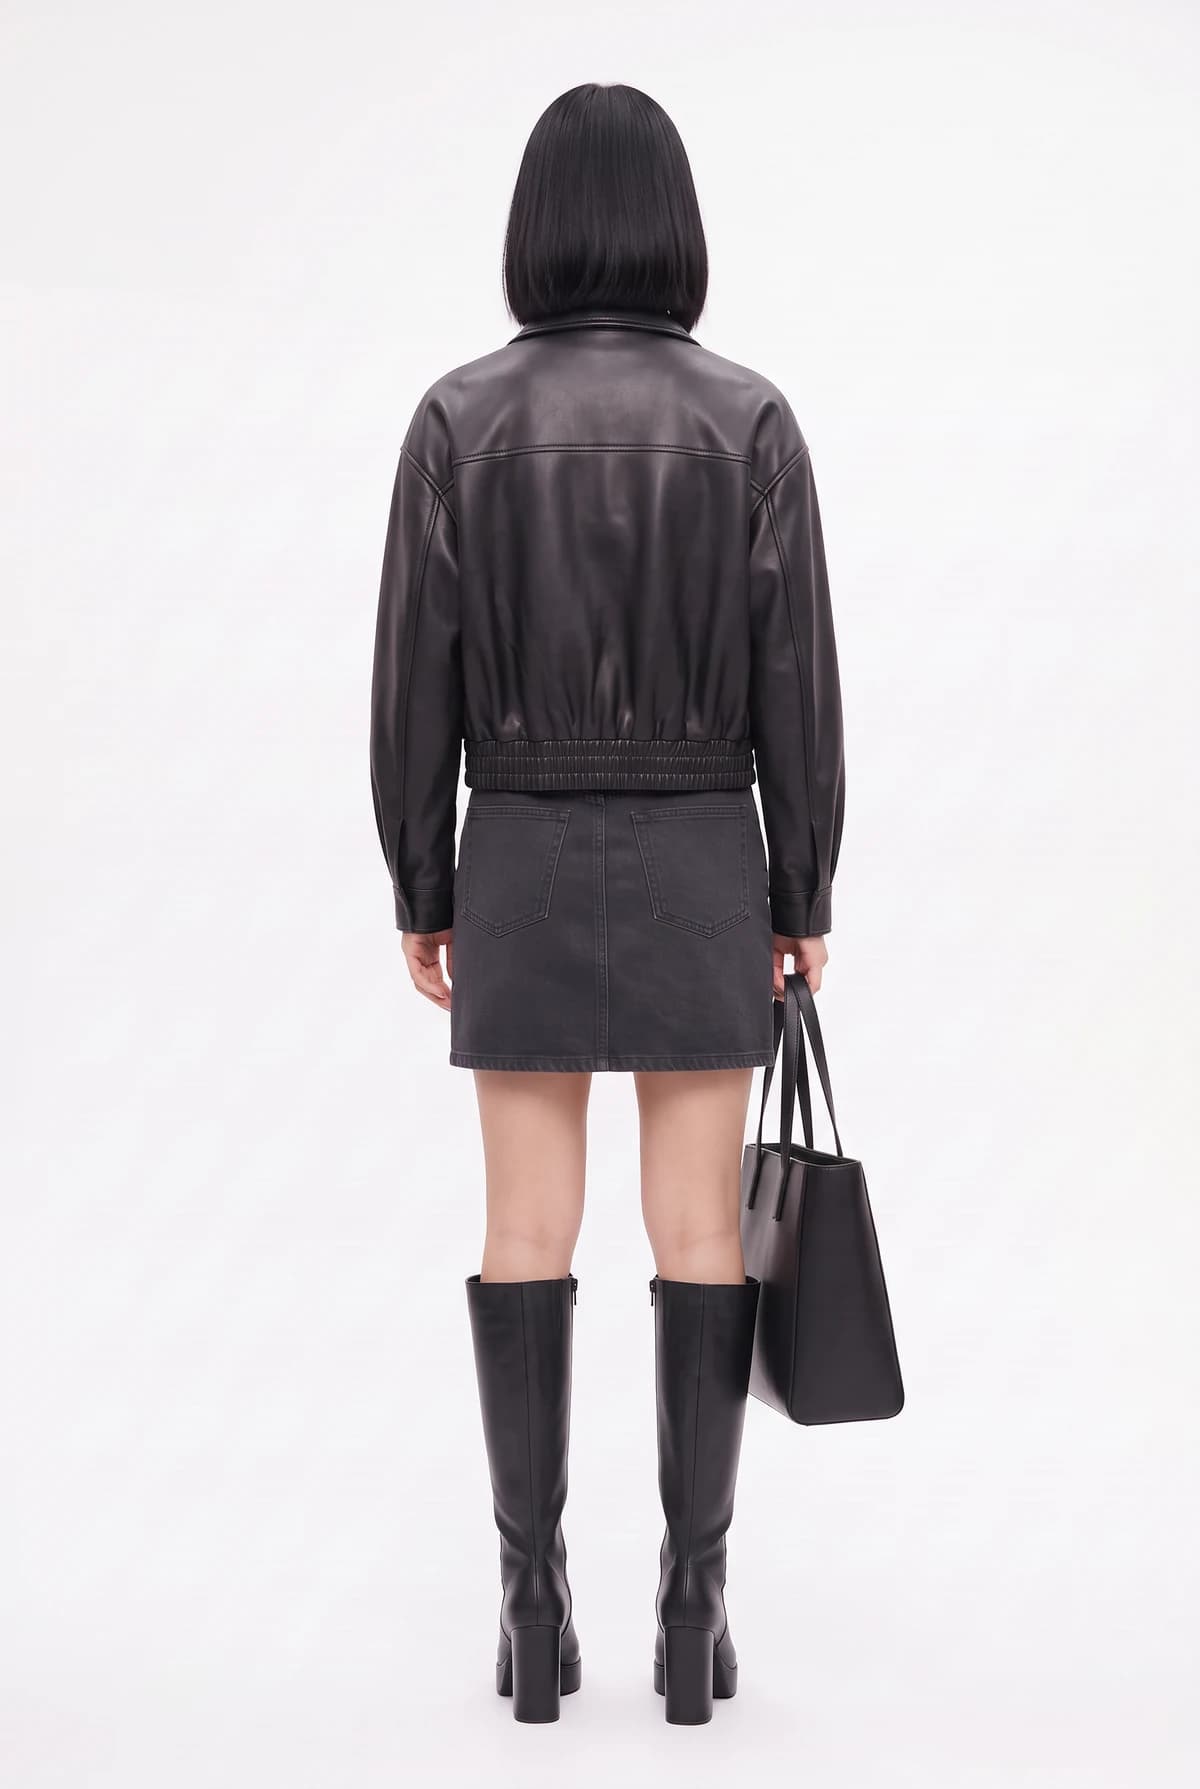
If the back does not look right, add a photo of the back or fix it with text. Side views and close ups work the same way.
What to remember
- What you need: a model image and a product image.
- Best product photo: on-person. Flat-lay and mannequin photos work too.
- Fit looks off: describe the fix in the same conversation.
- Several pieces: send them together in one message.
- More angles: reference the original image, not the last result.
Keep going
- Need a model first? Read How to Create a Realistic AI Model.