
Create High Quality Images
This guide shows you how to get sharp images in Agent that stay true to your product. Most of it happens before you generate: the photos you upload, the message you write, and the settings you choose. See Preserve and Repair Image Quality to fix an image after it's generated.
Your inputs
Use a big product photo
Upload your product photo at full size so the result looks like your product.
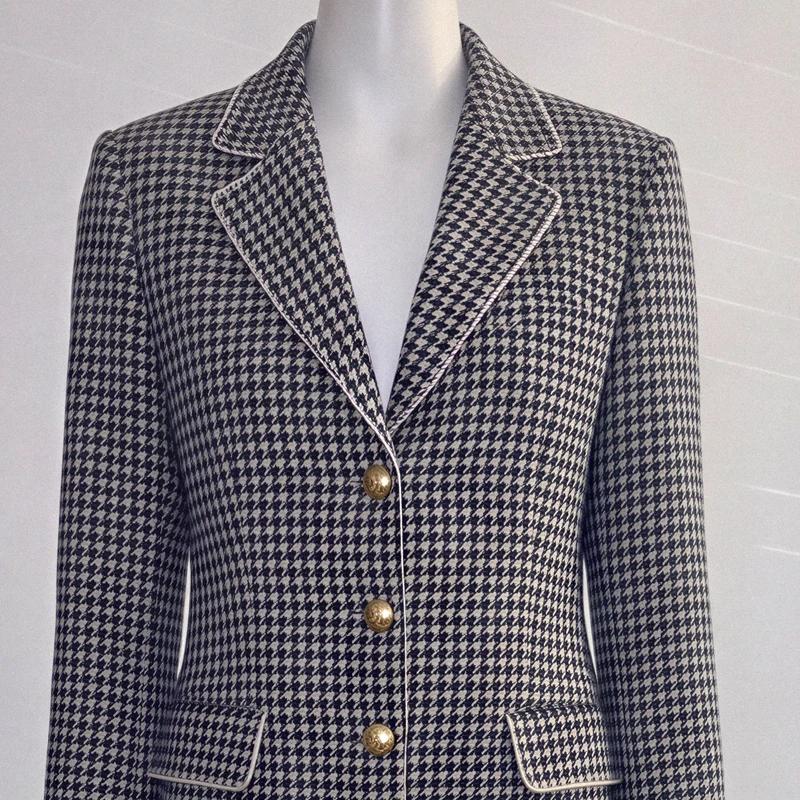
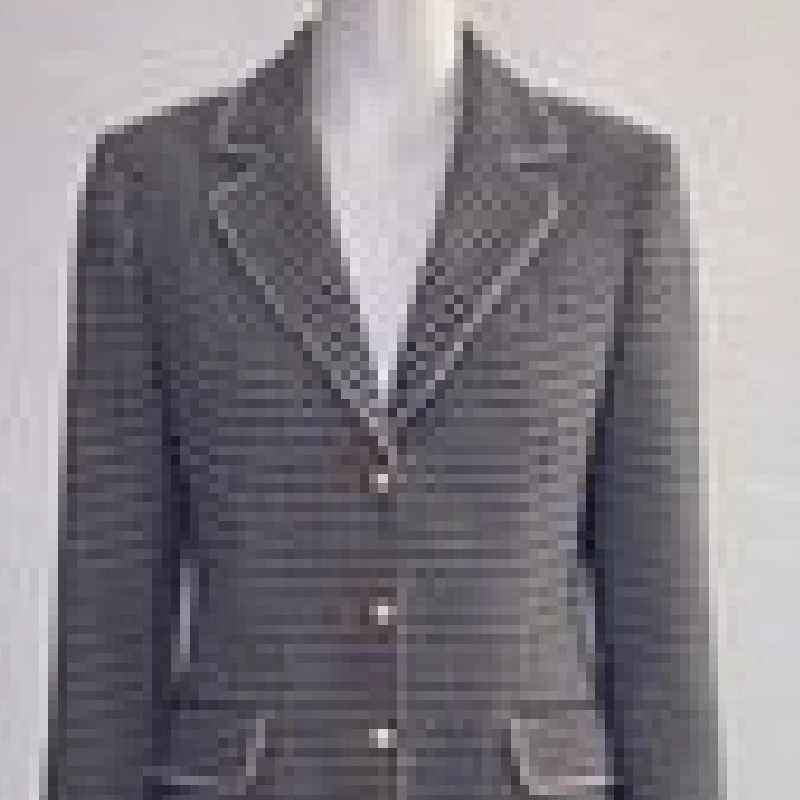
New conversation
Put this on a model, buttoned. Full body photo.
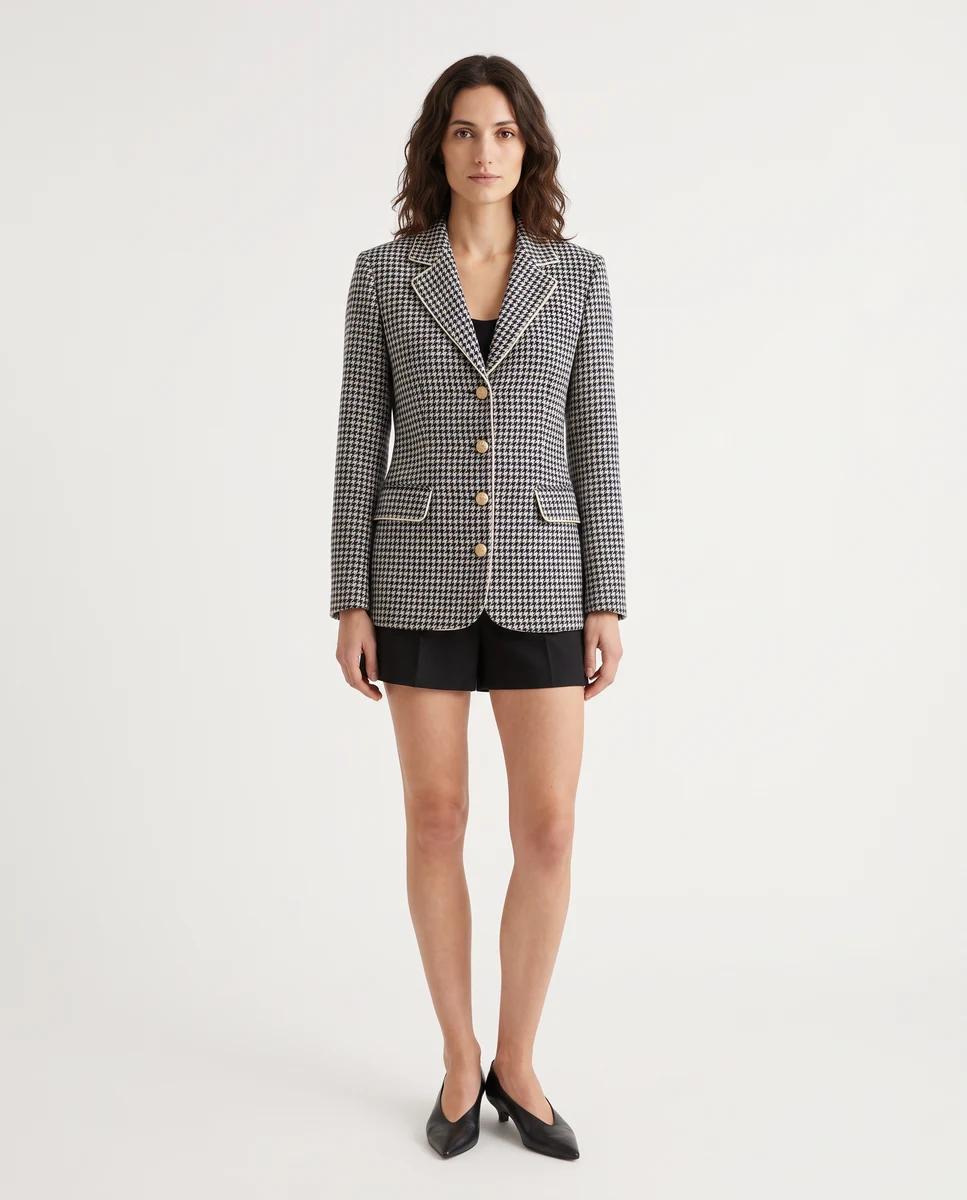
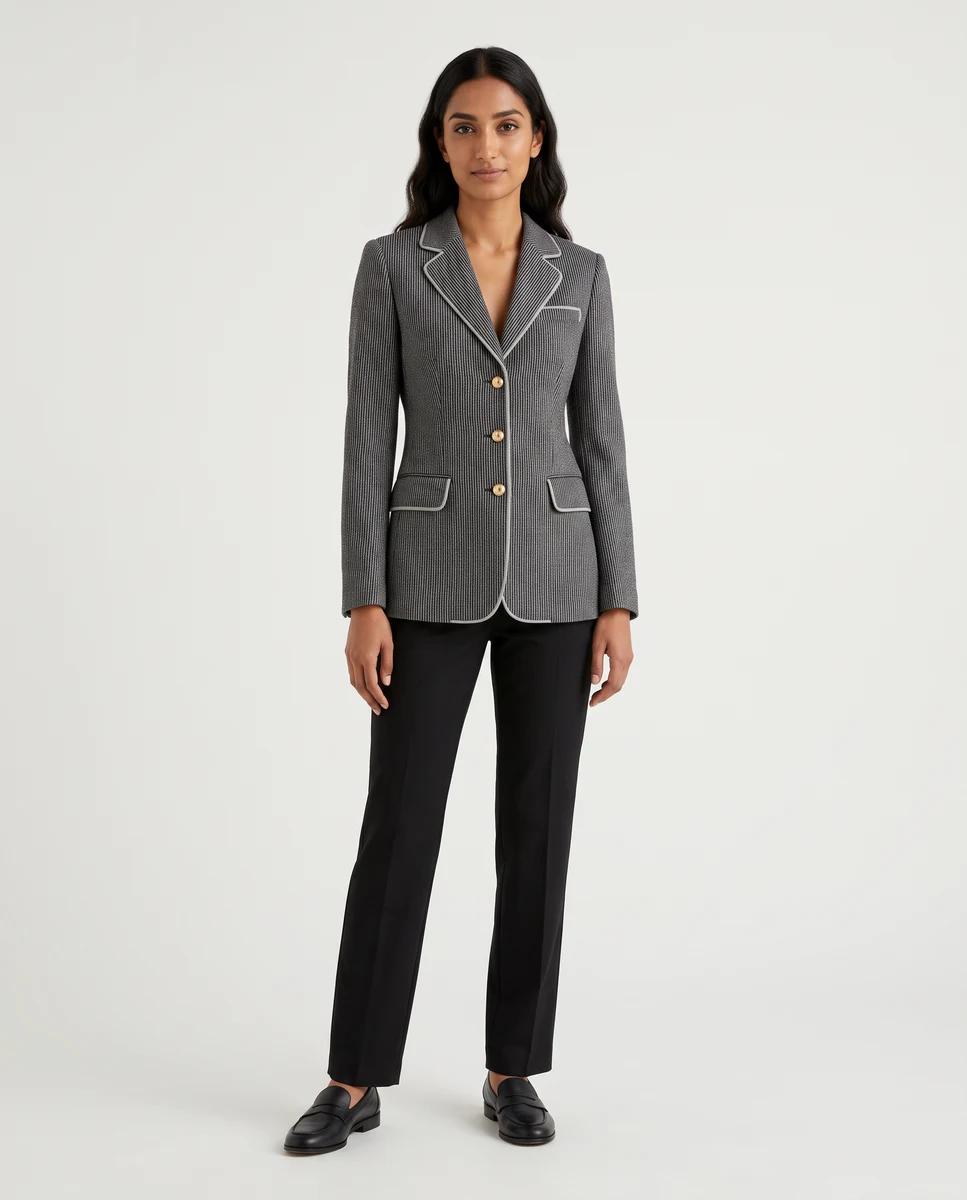
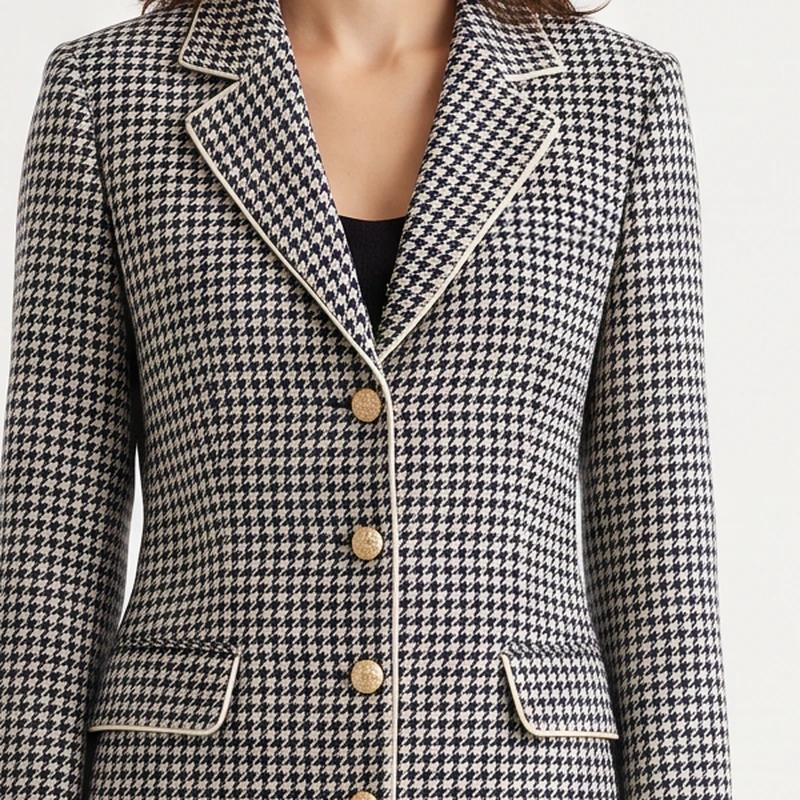
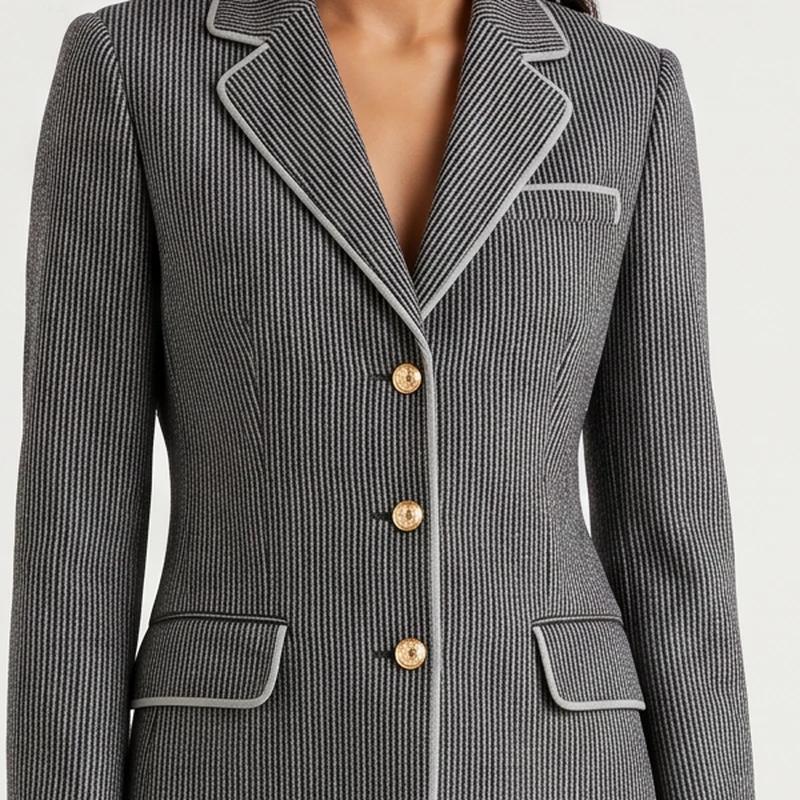
Learn how to shoot your product in How to Photograph Clothes for AI.
Use a big photo of your model
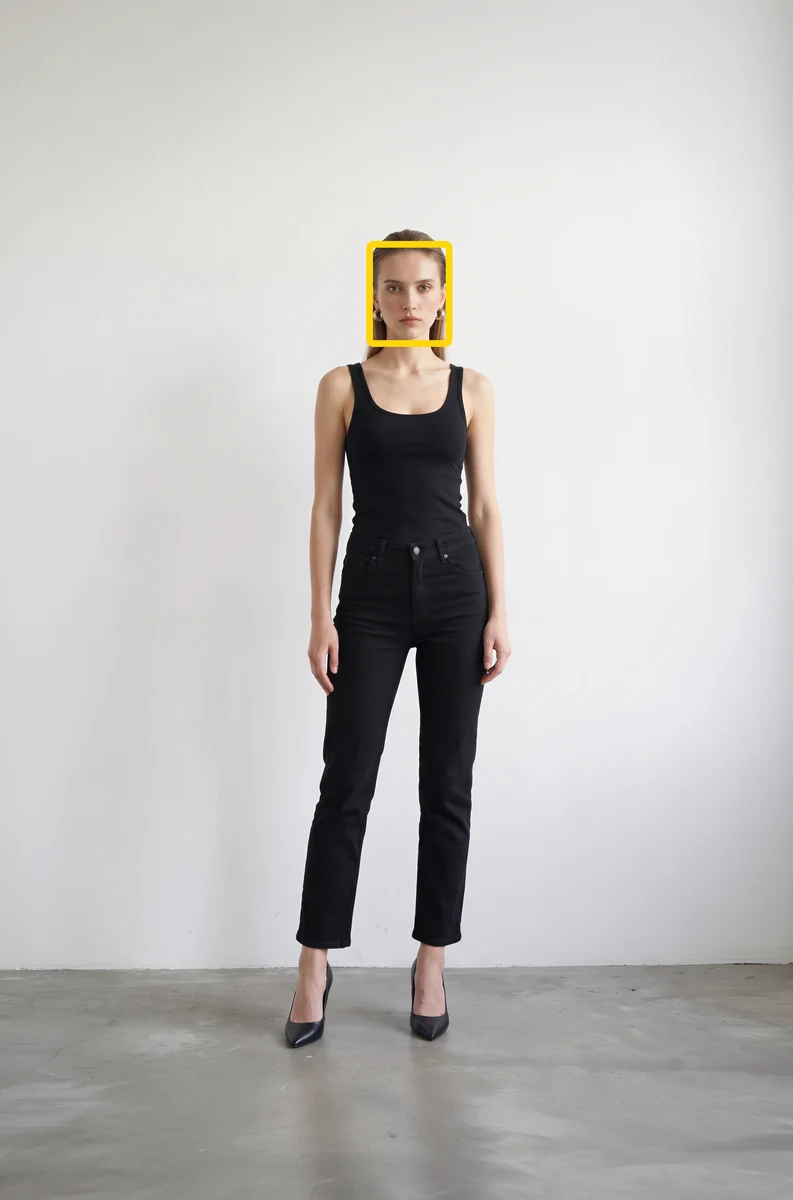
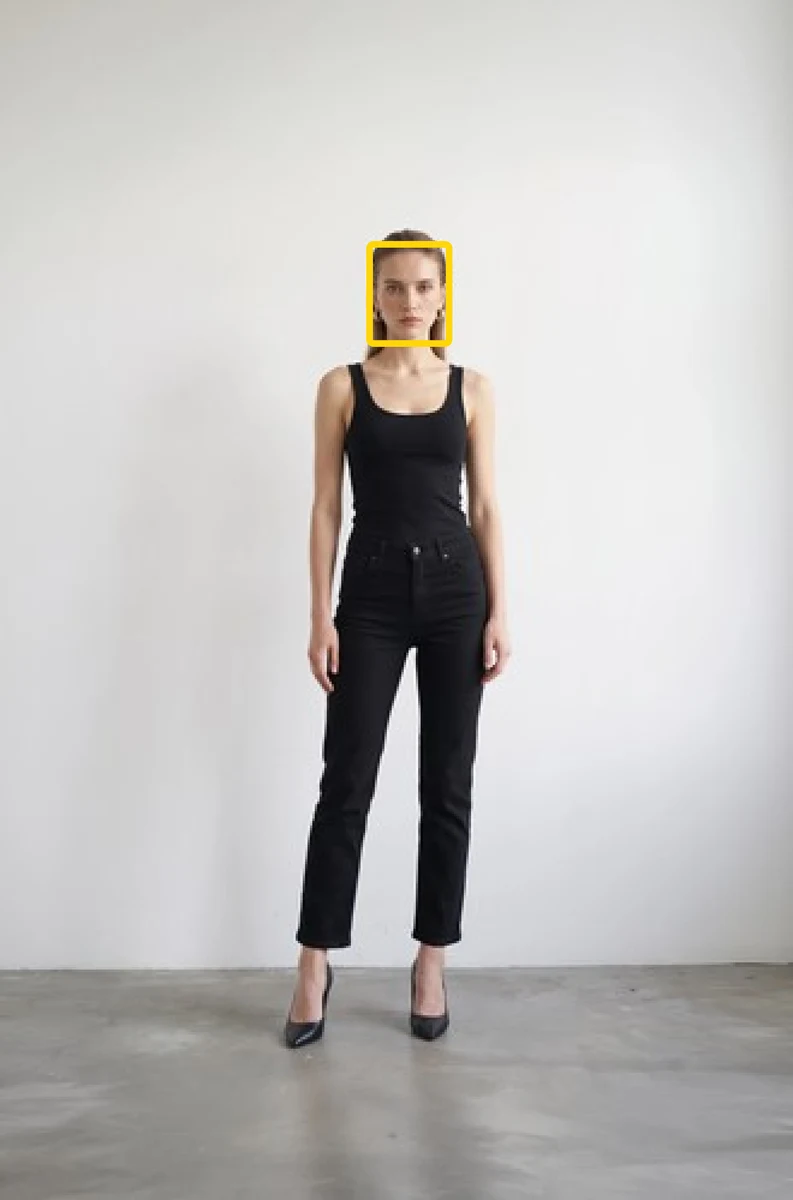
If you use your own model, upload a big photo with the face close to the camera. What matters is the size of the face and not the size of the photo.
New conversation
Put this blazer on her, buttoned. Full body photo.
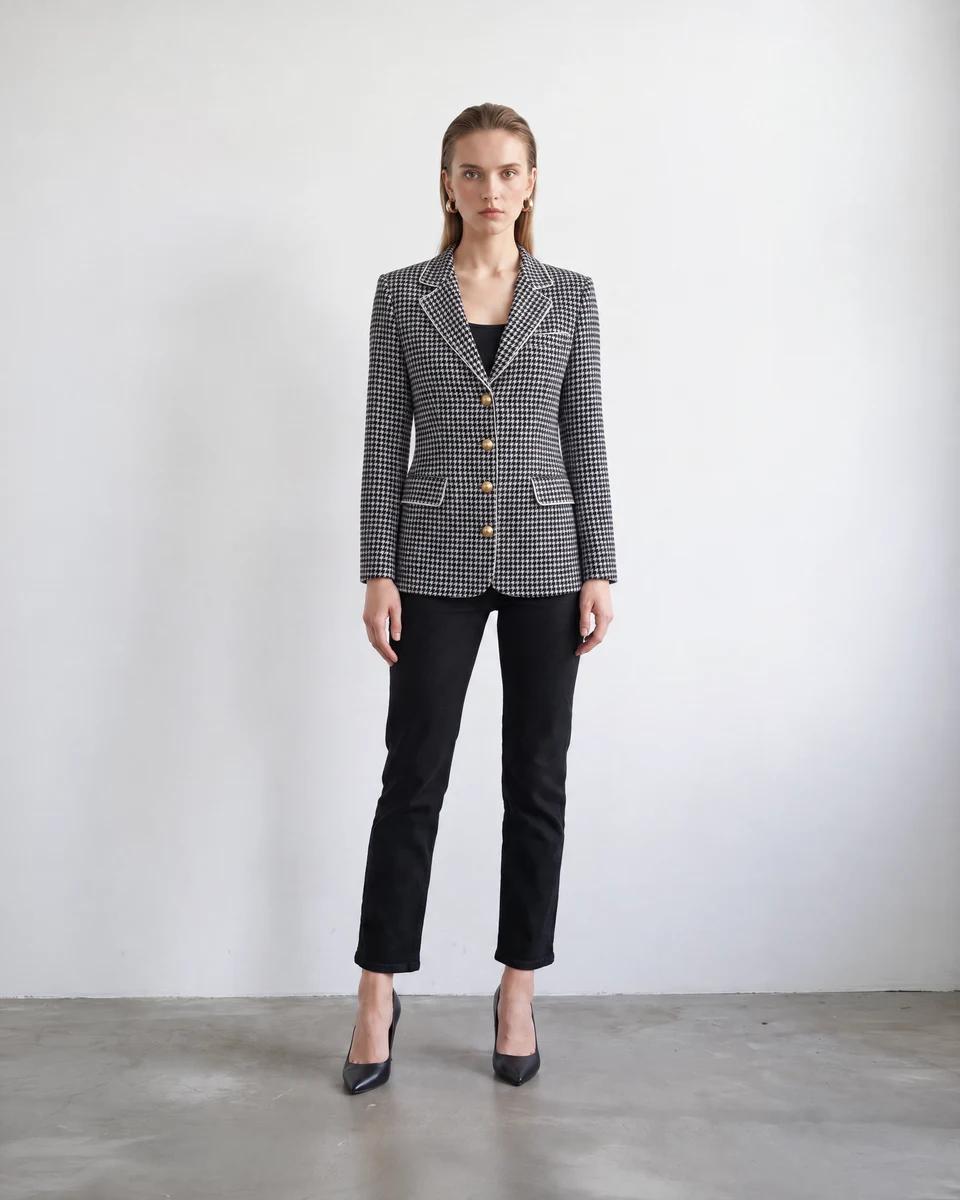
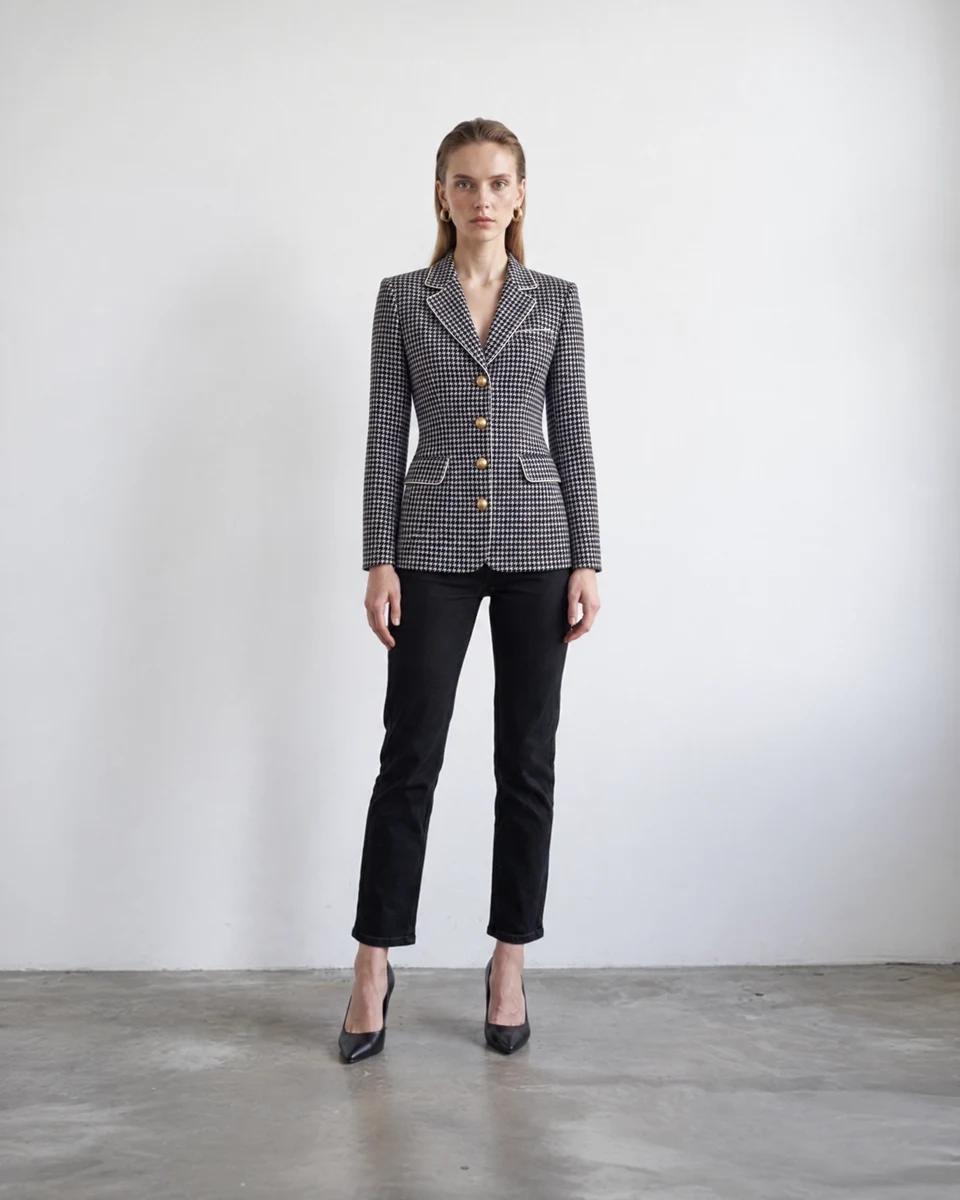
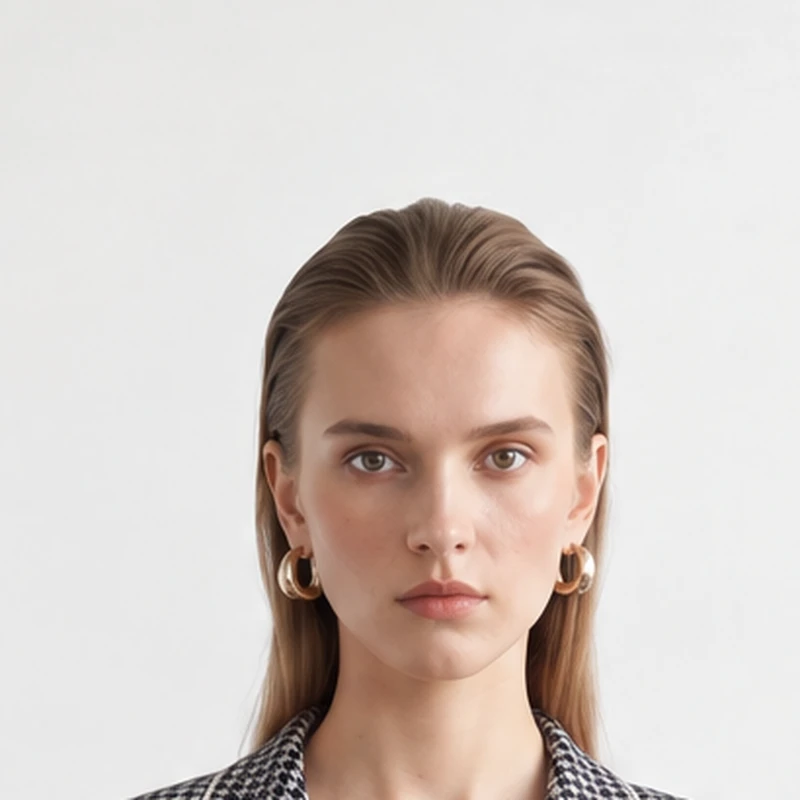
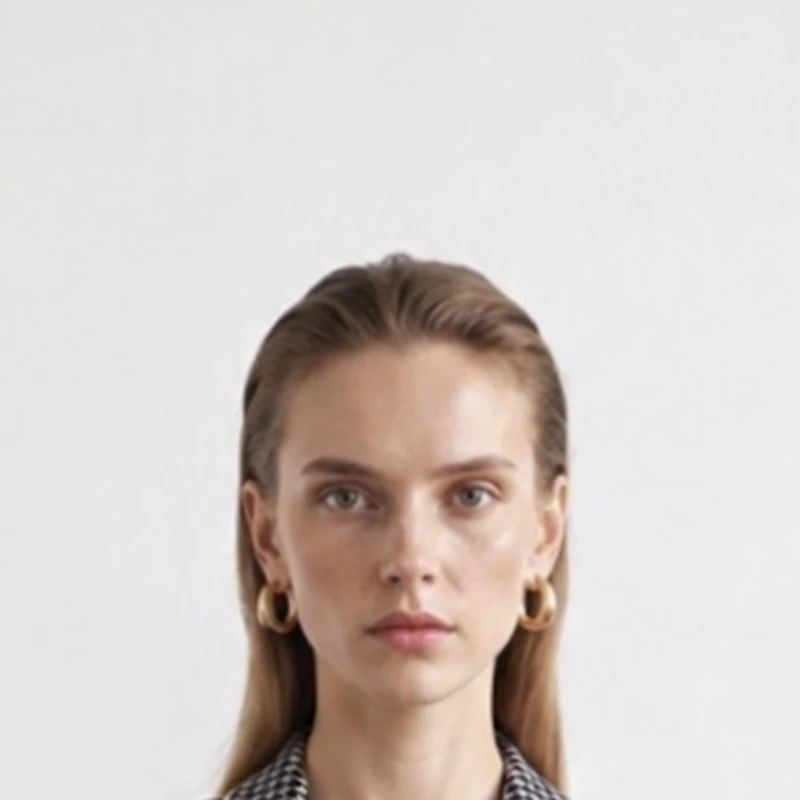
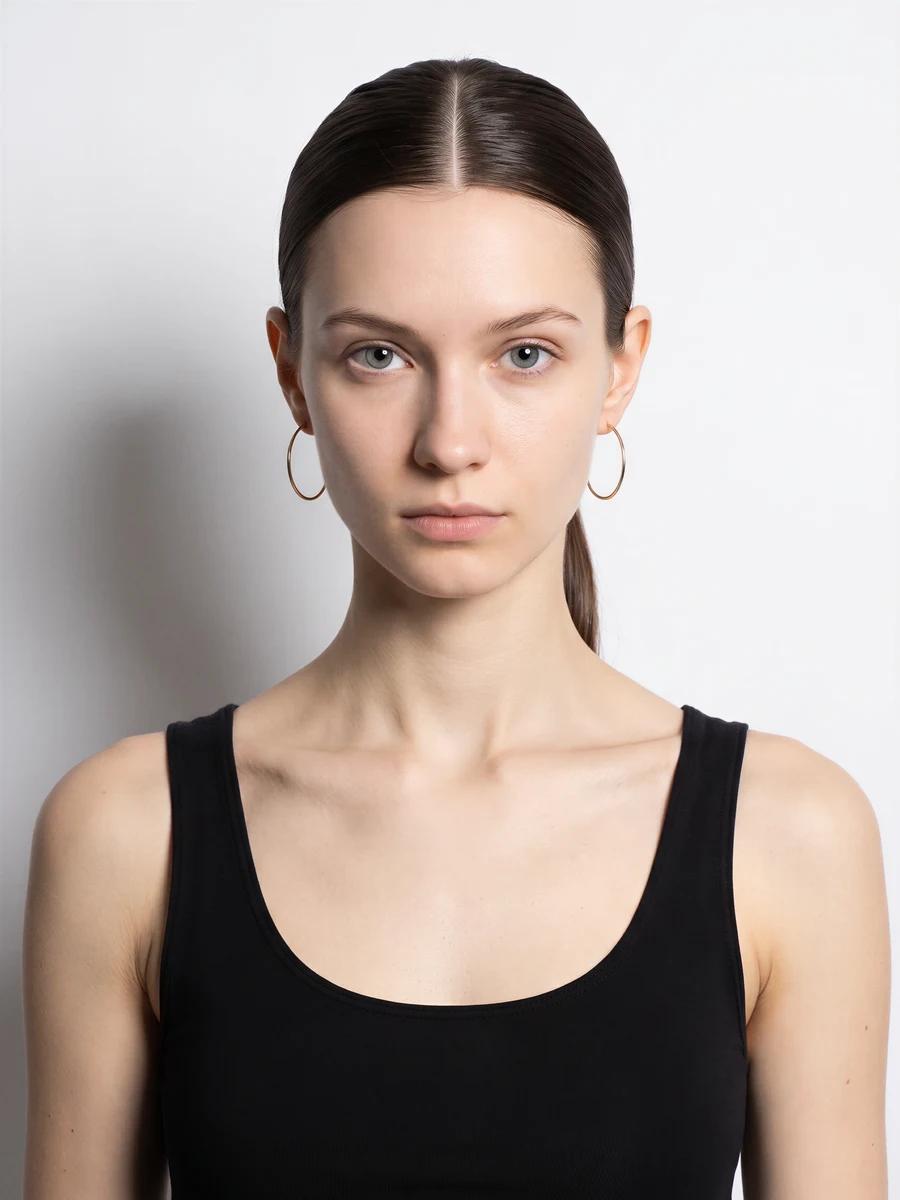
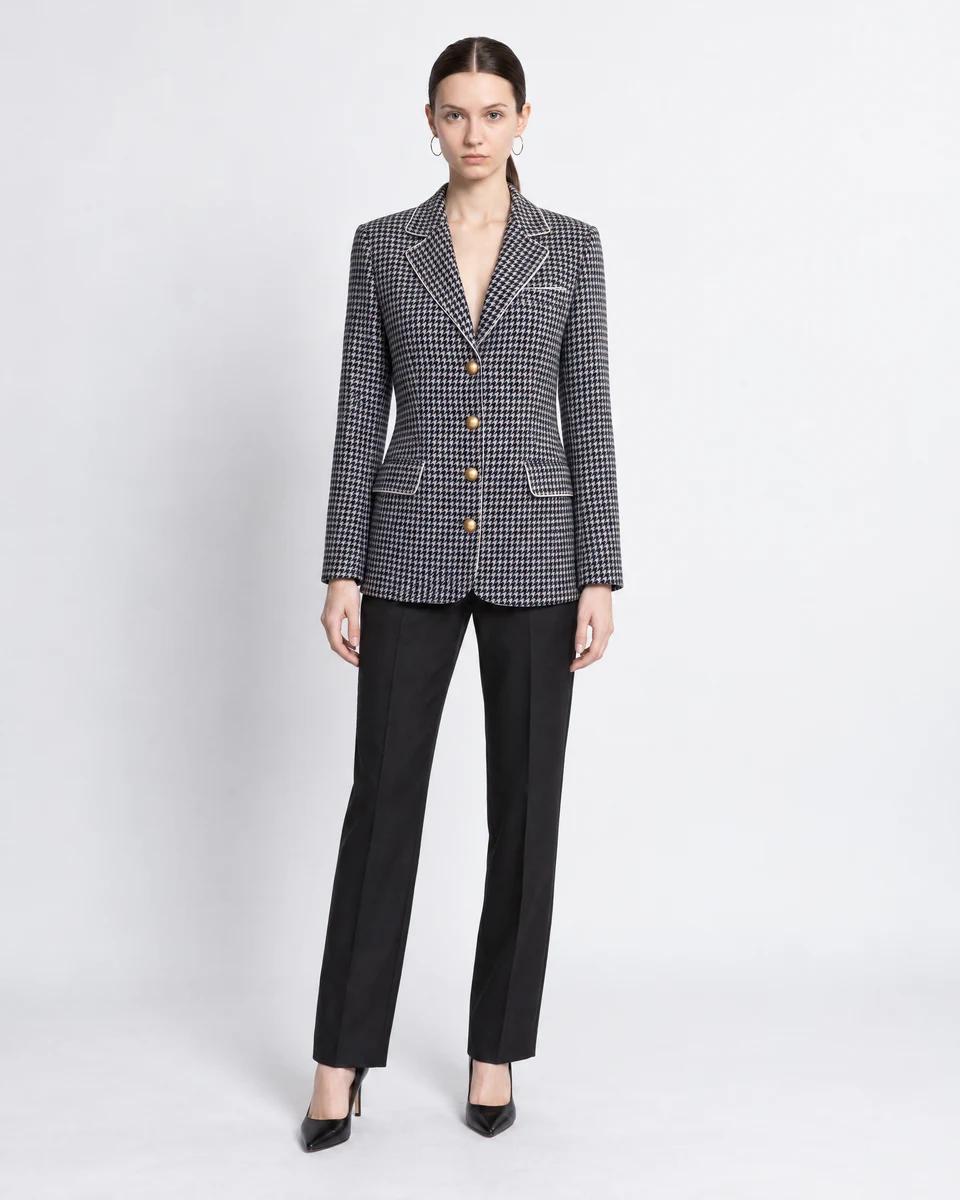
Start with a real face
A face photo makes the model look like a real person. You can pick a portrait from Elements or use your own.
New conversation
Put this blazer on a model with this face, buttoned. Full body photo.
Your message
Skip the magic words
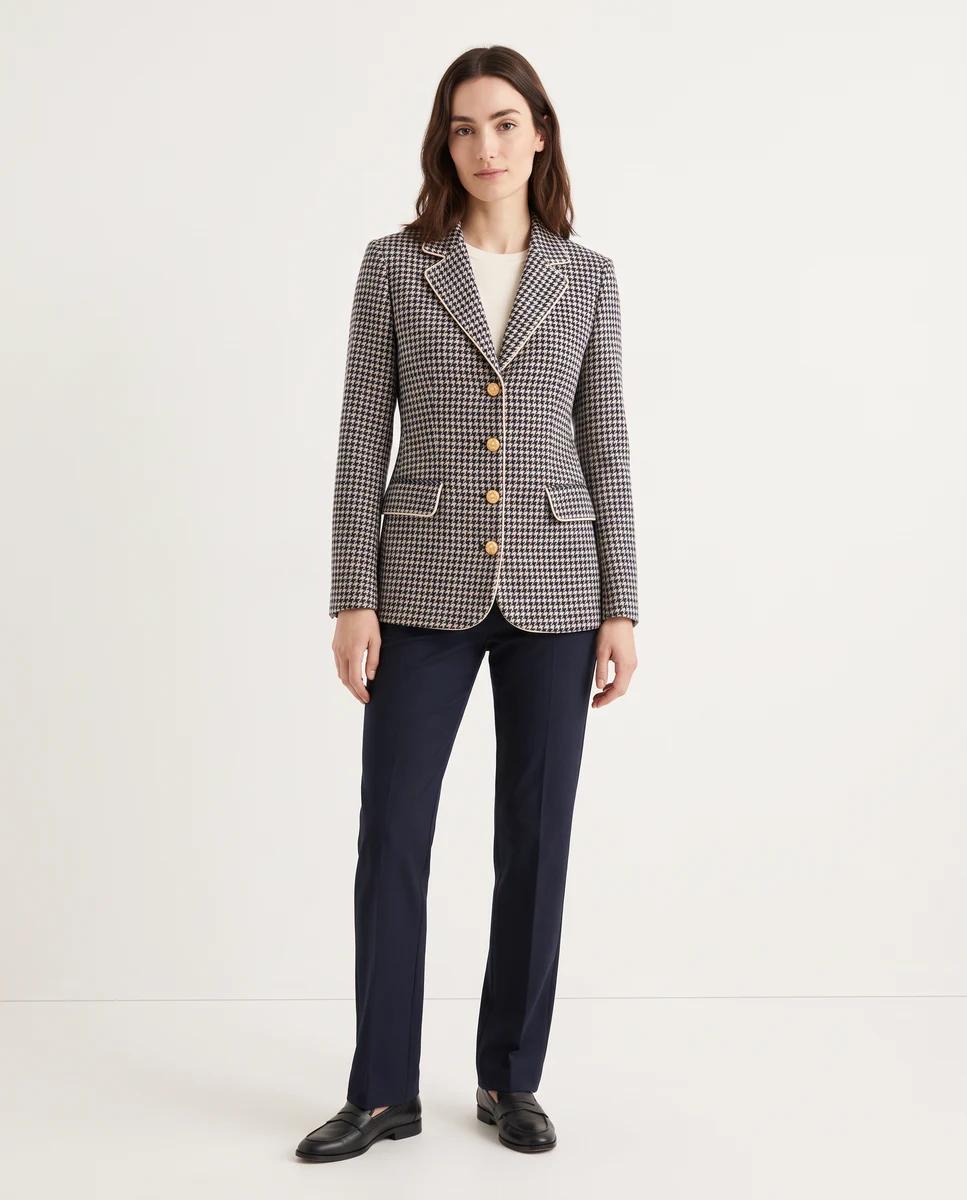
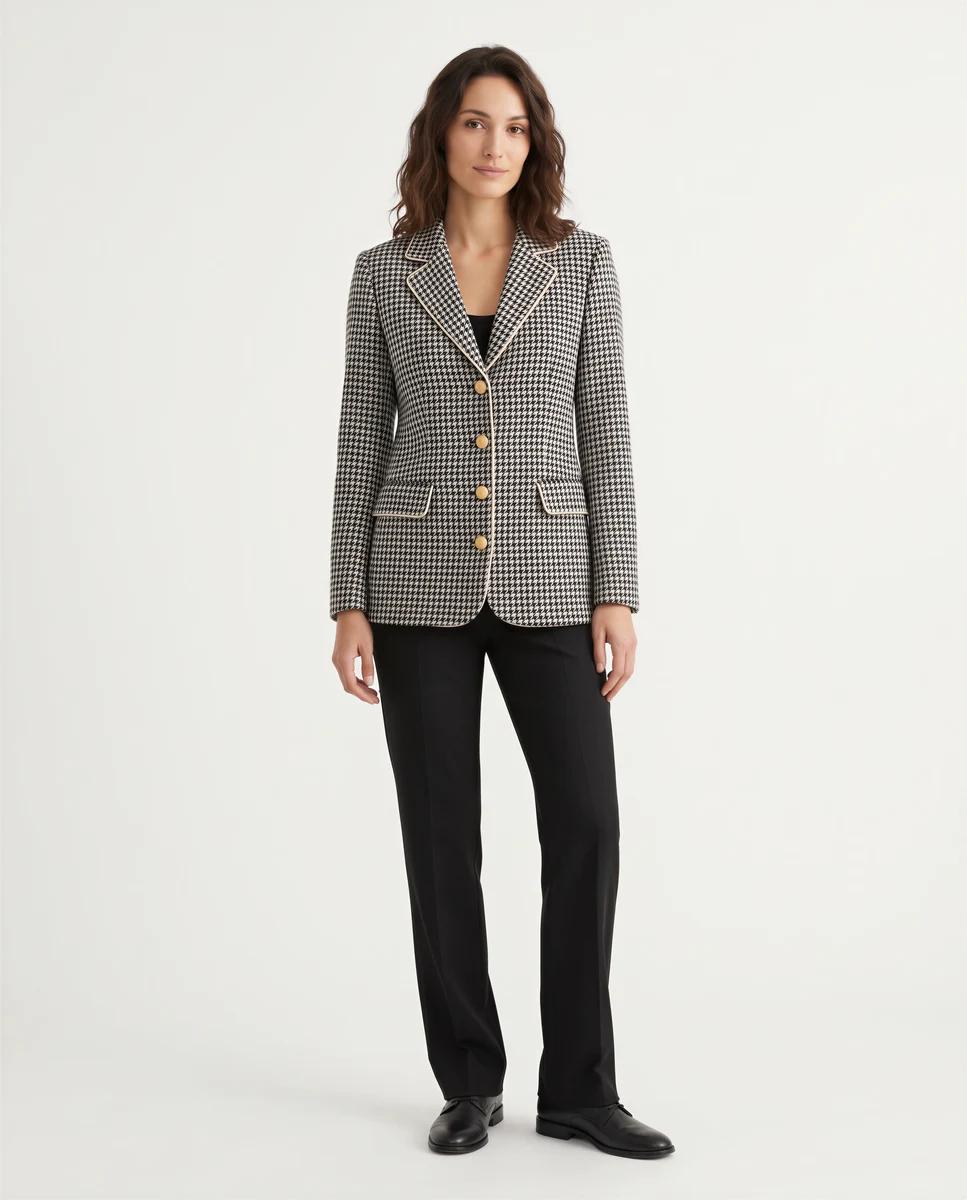
Words like 4K, ultra realistic, or shot on ARRI don't make the image better. Keep your message simple.
New conversation
Put this blazer on a model, buttoned. Full body photo.
New conversation
Put this blazer on a model, buttoned. Full body photo. 4K, ultra realistic, hyperrealistic, shot on ARRI Alexa, 85mm lens, natural skin pores, zero AI look, 8K.
Your settings
Set resolution and mode
Open Generation settings and set Resolution and Generation Mode there.
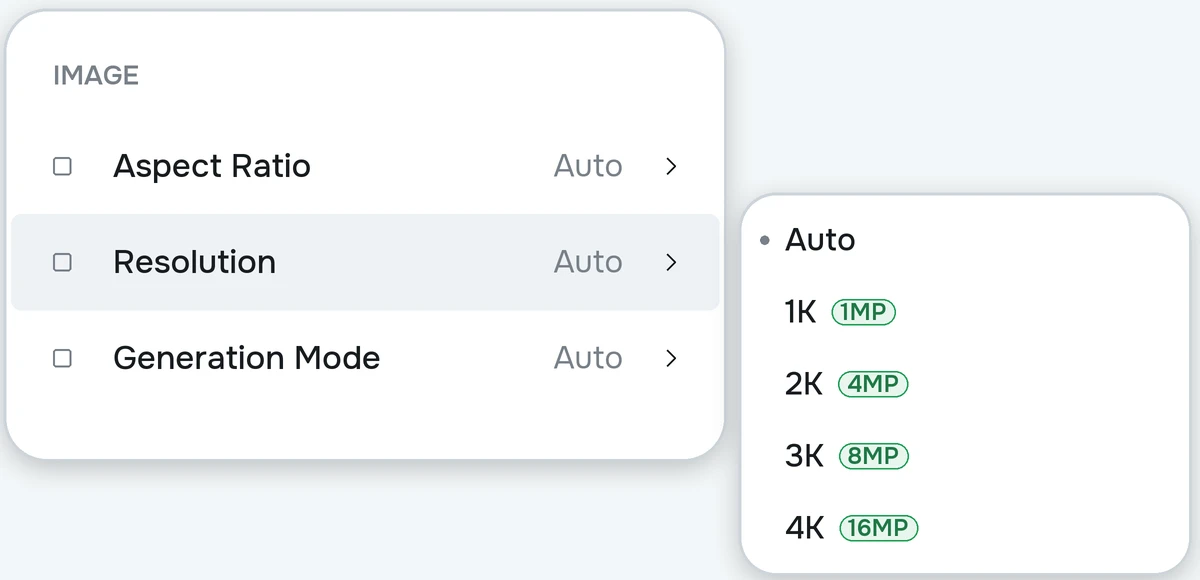
Resolution is the detail. 1K is a little soft. 2K is clean. 3K and 4K add a little more detail but cost more.
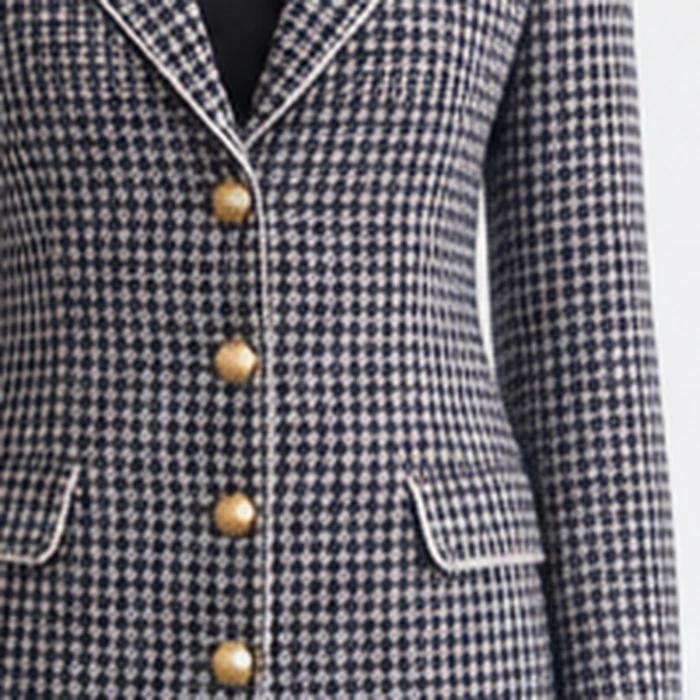
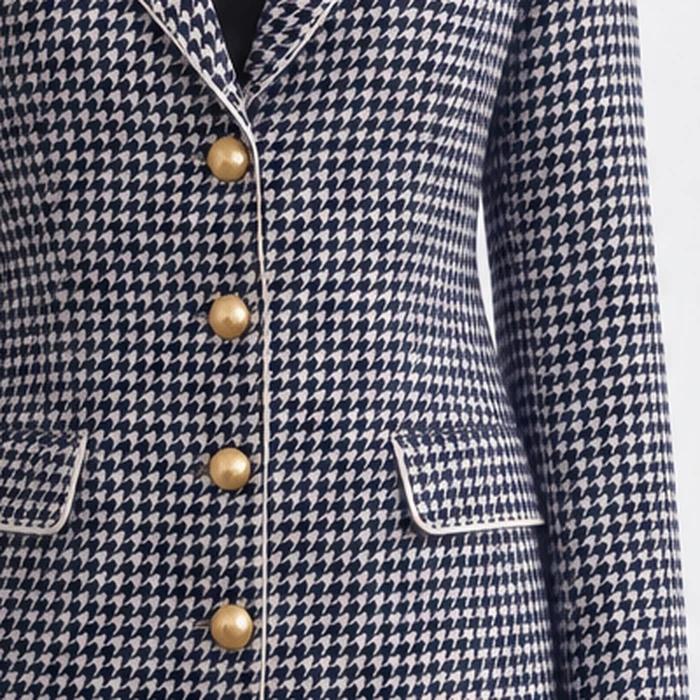
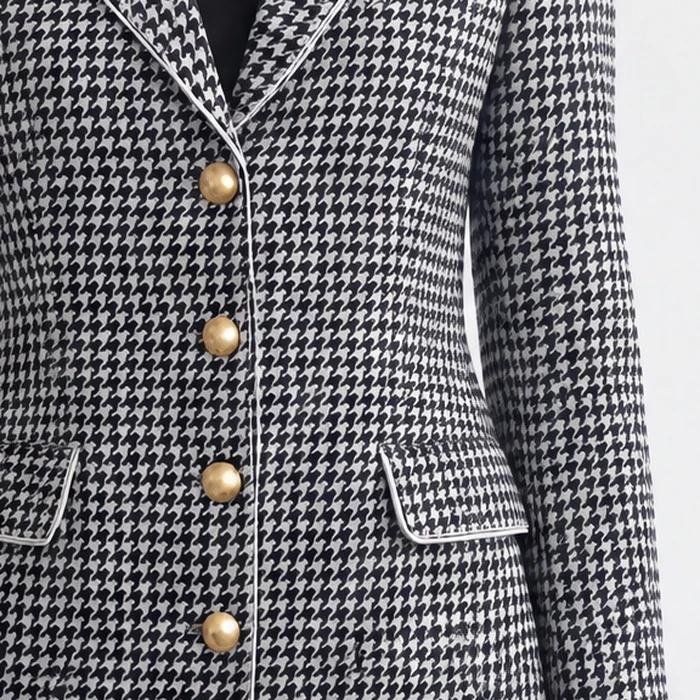
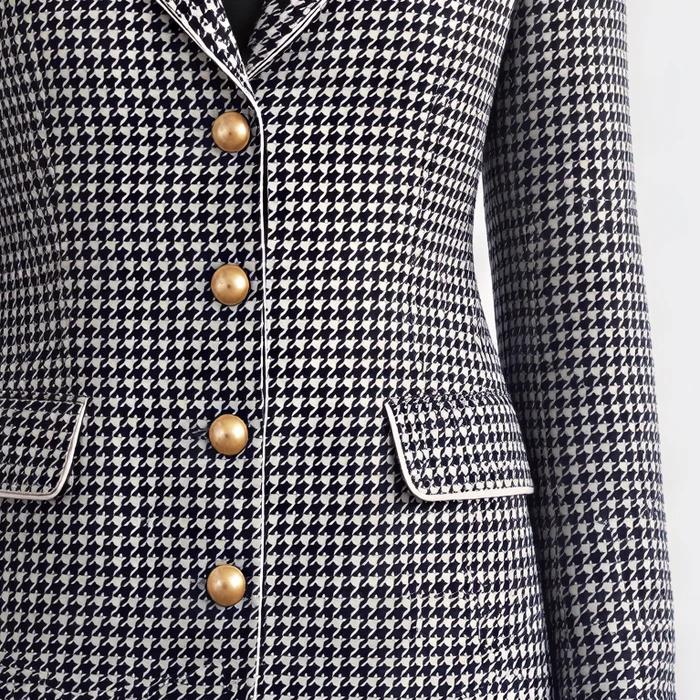
Generation Mode is the effort. Fast is quick but loses a little detail. Balanced is clean. Quality takes longer and costs more.
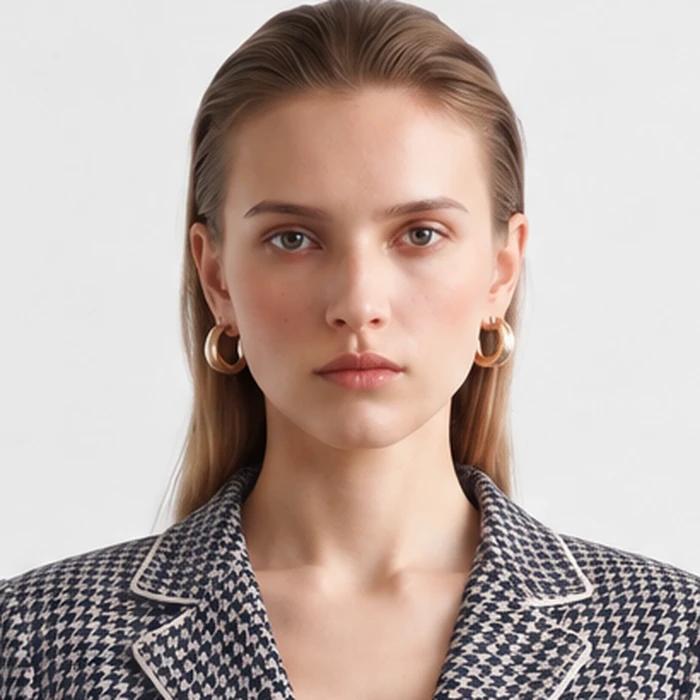
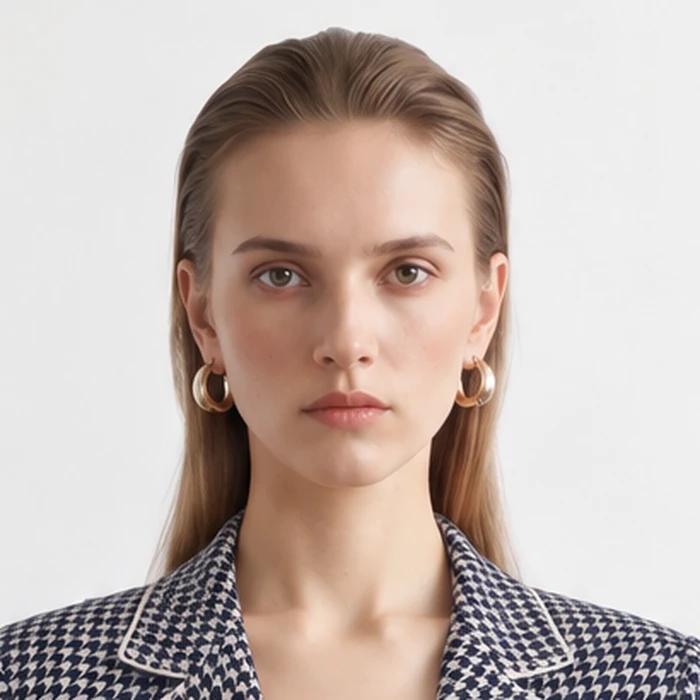
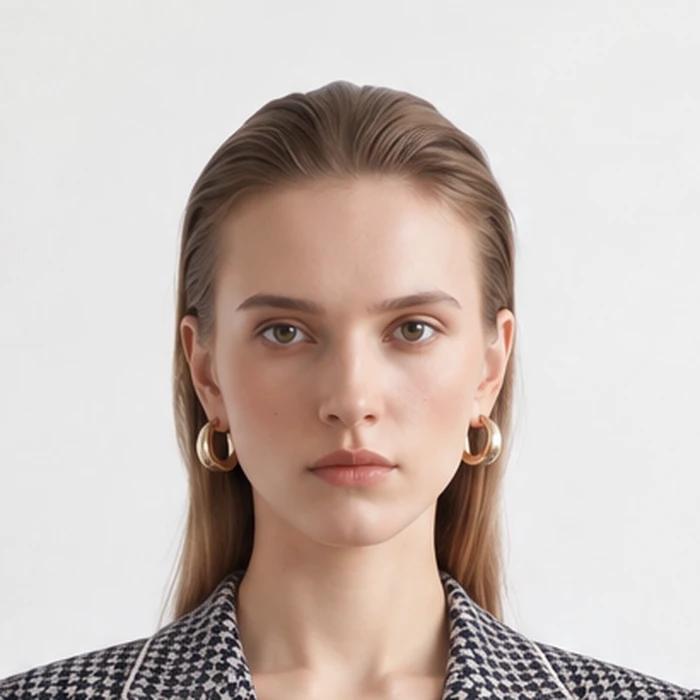
2K and Balanced is a good place to start. Upscale your final image to 4K. Read Resolution & Generation Mode for more on each setting.
What to remember
- Product photo: upload it at full size.
- Model photo: a big photo with the face close to the camera.
- Face: start with a real face from Elements or your own.
- Message: keep it simple with no magic words.
- Settings: pick resolution and generation mode in the settings panel.
Keep going
- Fix a result with Preserve and Repair Image Quality.
- Shoot your product with How to Photograph Clothes for AI.
- Make a whole set from one product with 3 Types of Content Every Clothing Brand Needs.
Last updated on