Quick Start Guide
Welcome to your first steps with FASHN AI. This guide walks you through signing in, creating your first generation, and downloading a finished image.
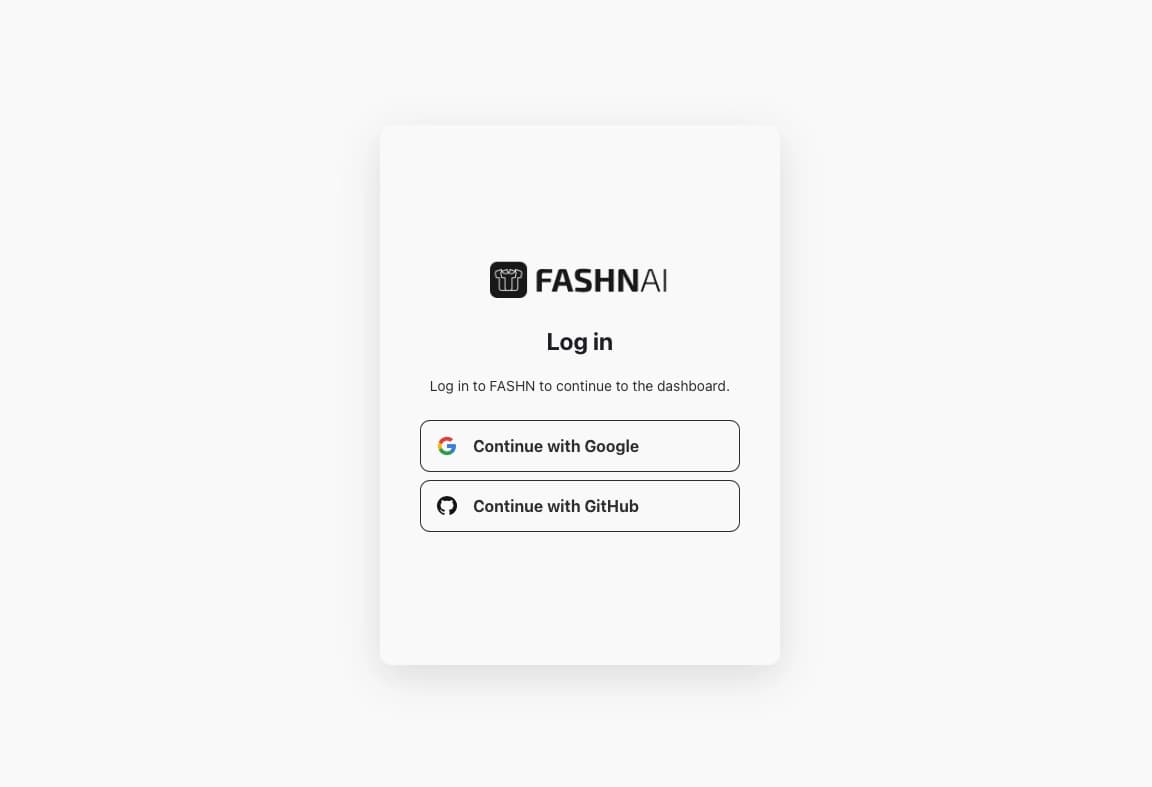
Create Your Account
Sign up or log in at app.fashn.ai with your preferred account method (GitHub or Gmail). You get 10 free credits to start.
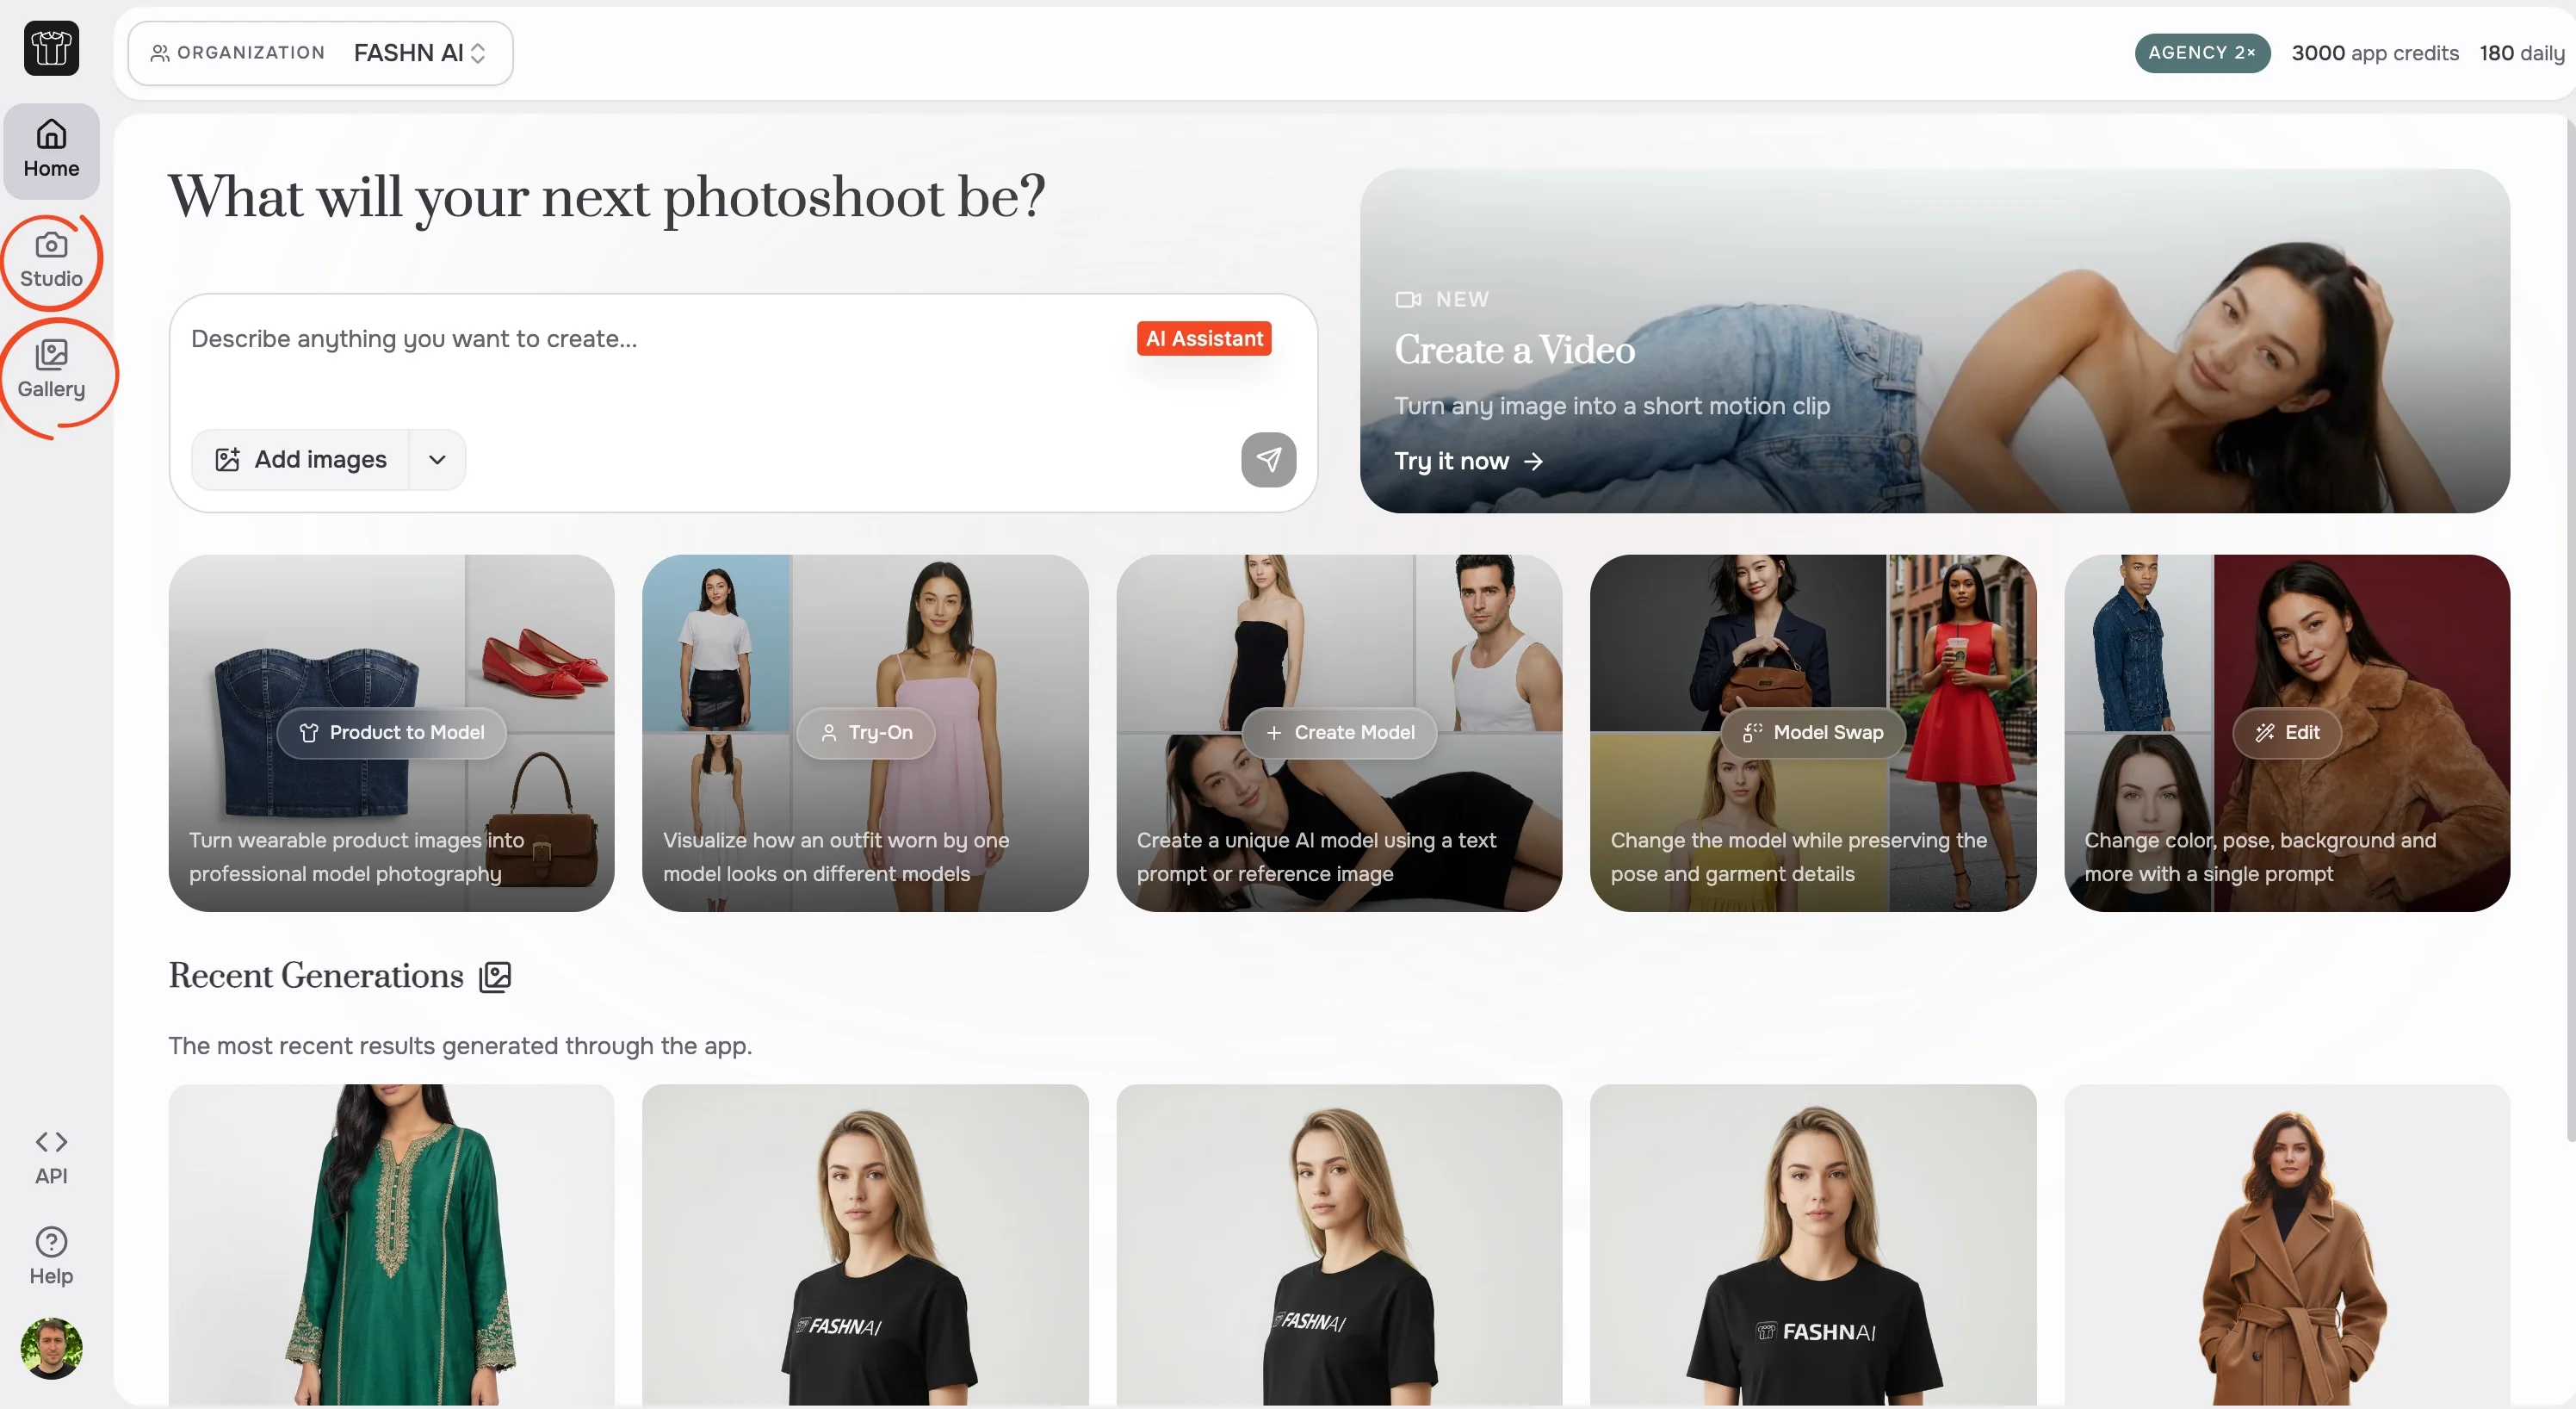
Explore the Home Dashboard
After signing in, you land on the Home Dashboard. You will see the AI Assistant prompt at the top, quick-access cards for the most popular tools, and your recent generations below.
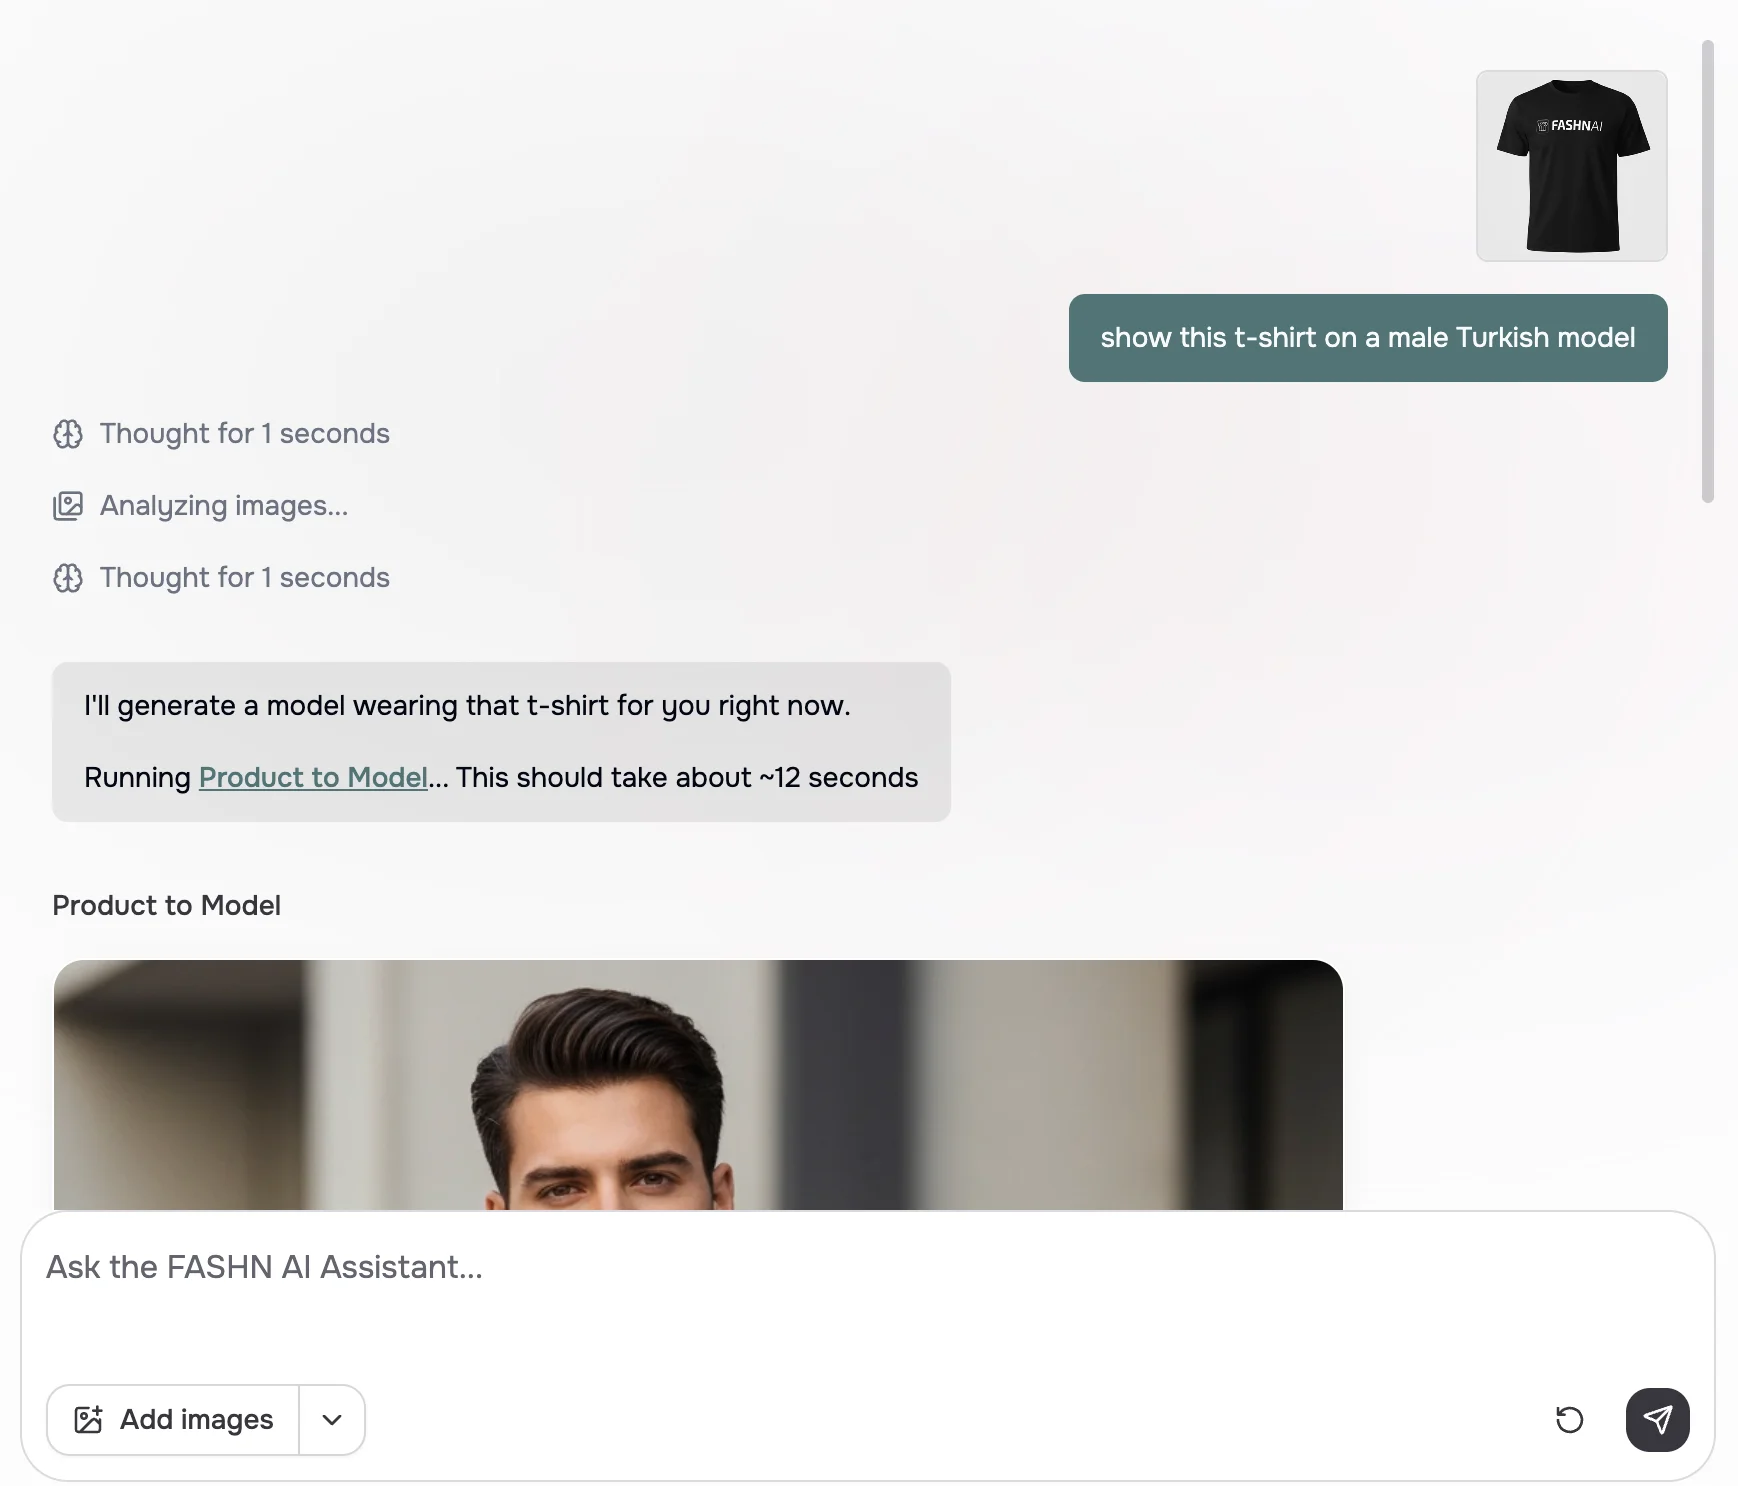
Describe What You Want
Type a message into the AI Assistant prompt at the top of the dashboard. Describe what you want in plain language and attach a product image. For example: "show this t-shirt on a male Turkish model."

Review Your Result
The assistant selects the right tool, fills in the parameters, and generates your image. The result appears directly in the chat. From here you can download the image, ask for changes by typing a follow-up message, or open the result in Studio to fine-tune settings manually.
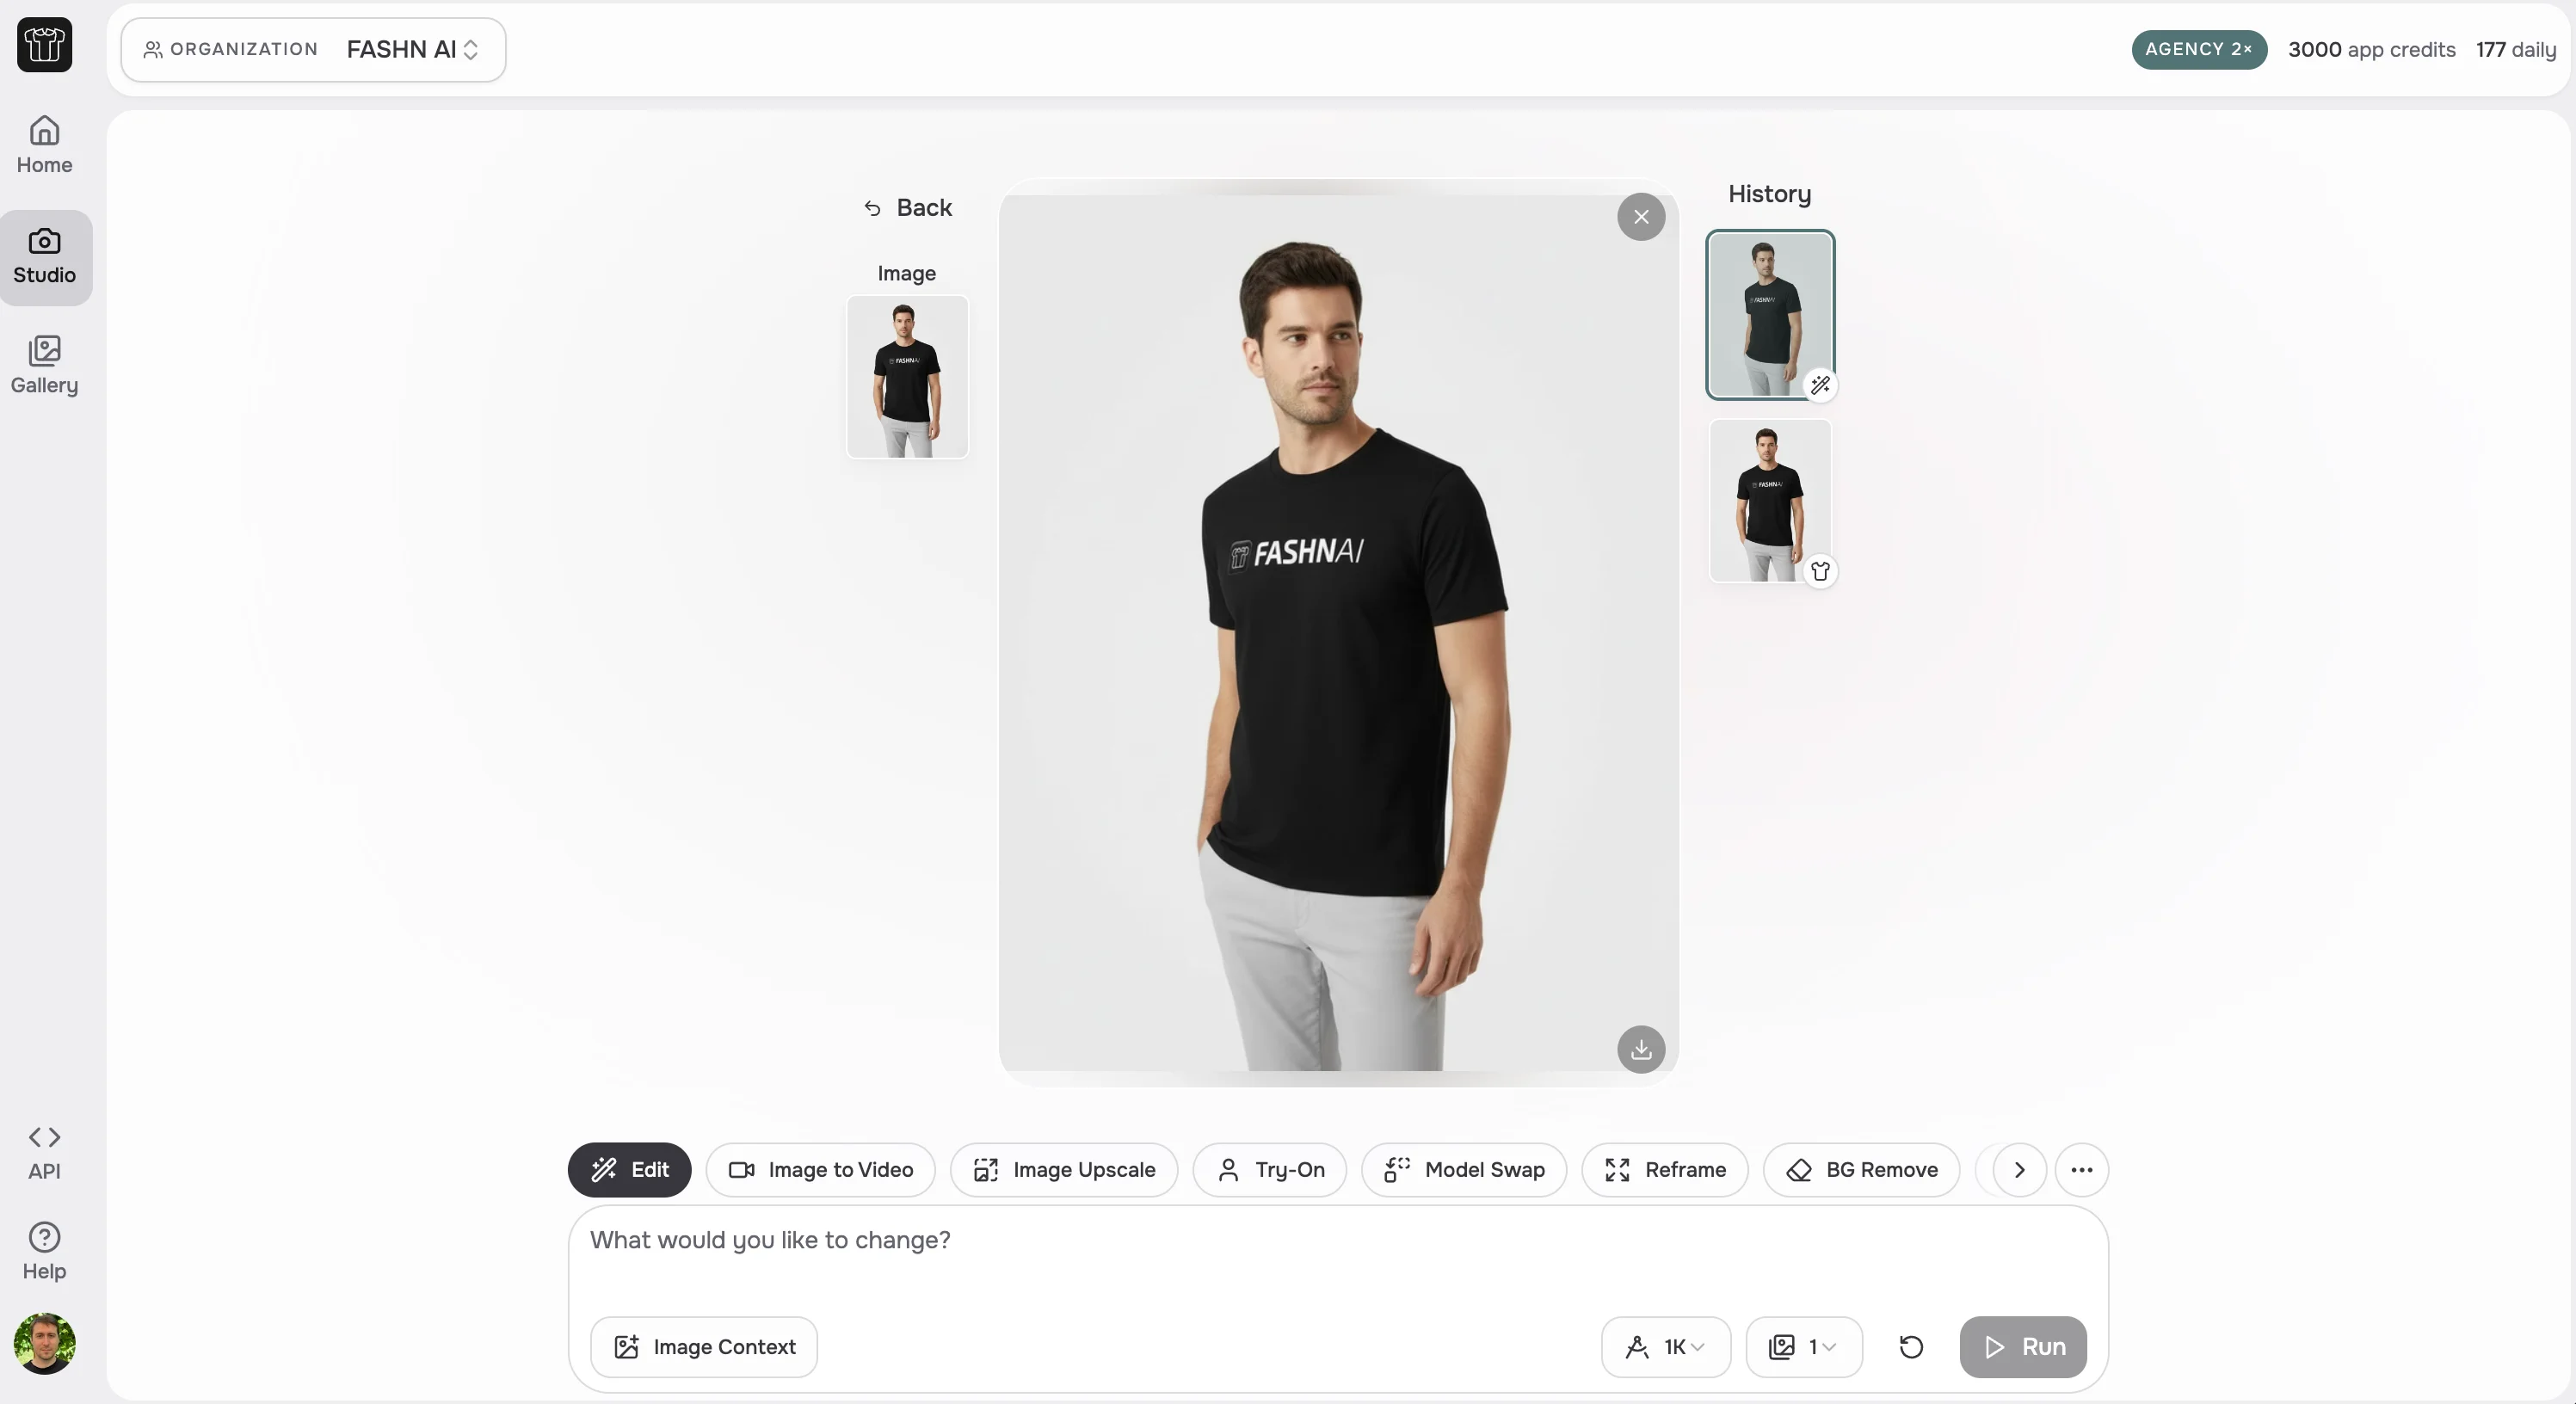
Continue in Studio
For more control, open the Studio from the sidebar. Your result carries over, and you can pick a next step from the suggestion bar (Edit, Image to Video, Upscale, and more) or type a refinement and click Run to iterate.
Choose Your Plan
Choose the plan that best fits your needs. Read more about App Subscription Plans.
You can adjust plans anytime in your account settings by clicking your profile photo and selecting Billing.
What's Next?
- Learn more about the AI Assistant and what it can do
- Explore the full Studio Overview to see all available tools
- Read Tool-Specific Prompting Tips for better results
- Visit Support if you need help