How to Photograph Clothes for AI
This guide shows you how to photograph your clothes so Agent gets them right. Almost any photo works, and four things make it better: views, fit, light, and details. Every example comes from one jacket shot three ways under four kinds of light.
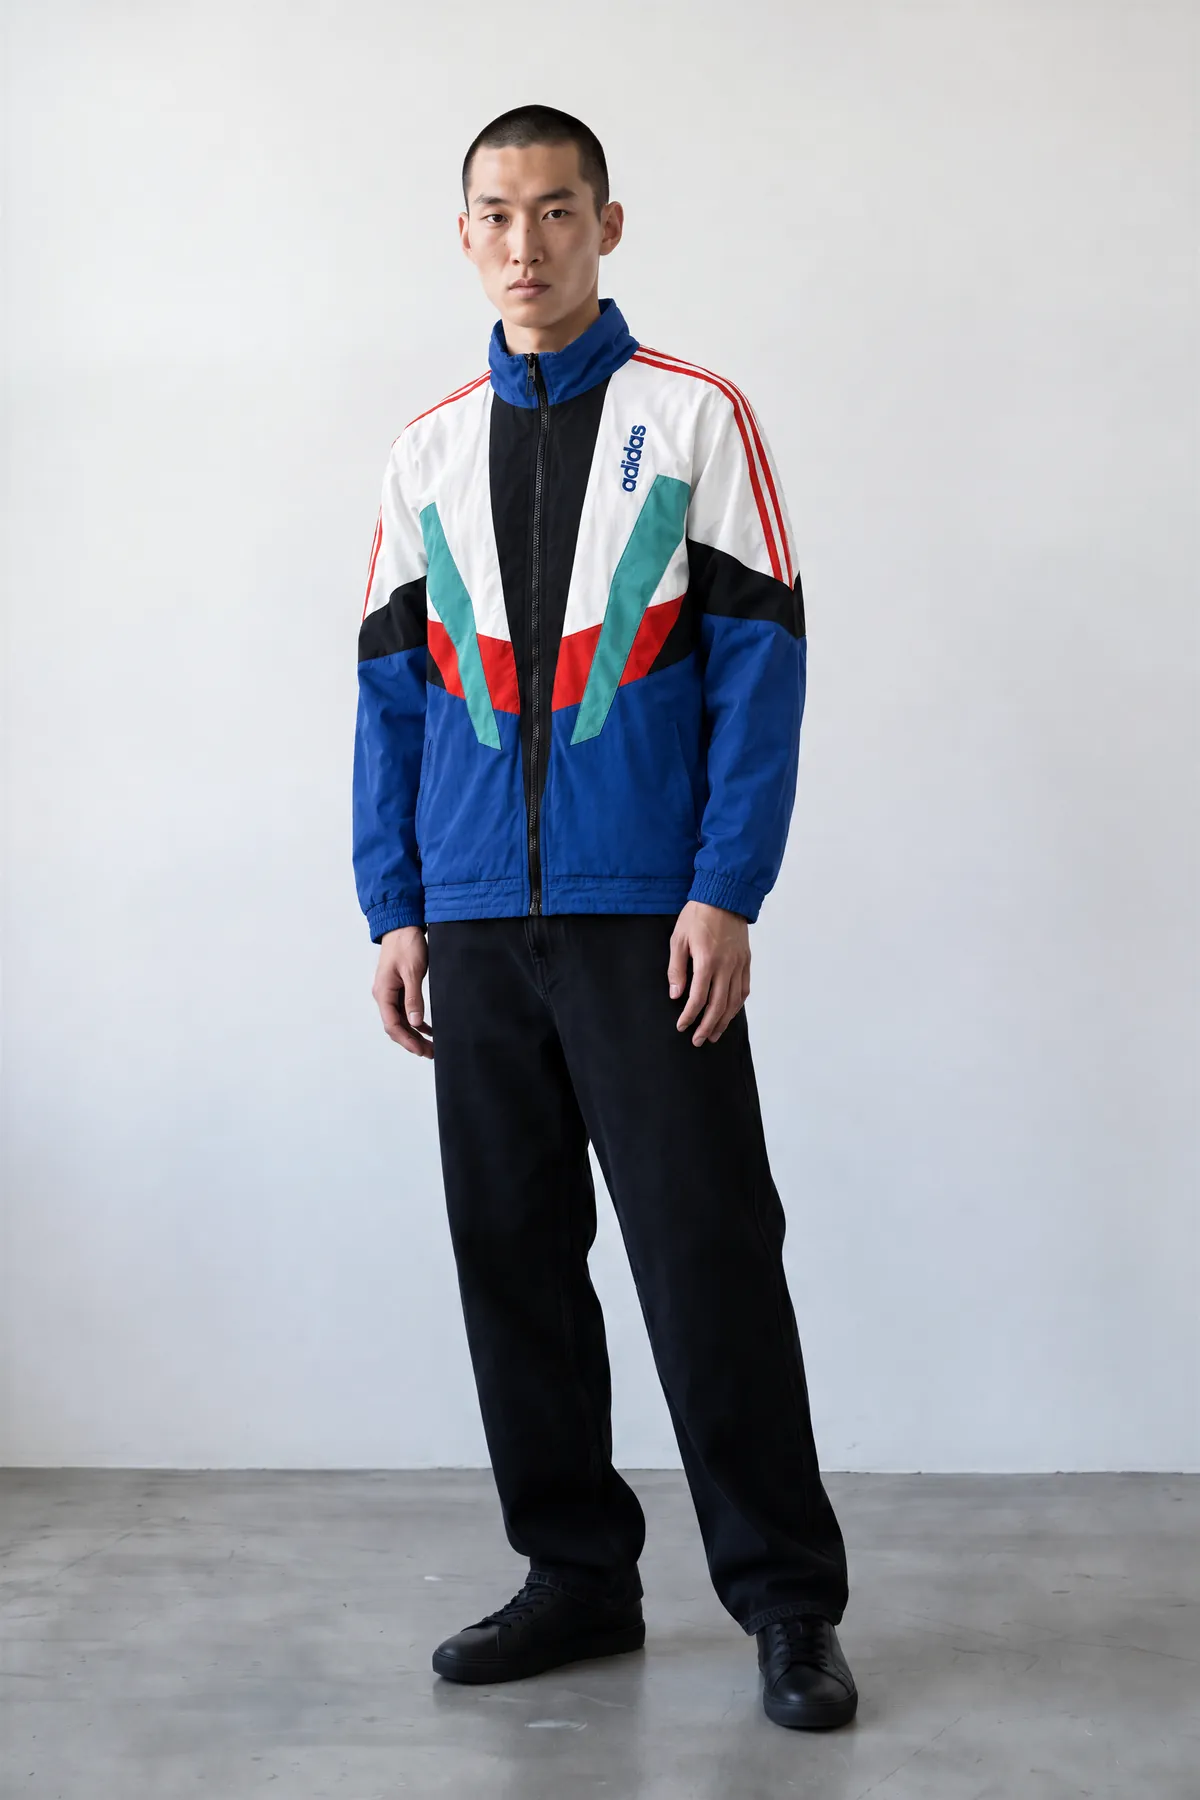
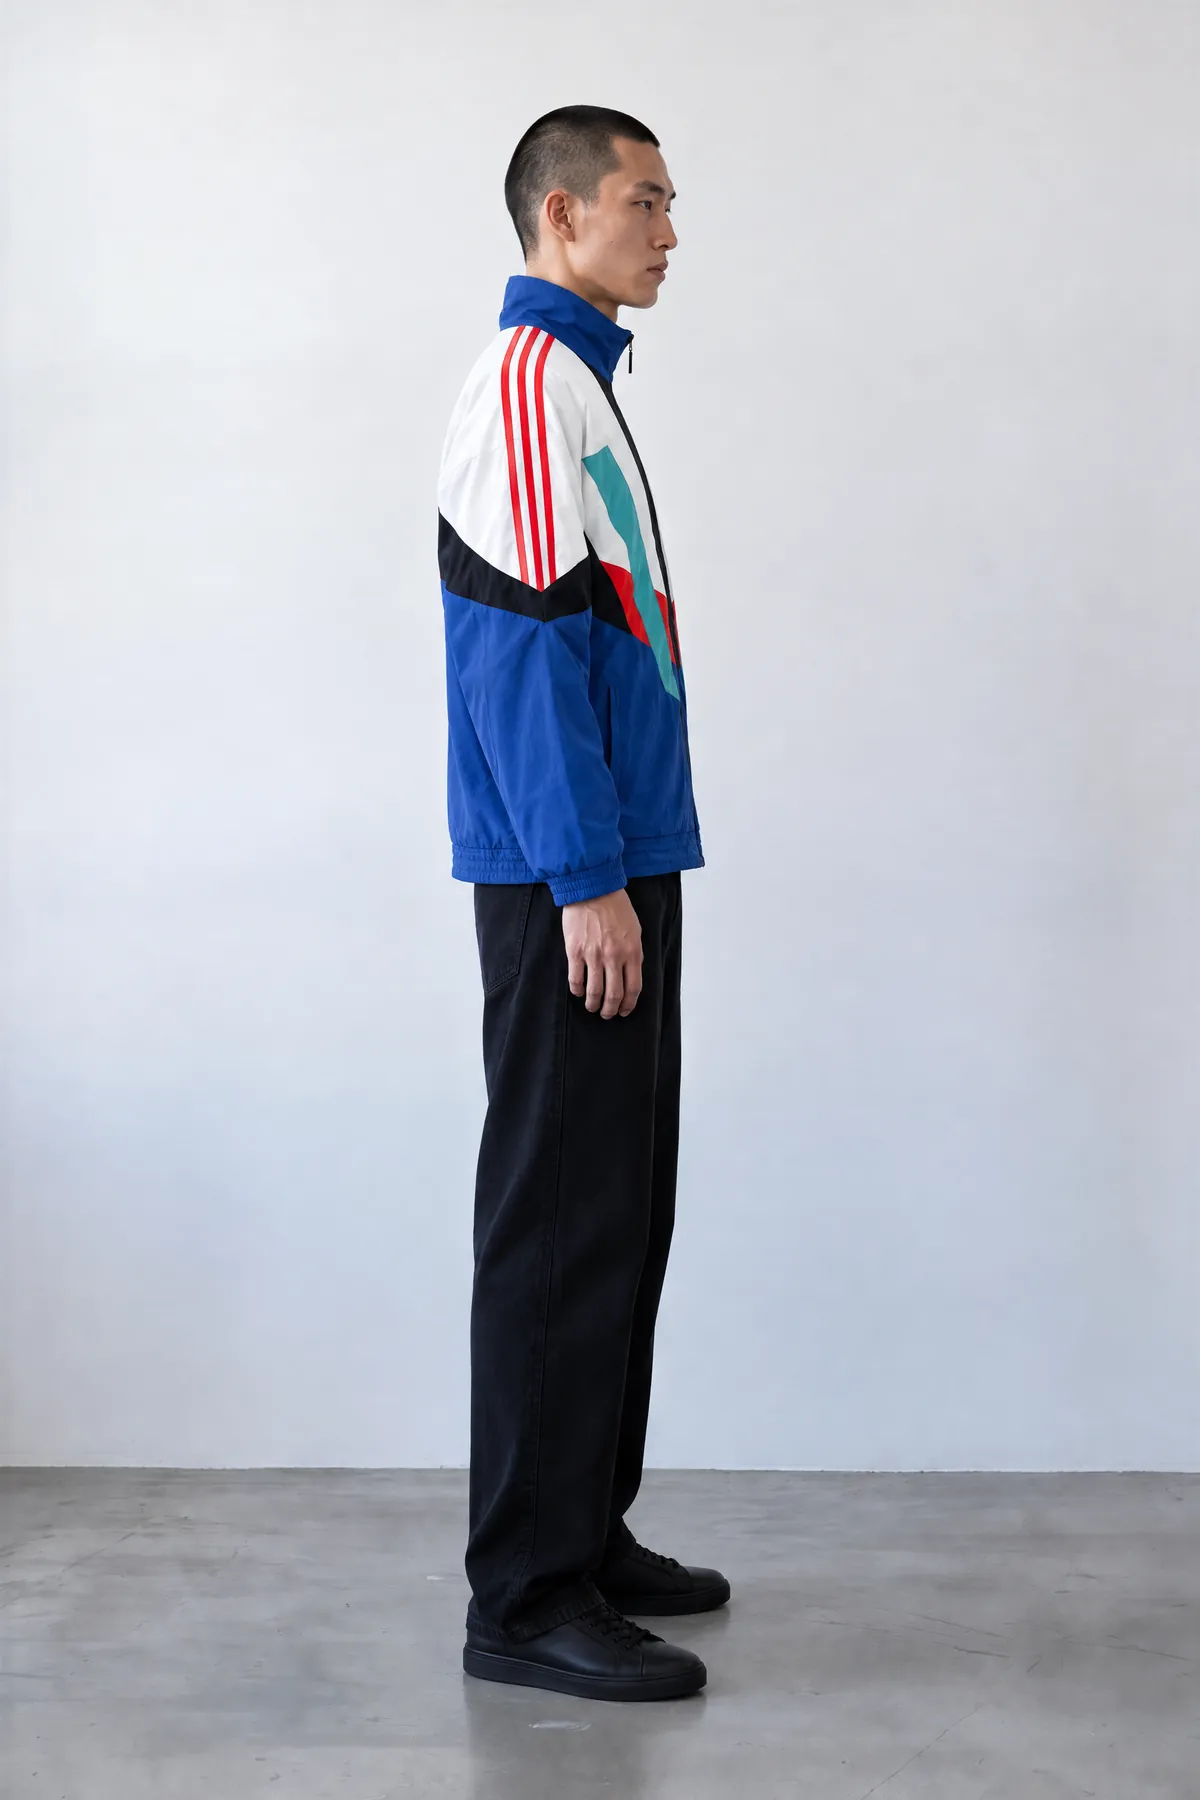
Every example below was made in Agent at 2:3, 2K, Balanced (set in Generation settings). Each one used the same message: "Put this jacket on him. Create three separate images: a front, a side and a back view."
Views
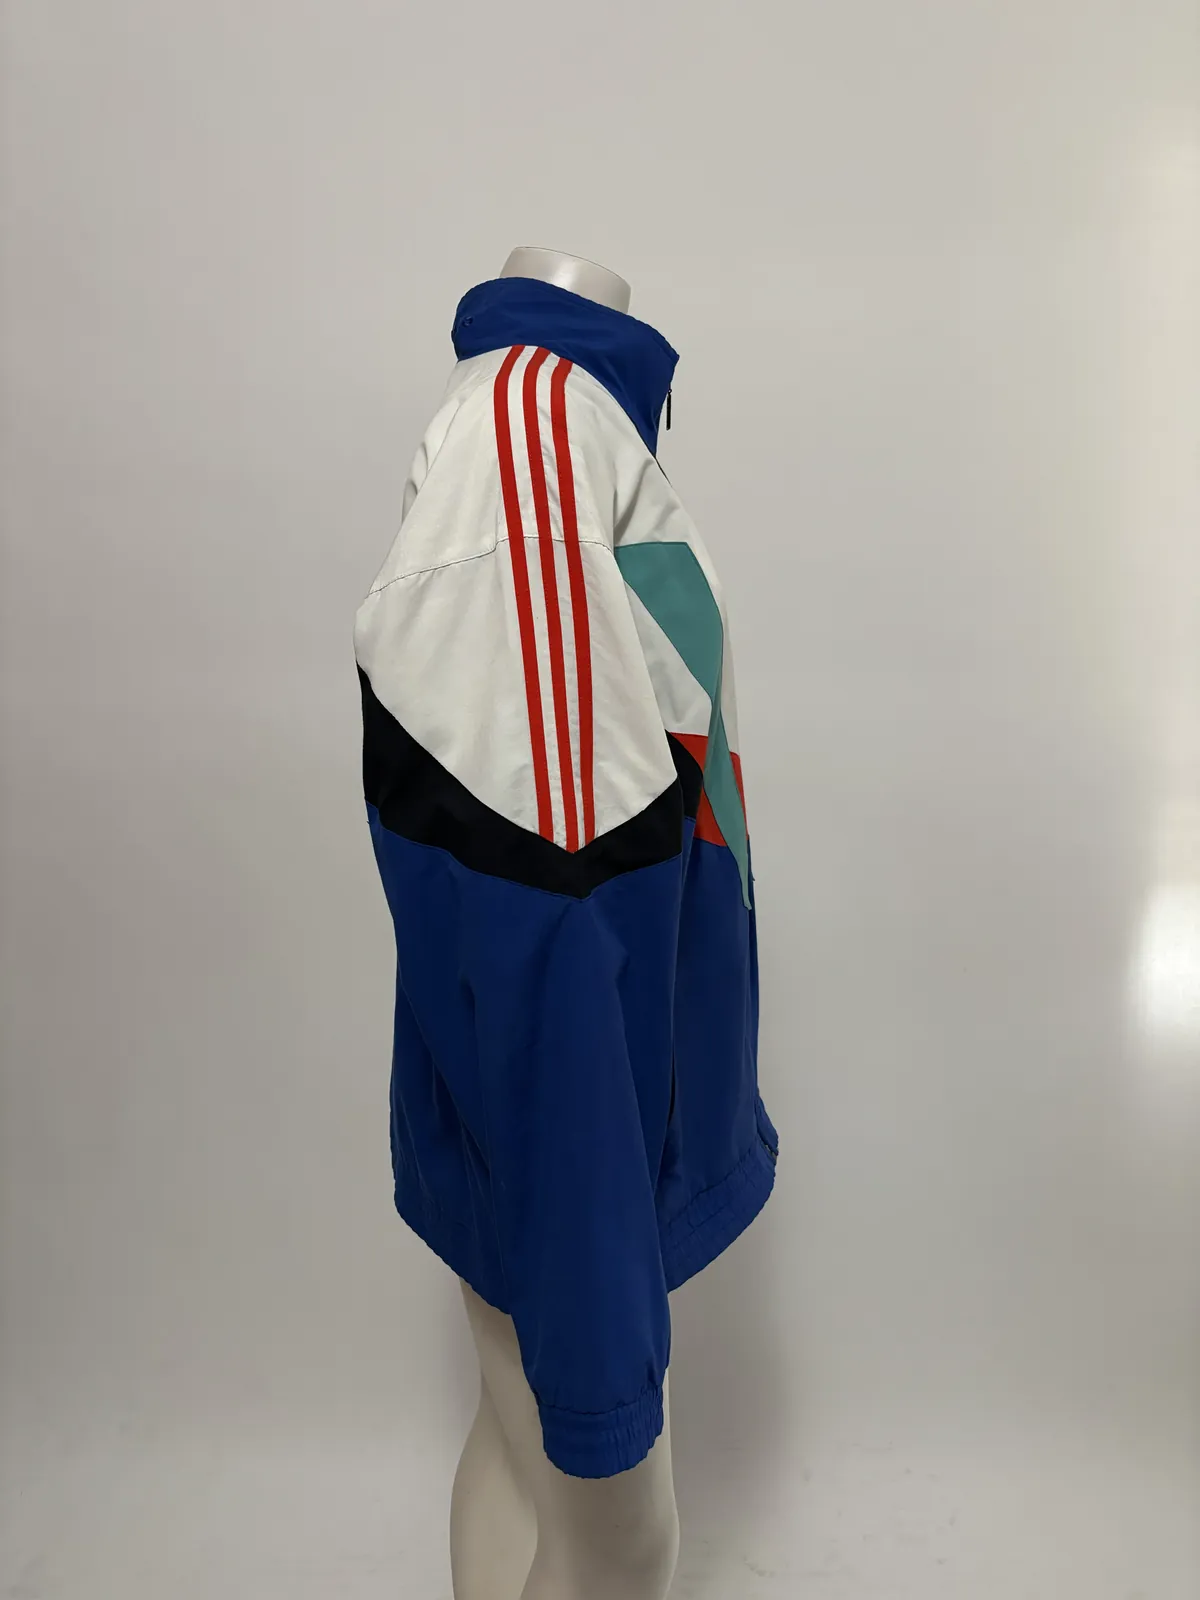
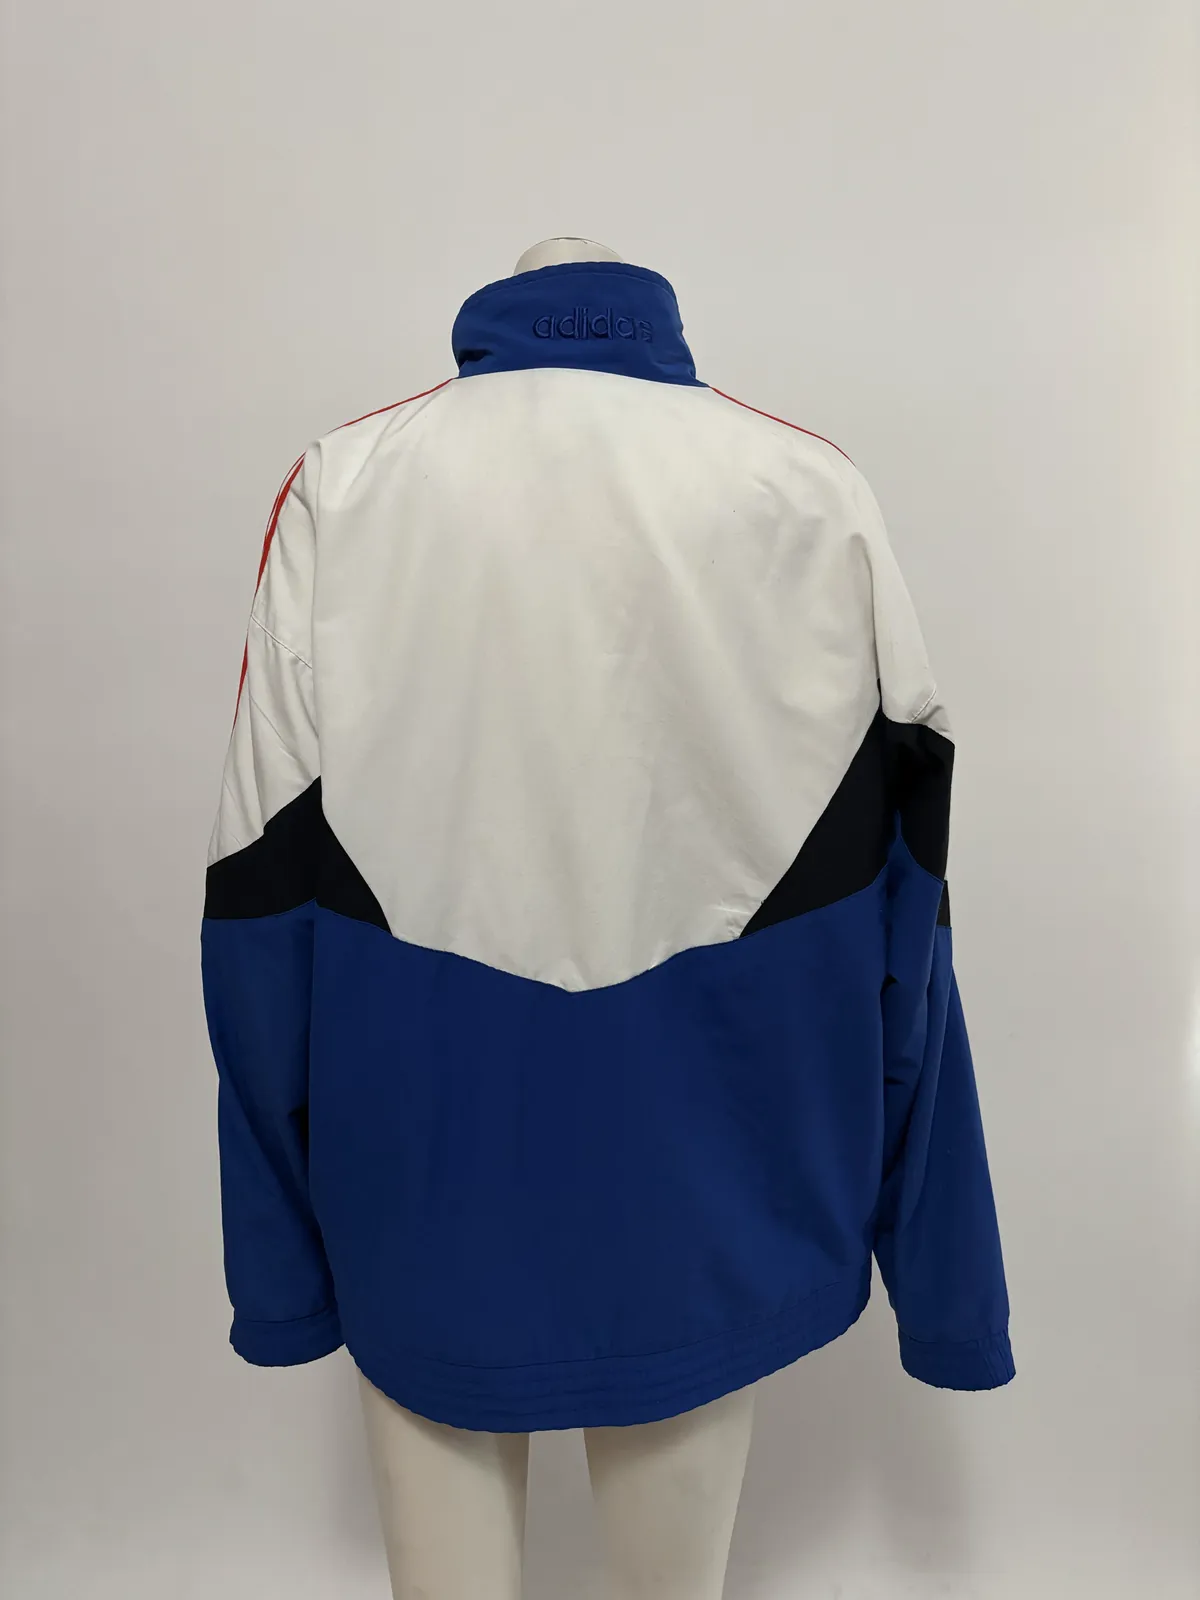
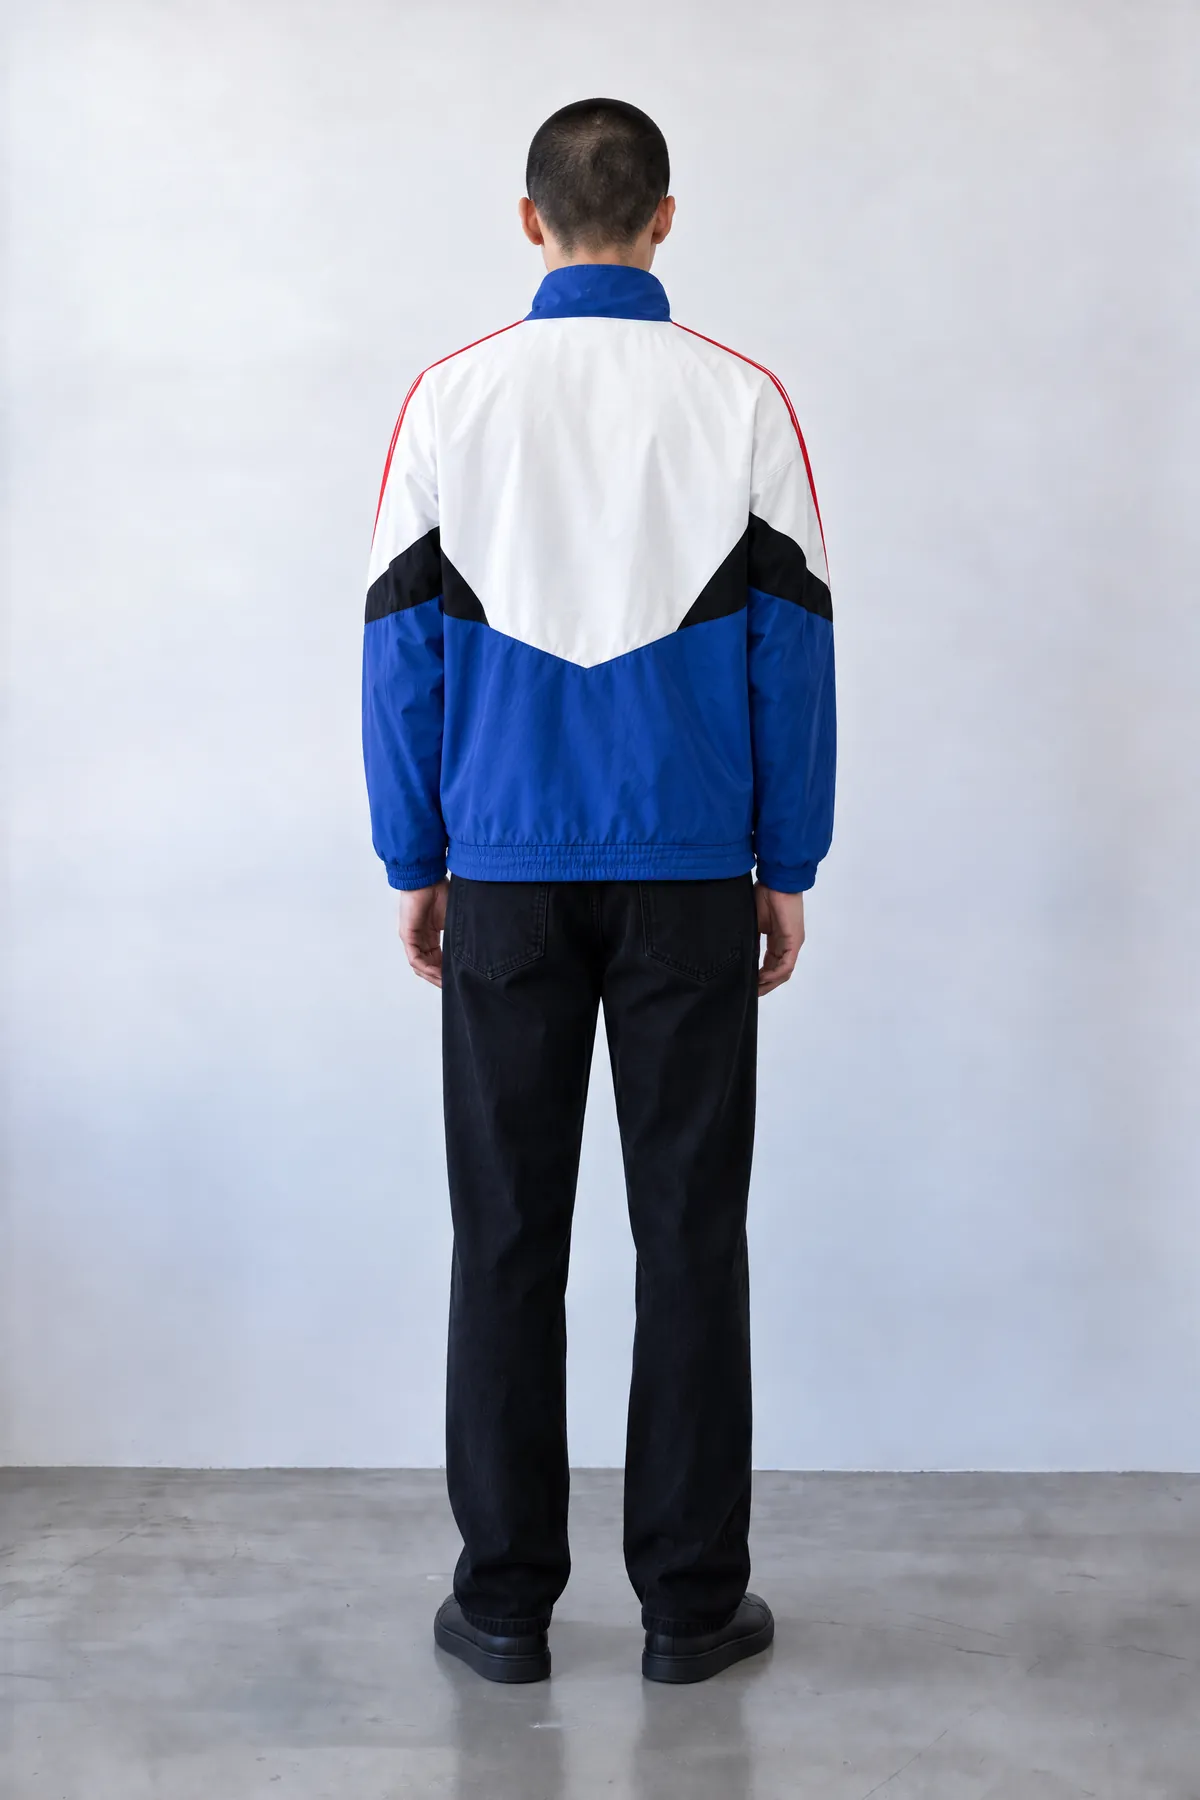
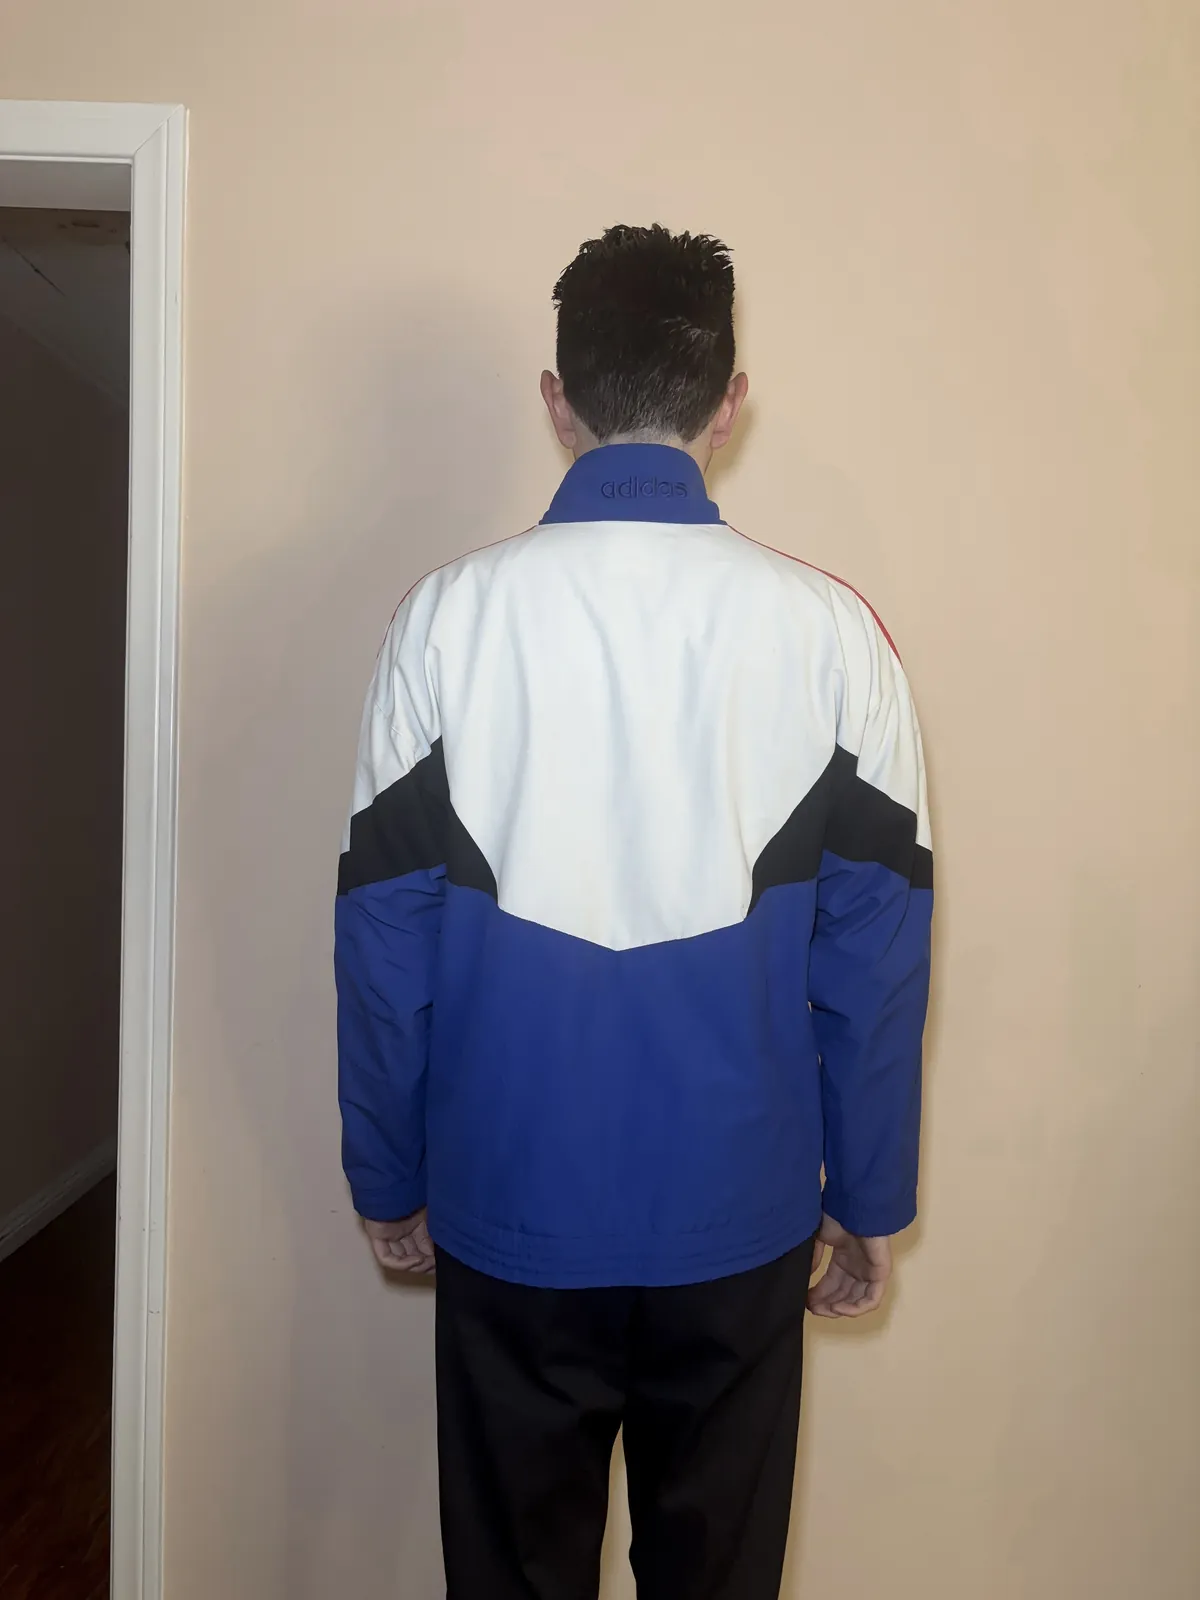
Shoot the front and the back of your product. If you only give Agent the front, it has to guess what the back looks like. With only the front photo, the back came out wrong:
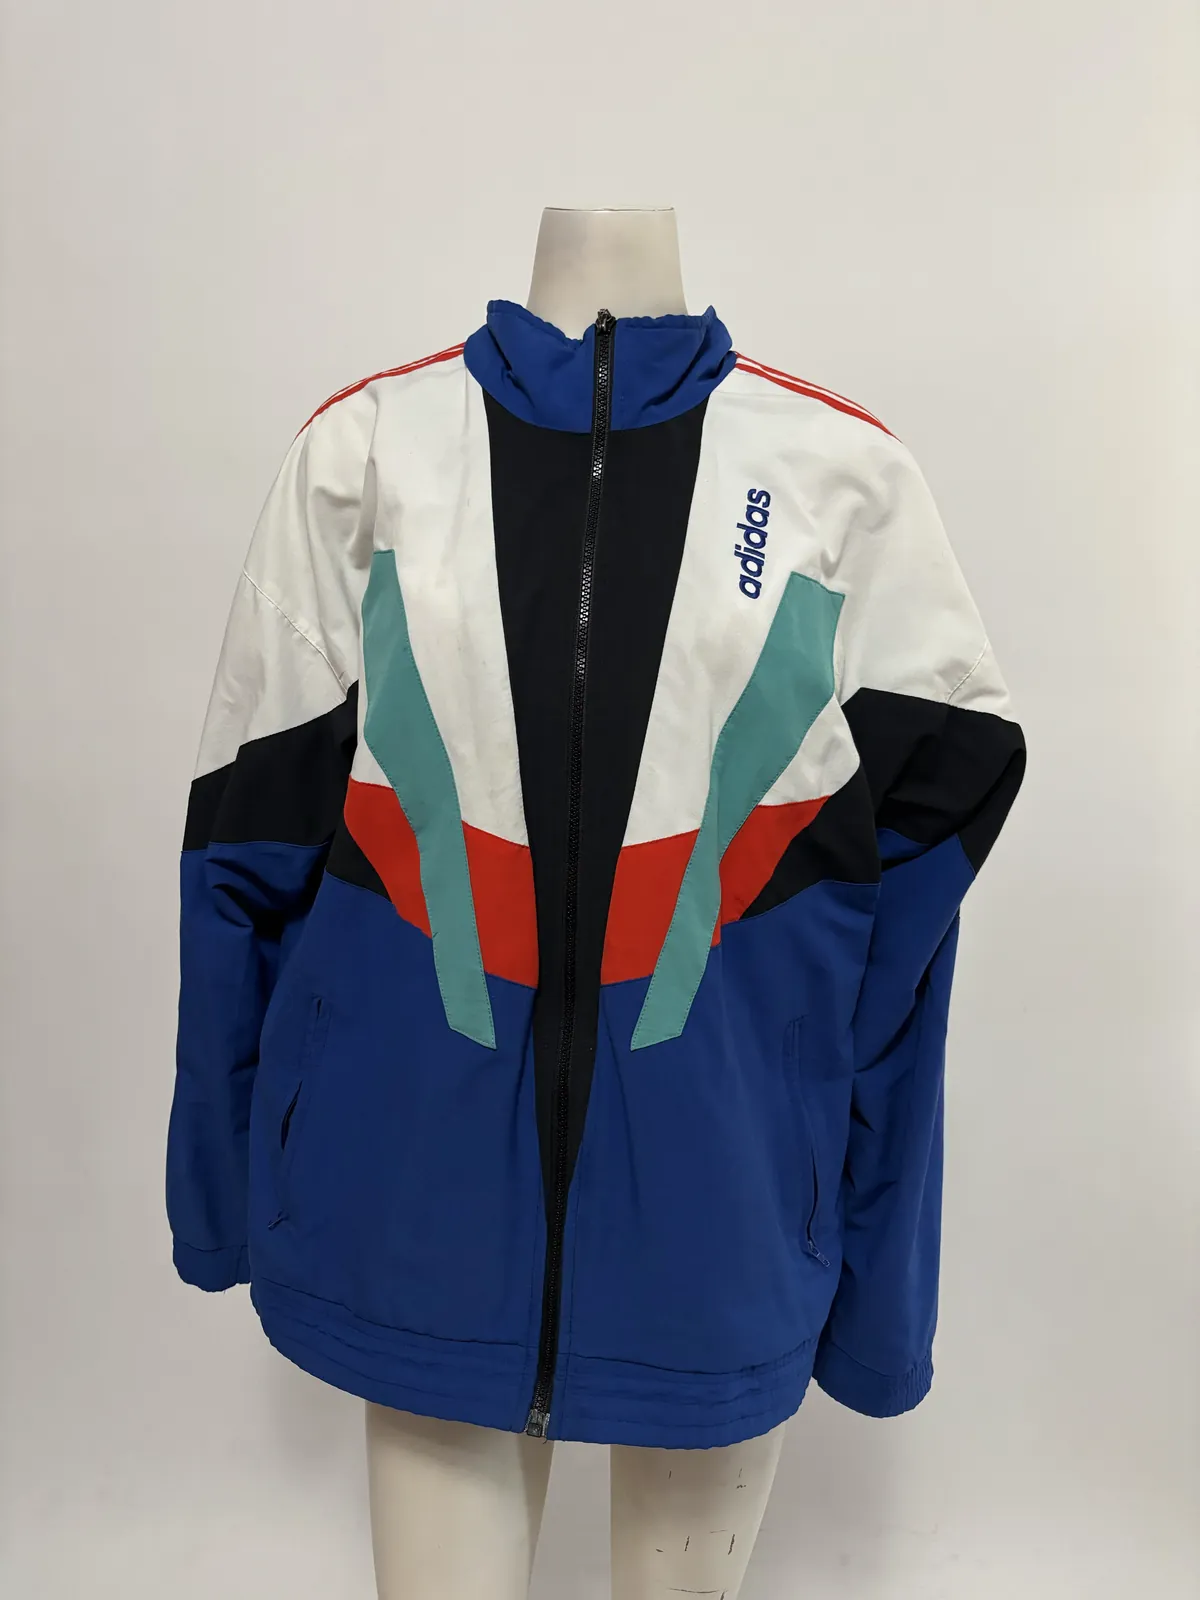
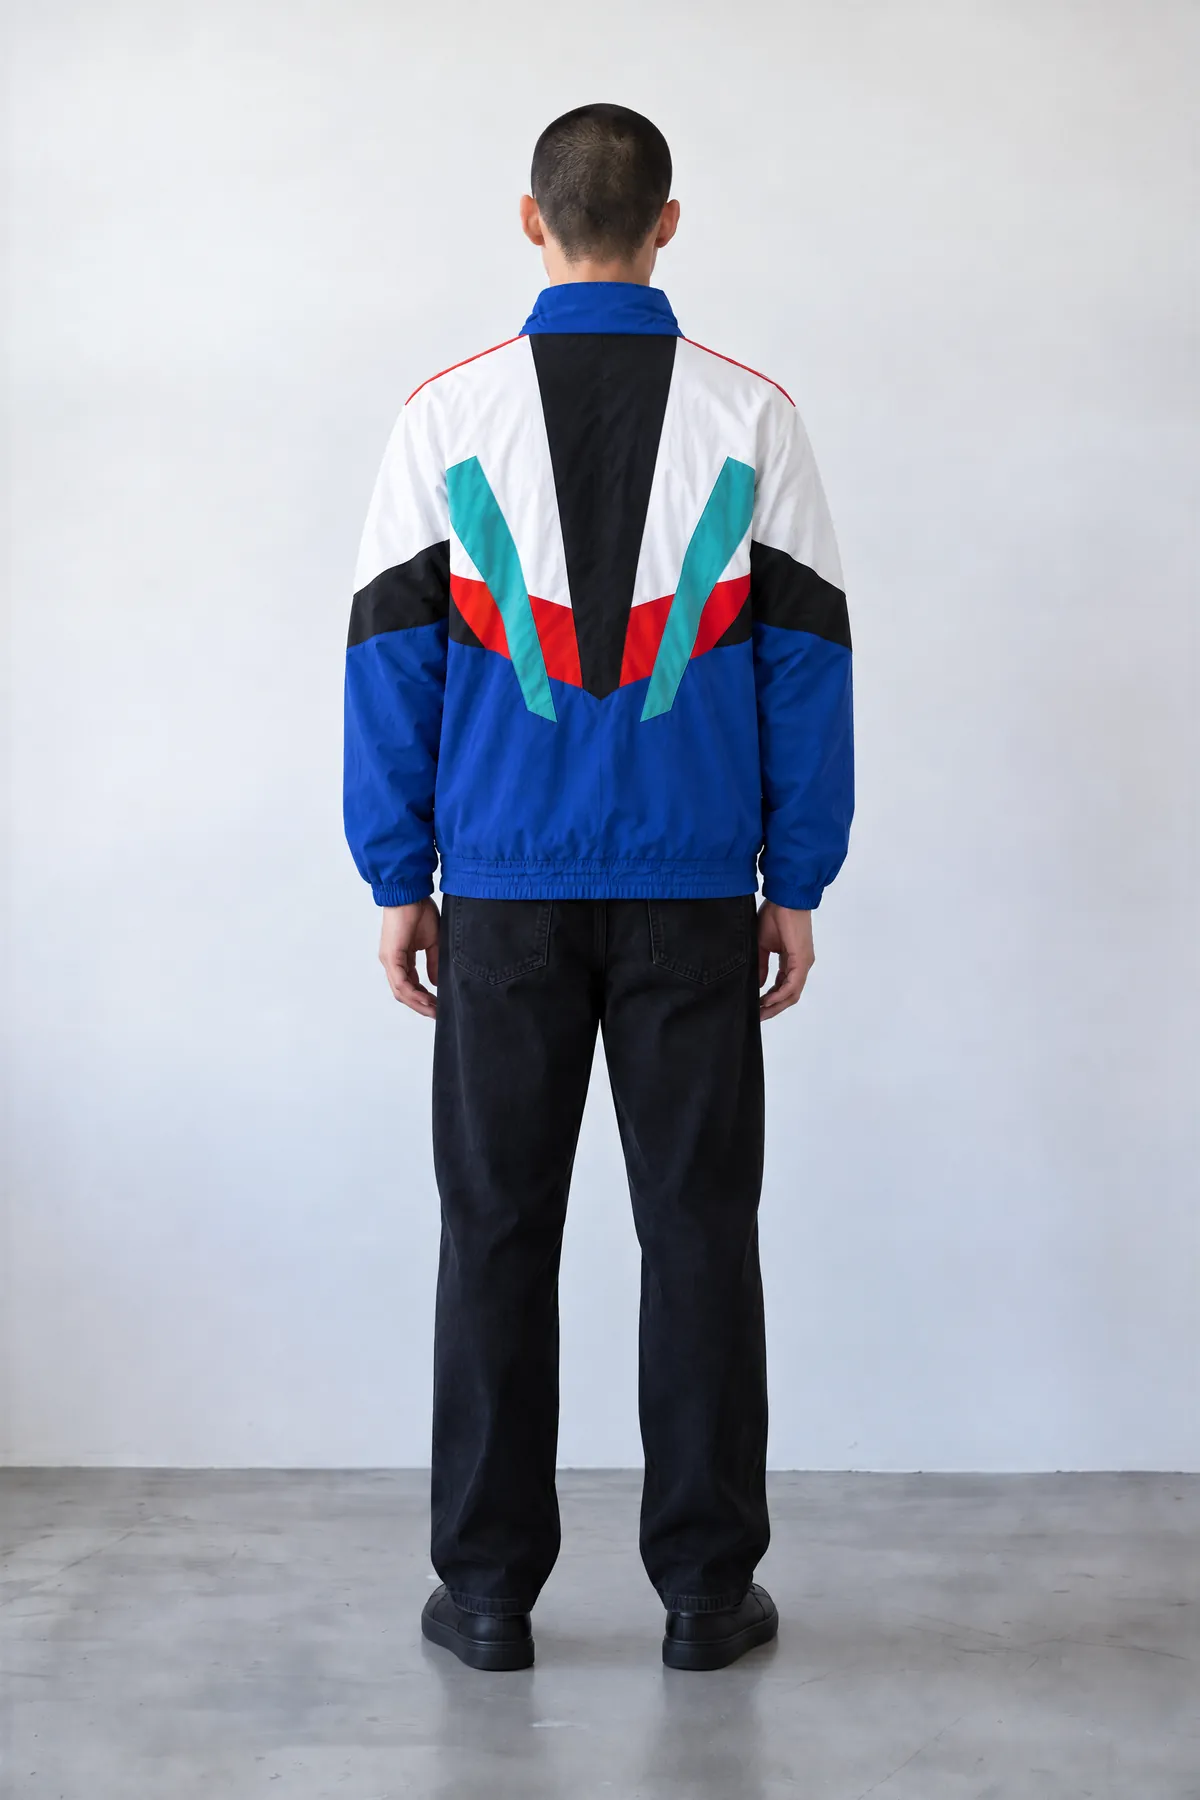
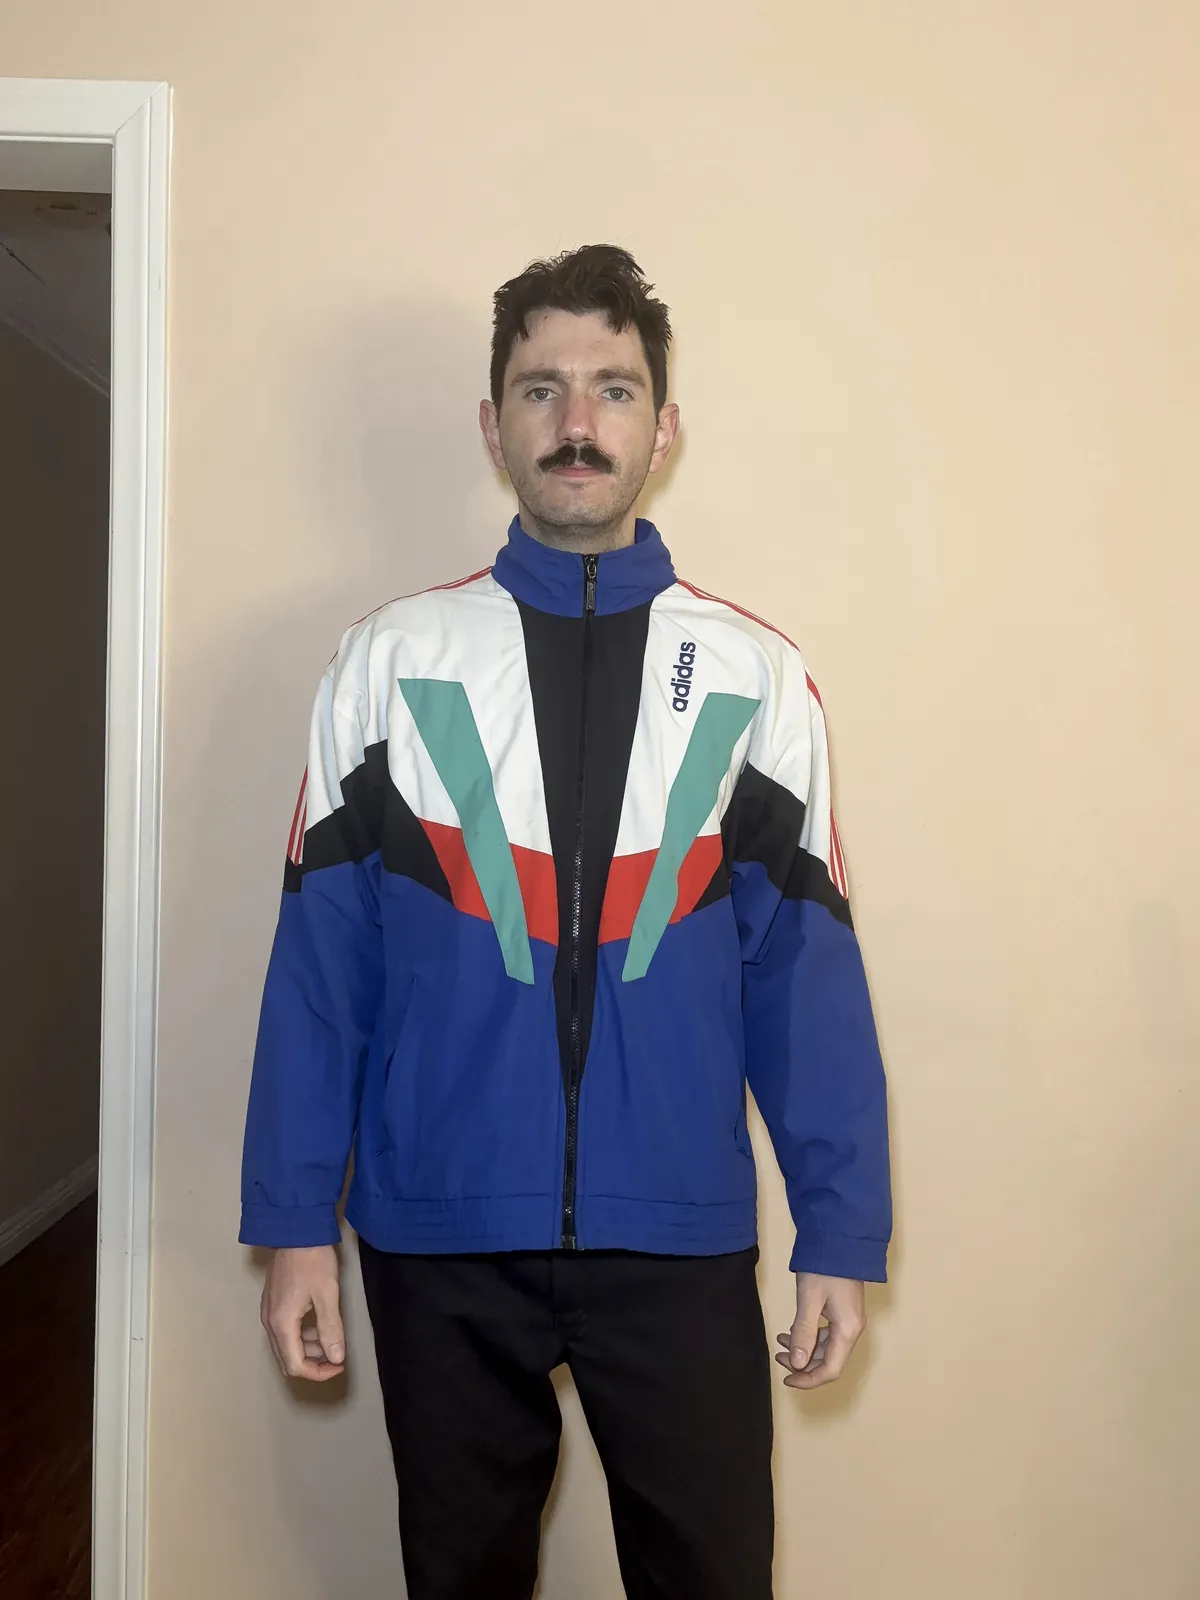
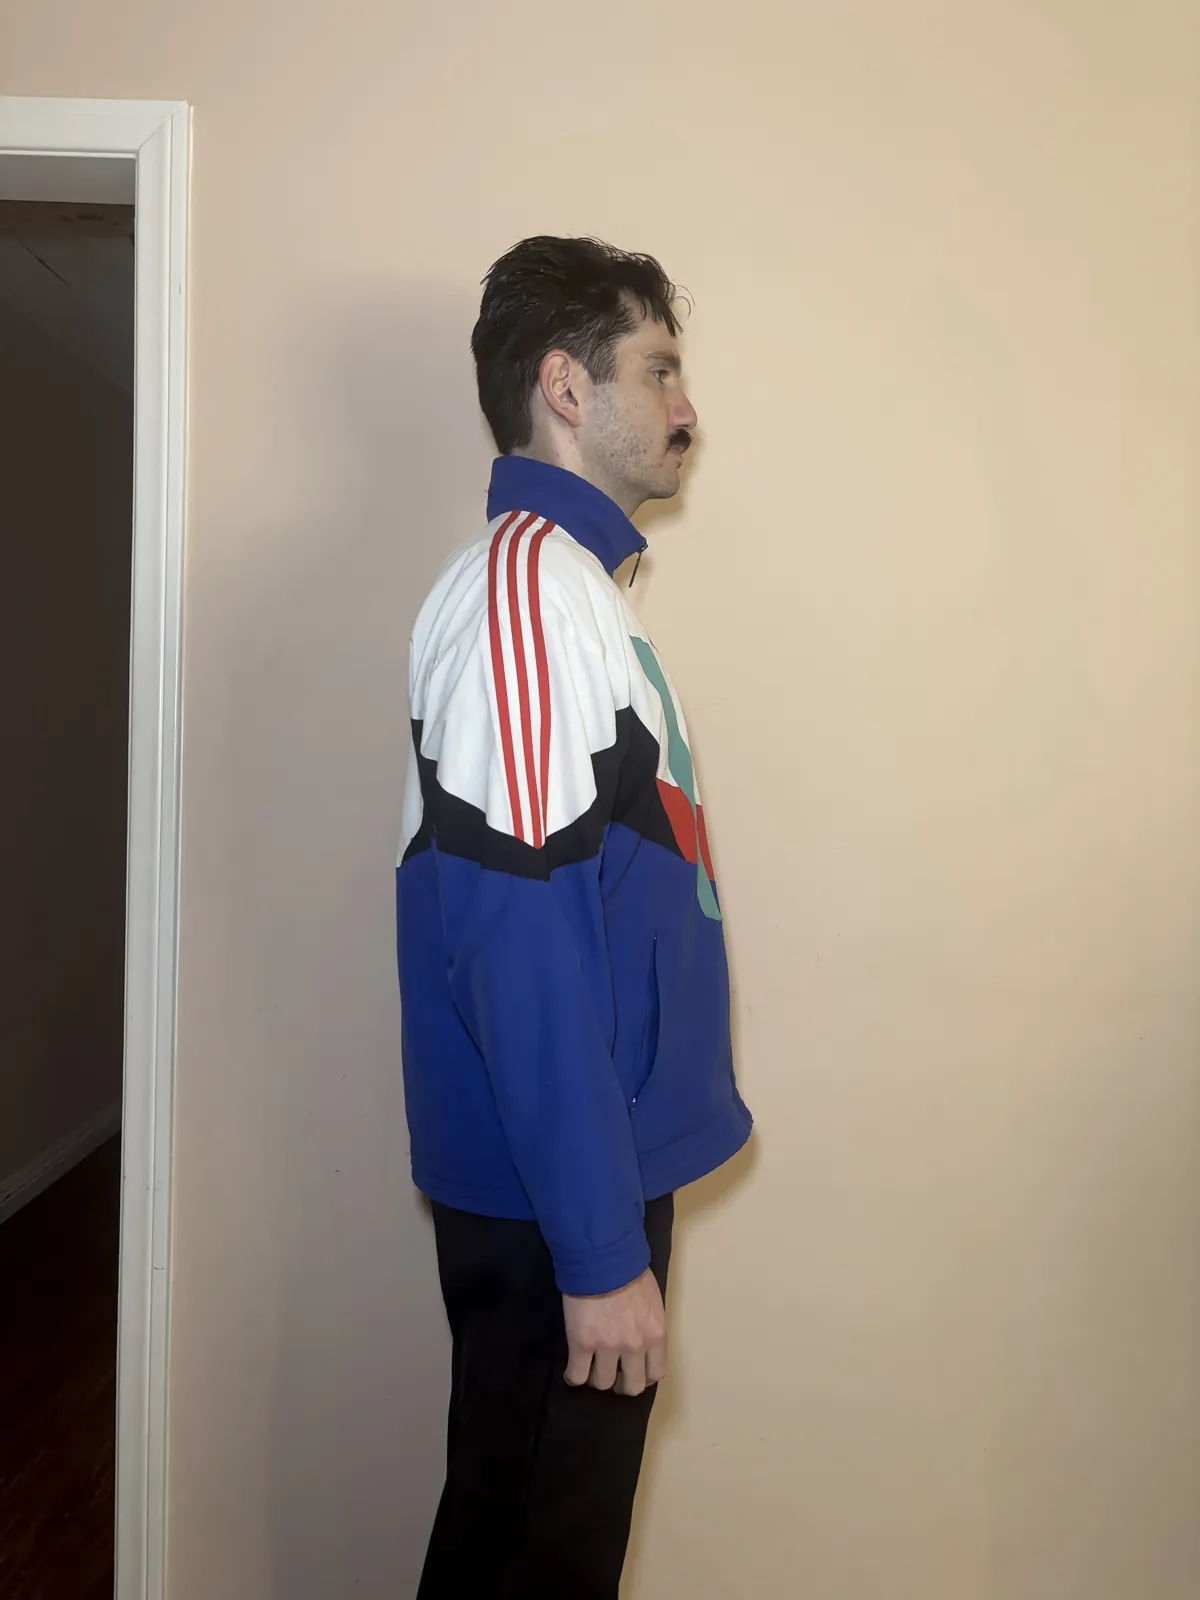
With a back photo added, the back came out right. A side photo is a bonus that shows details like the stripes down the sleeves.
Fit
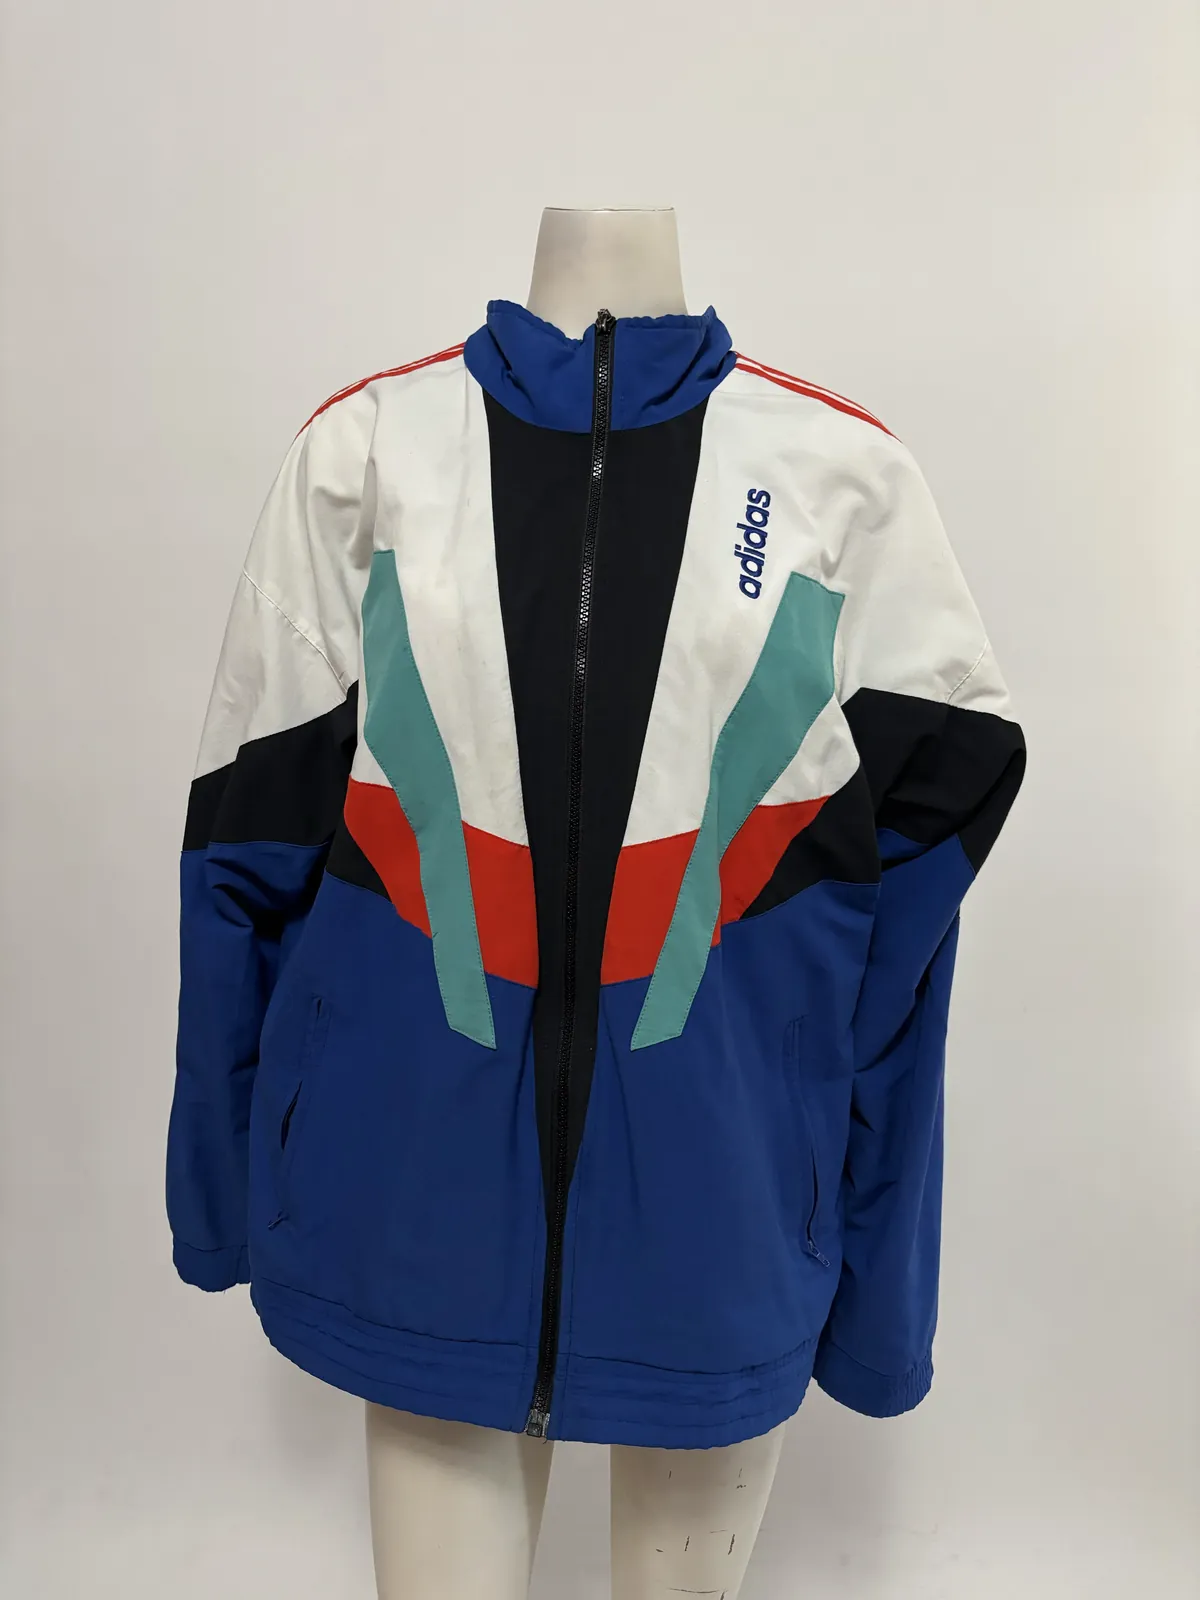
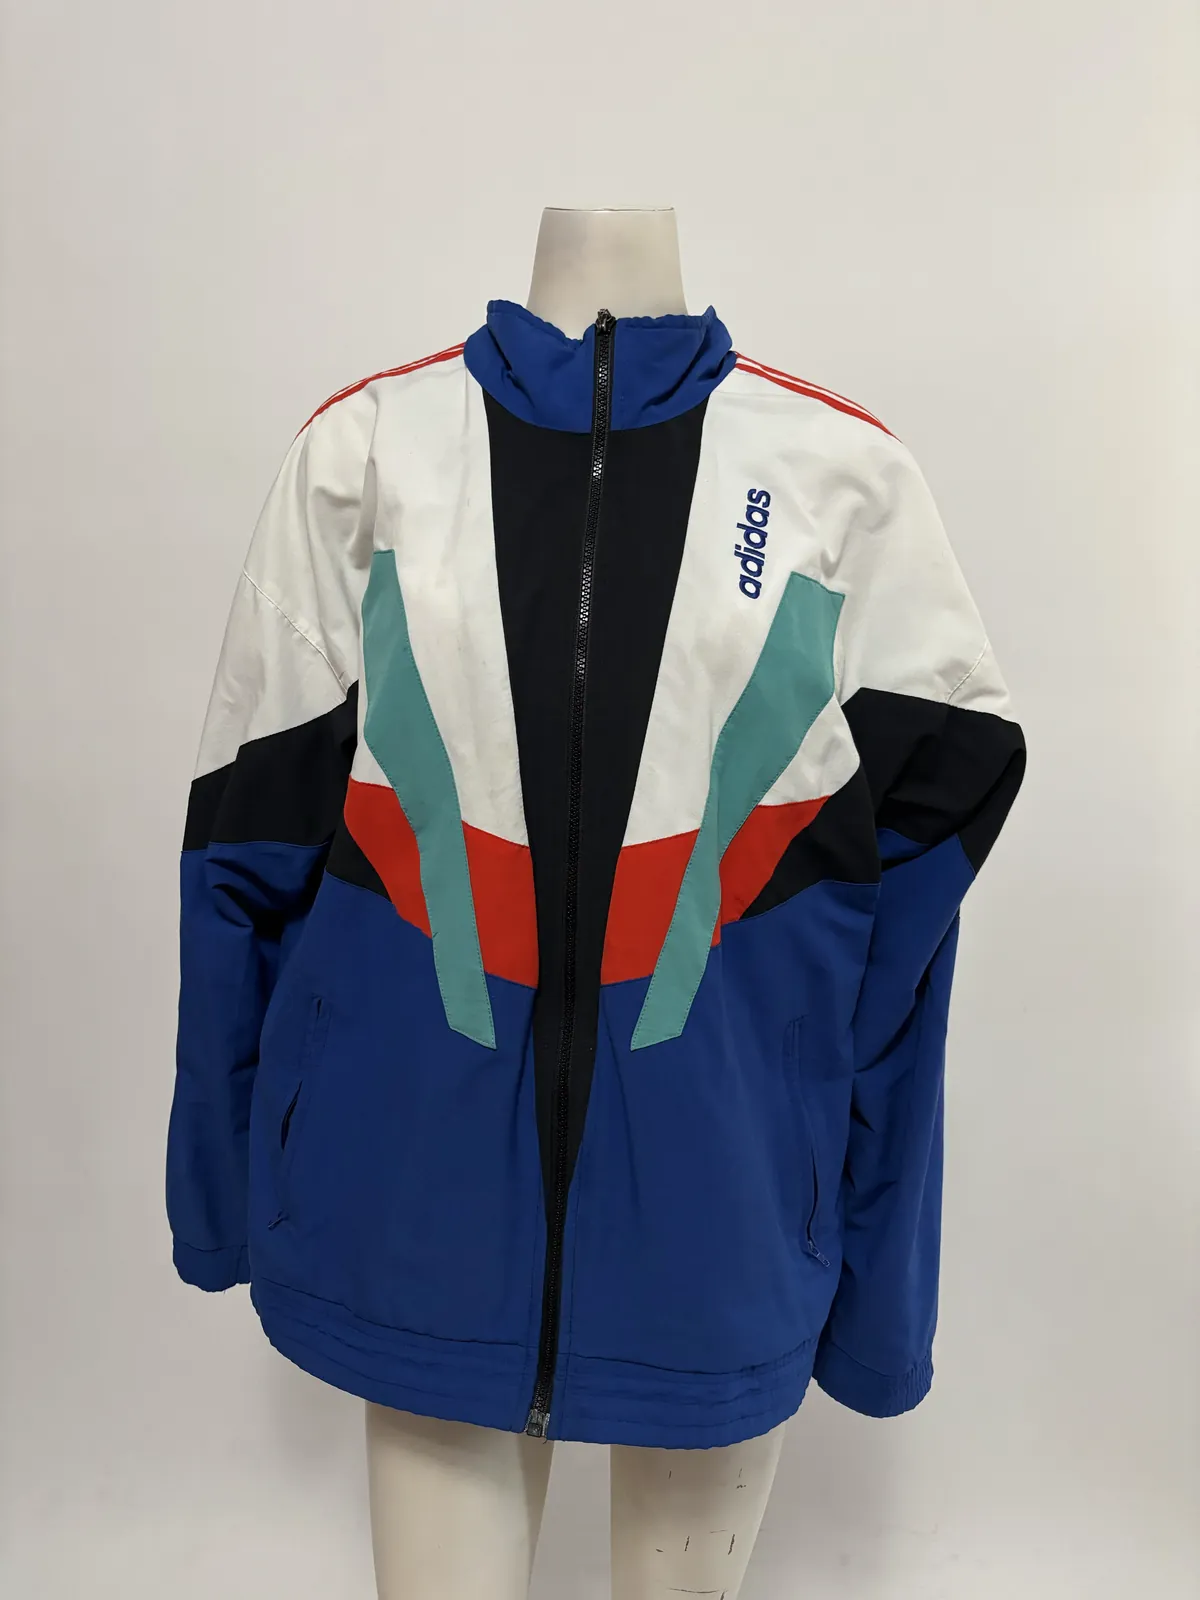
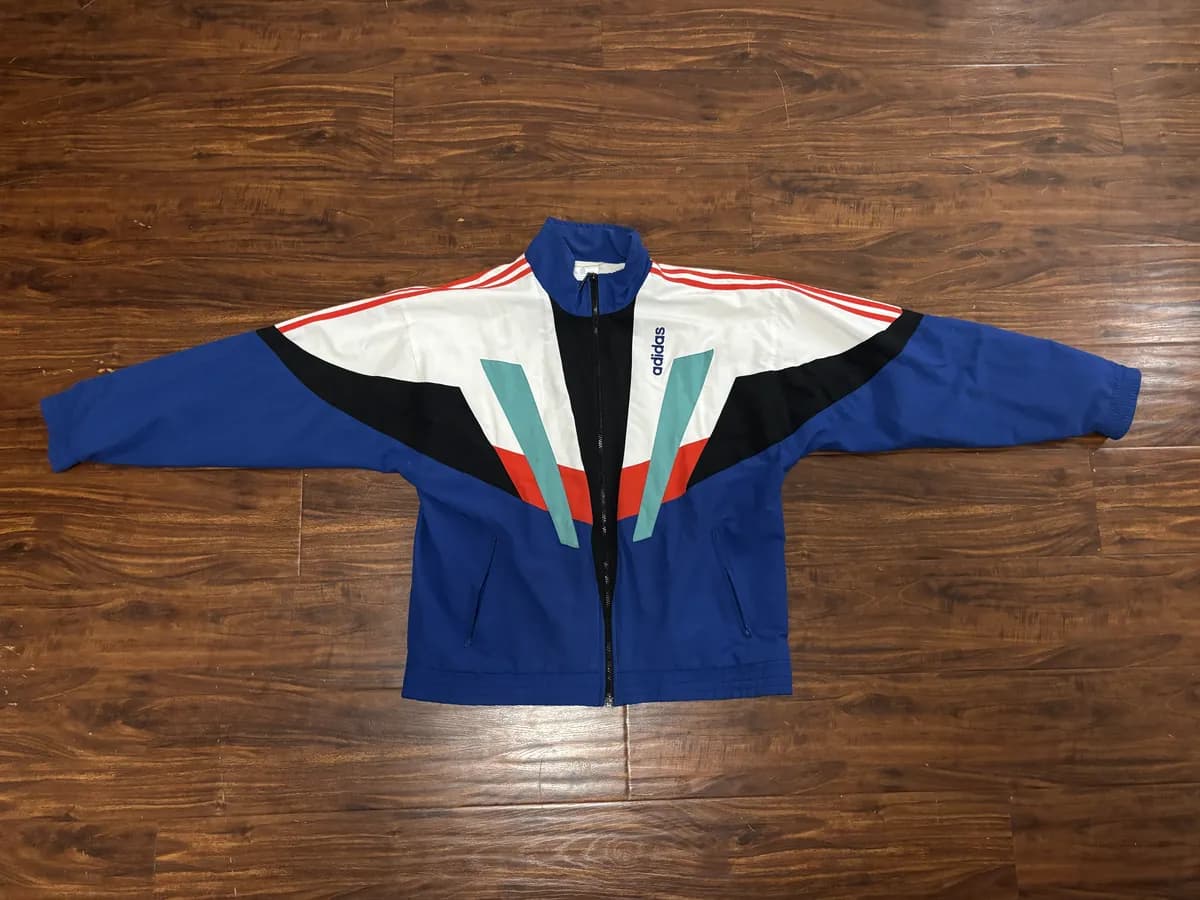
How the product is photographed changes how well Agent understands its fit.
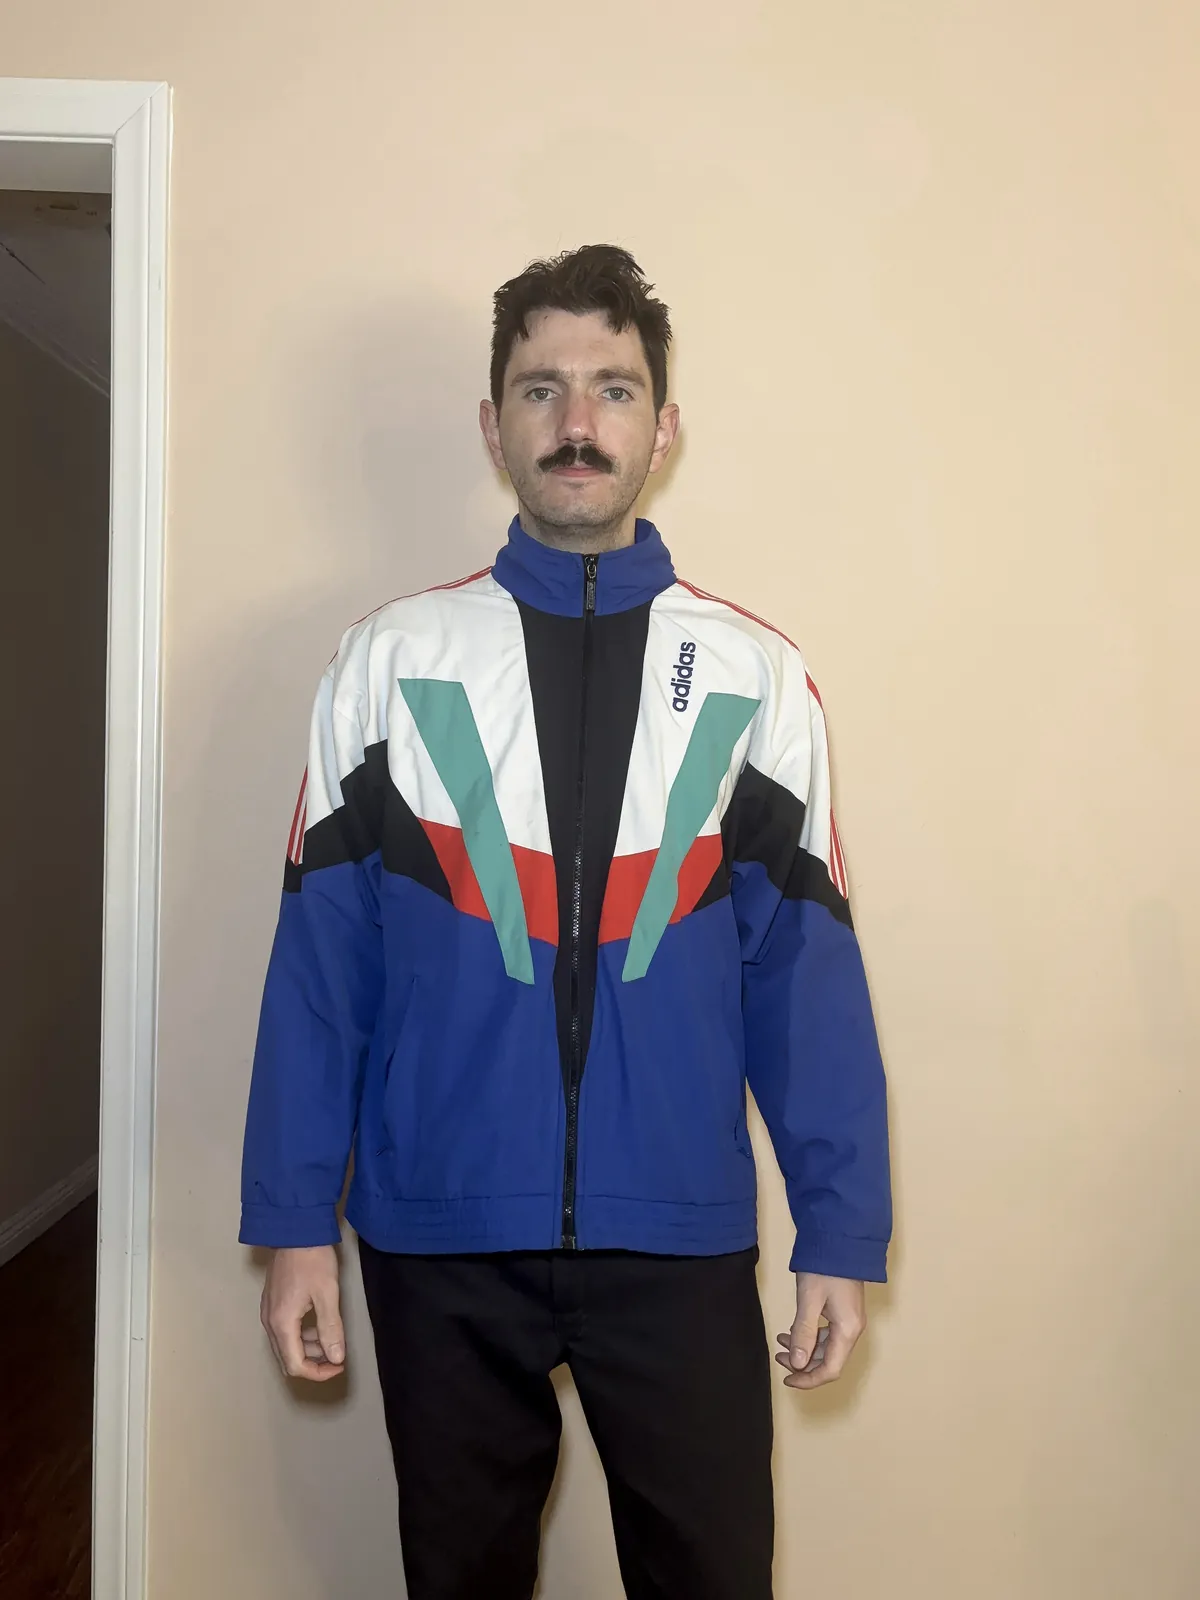
- On a person is best, because it shows how the piece sits on a body.
- A mannequin is second best. It gives the shape of a body, but it is stiffer than a real person.
- A flat lay still works, but Agent has to guess the fit.
Light
The jacket was photographed under four kinds of light: warm bulbs, neutral bulbs, daylight, and the flash on a phone.
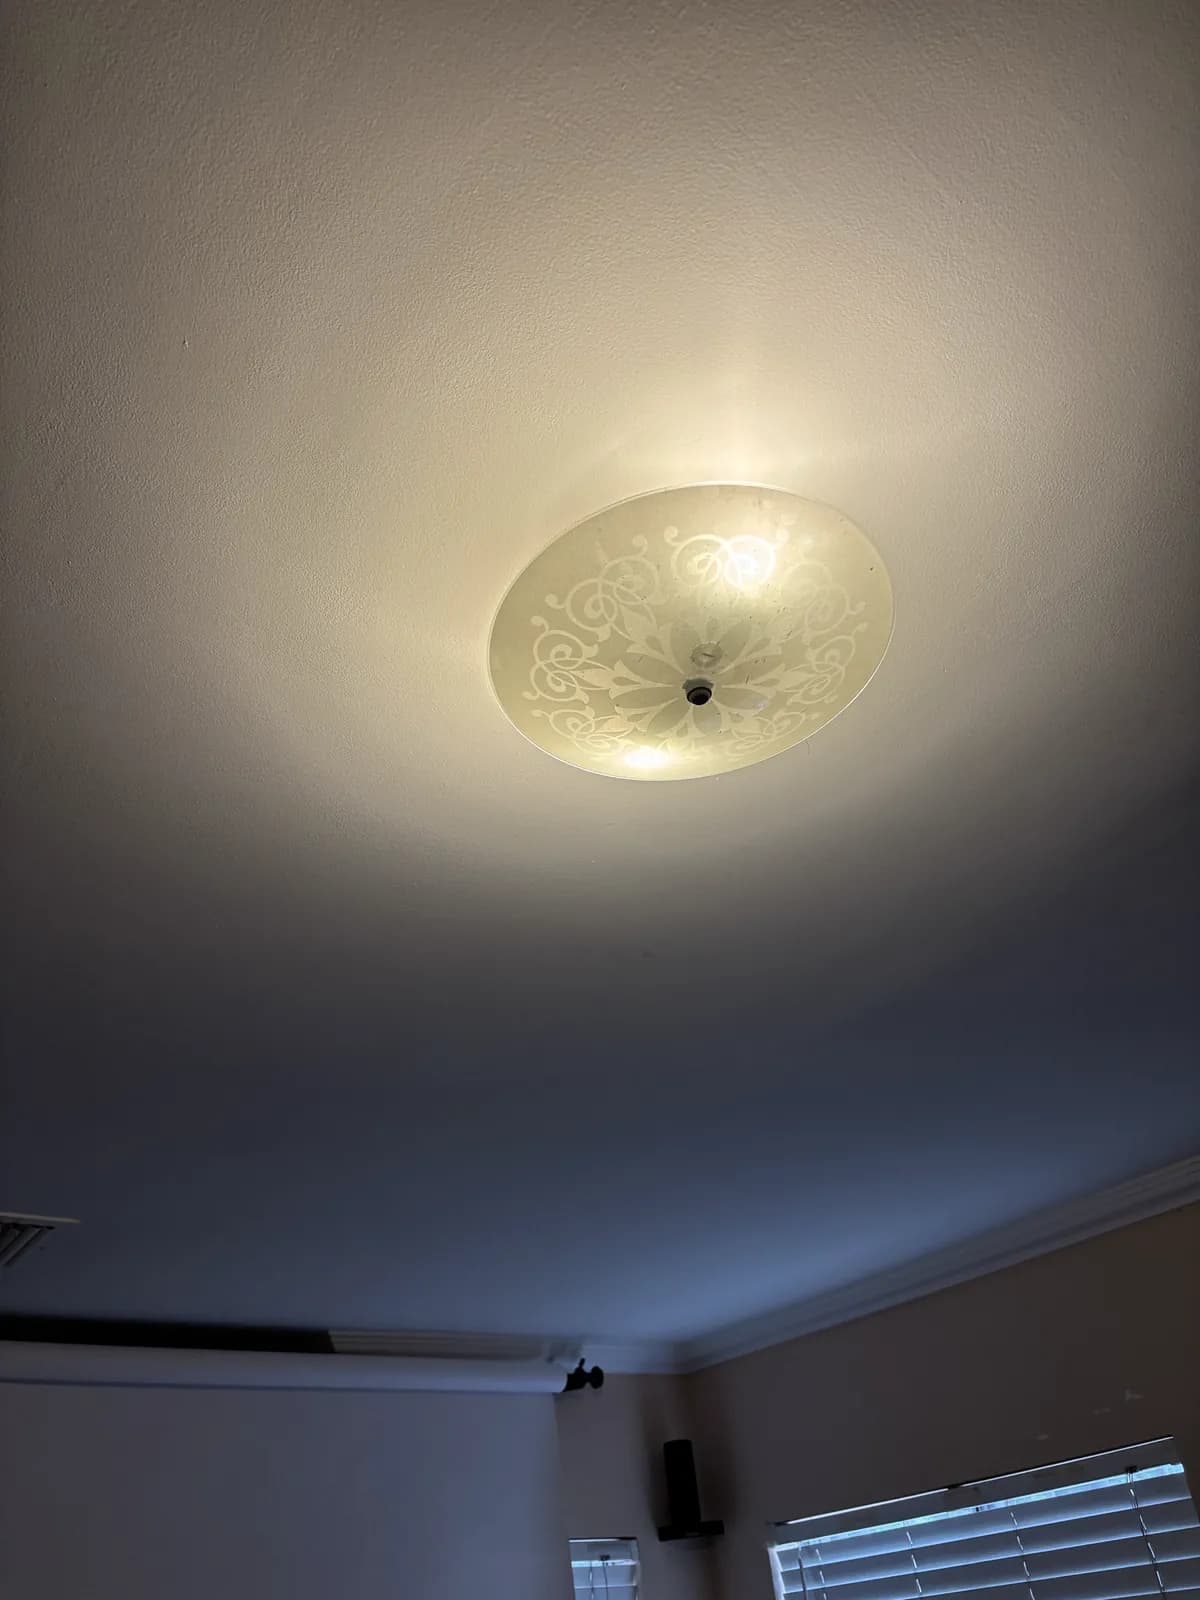
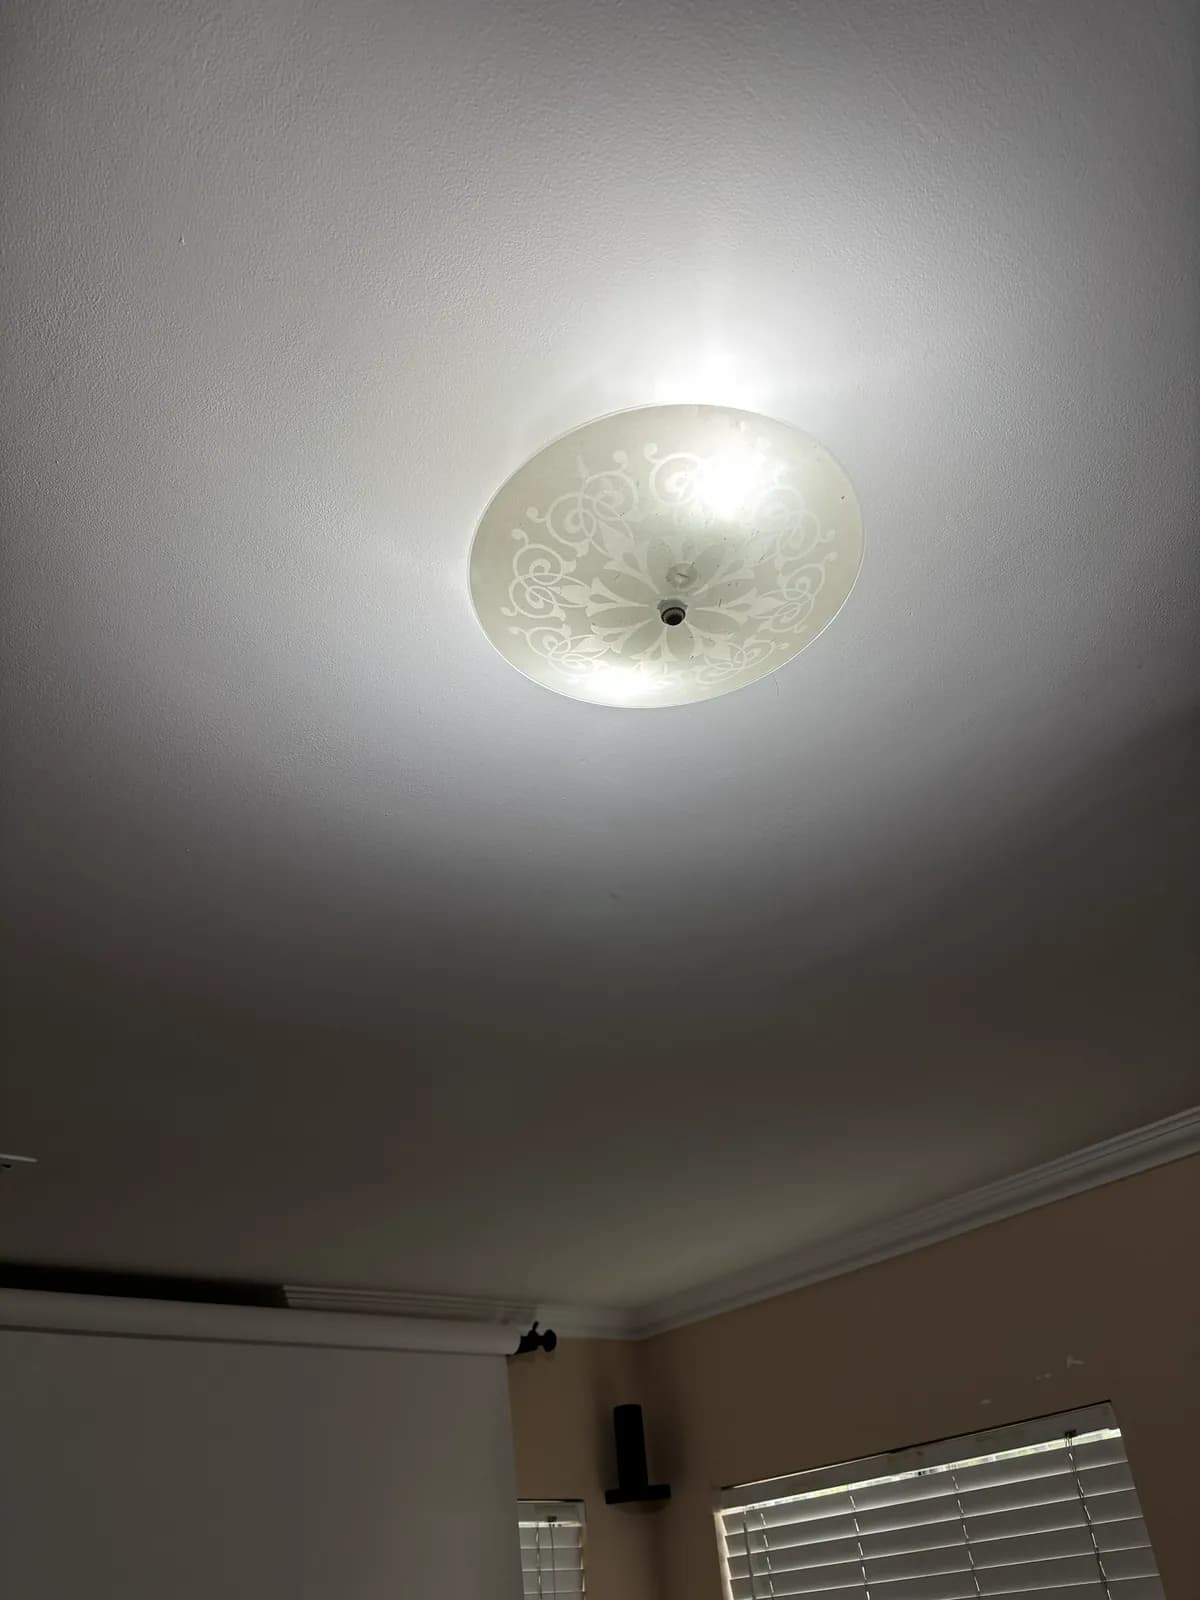
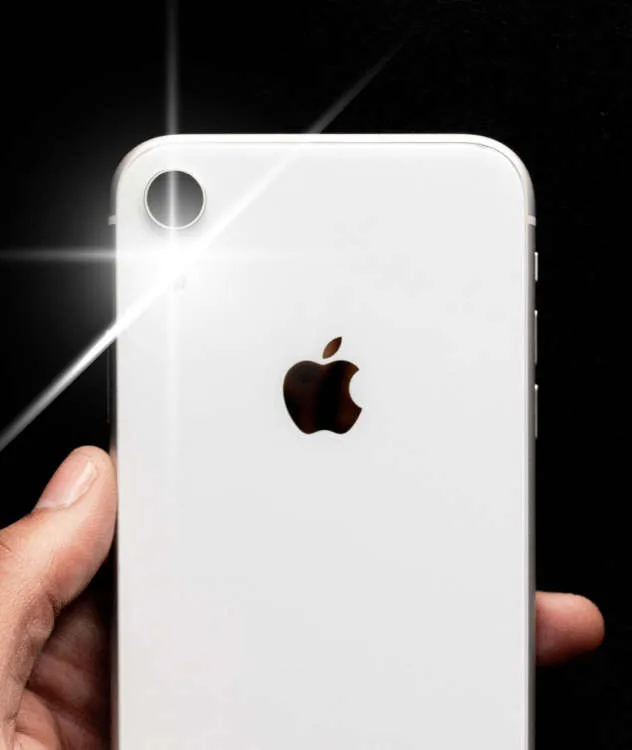
Neutral light and the flash on your phone work best. Warm bulbs change the color of your product: here the white panels came back cream.
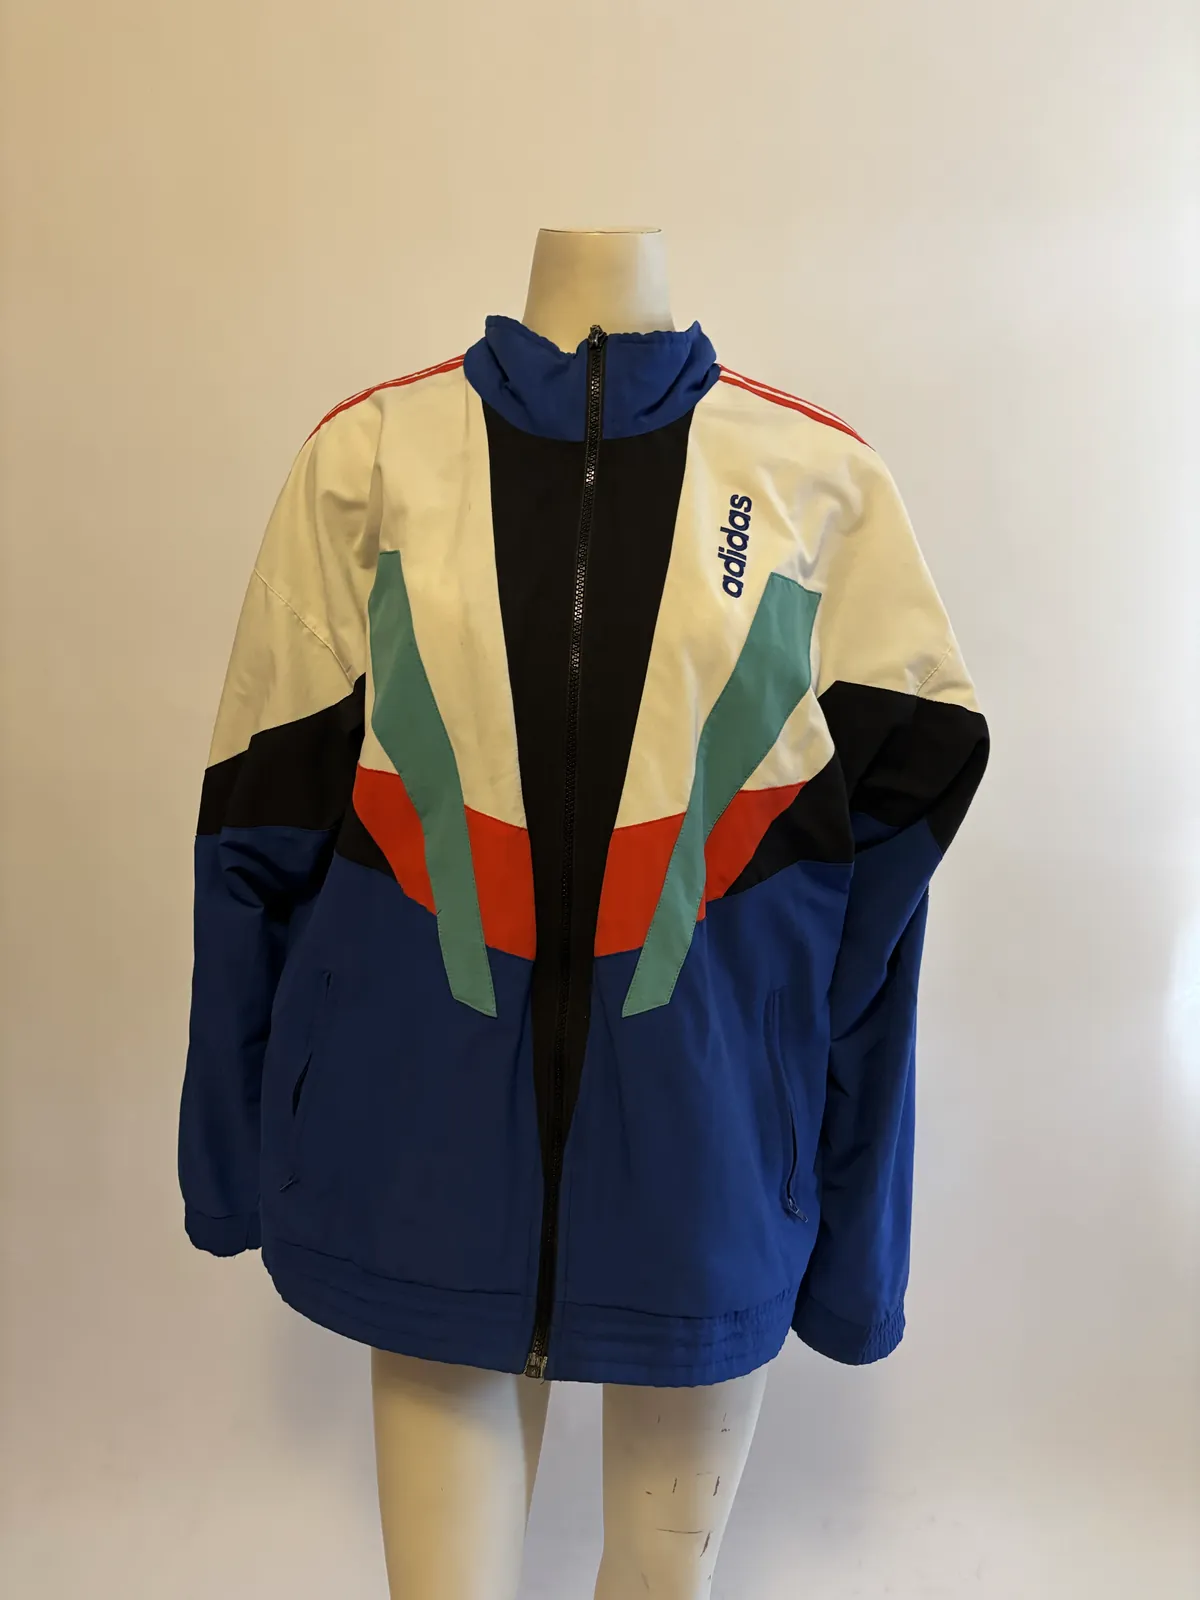
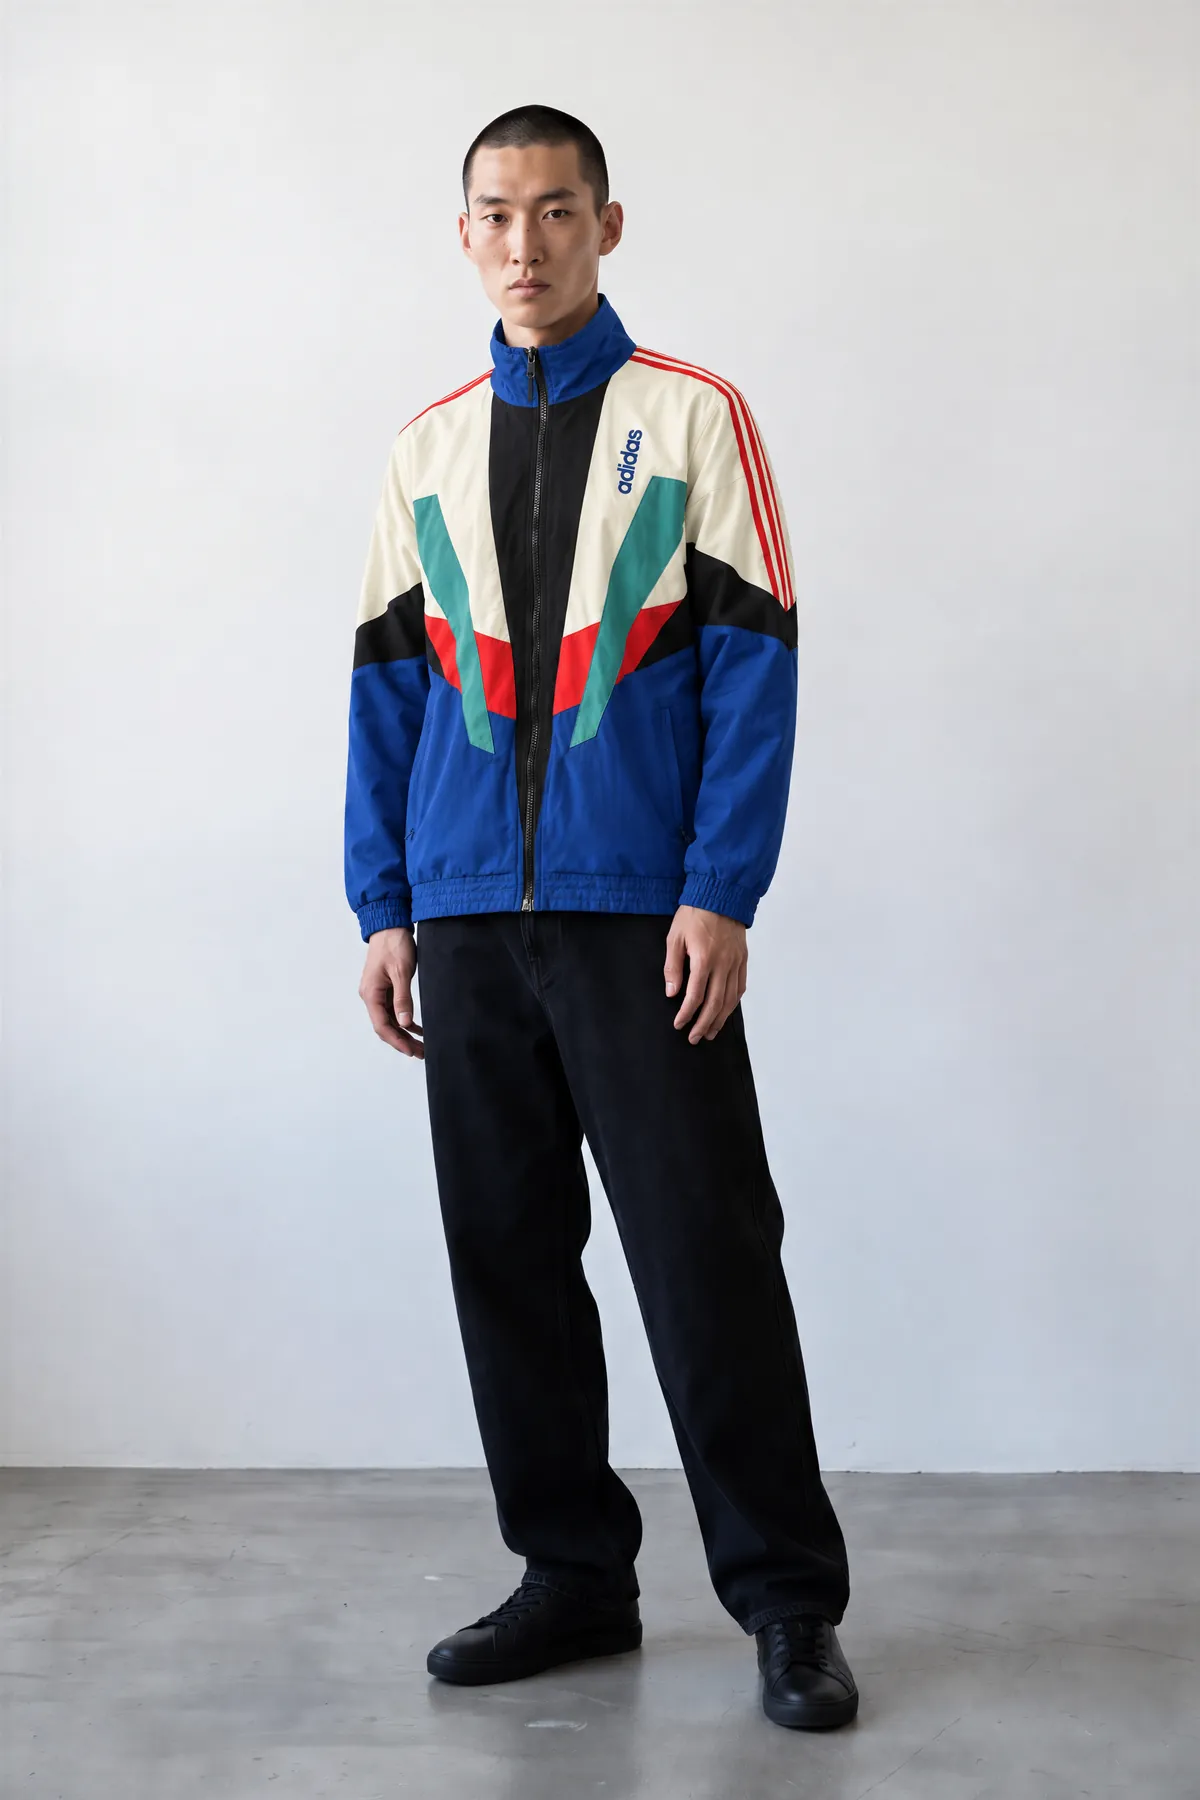
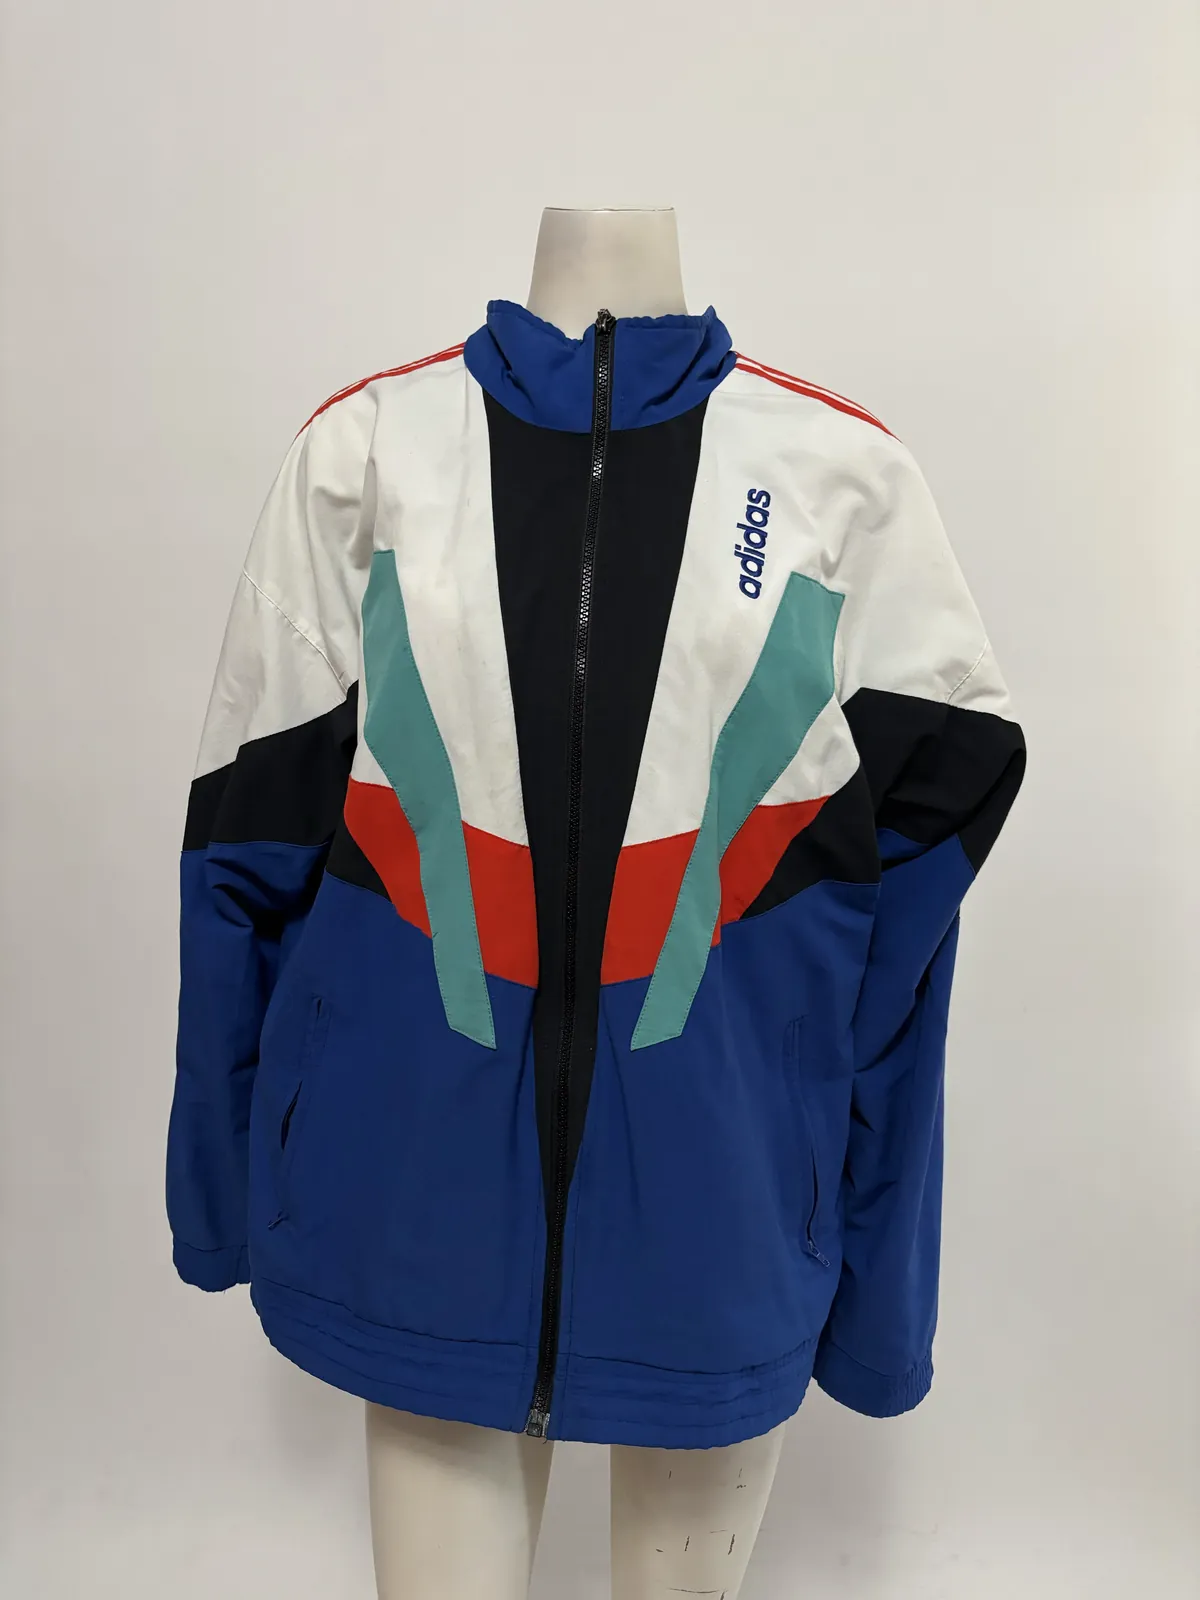
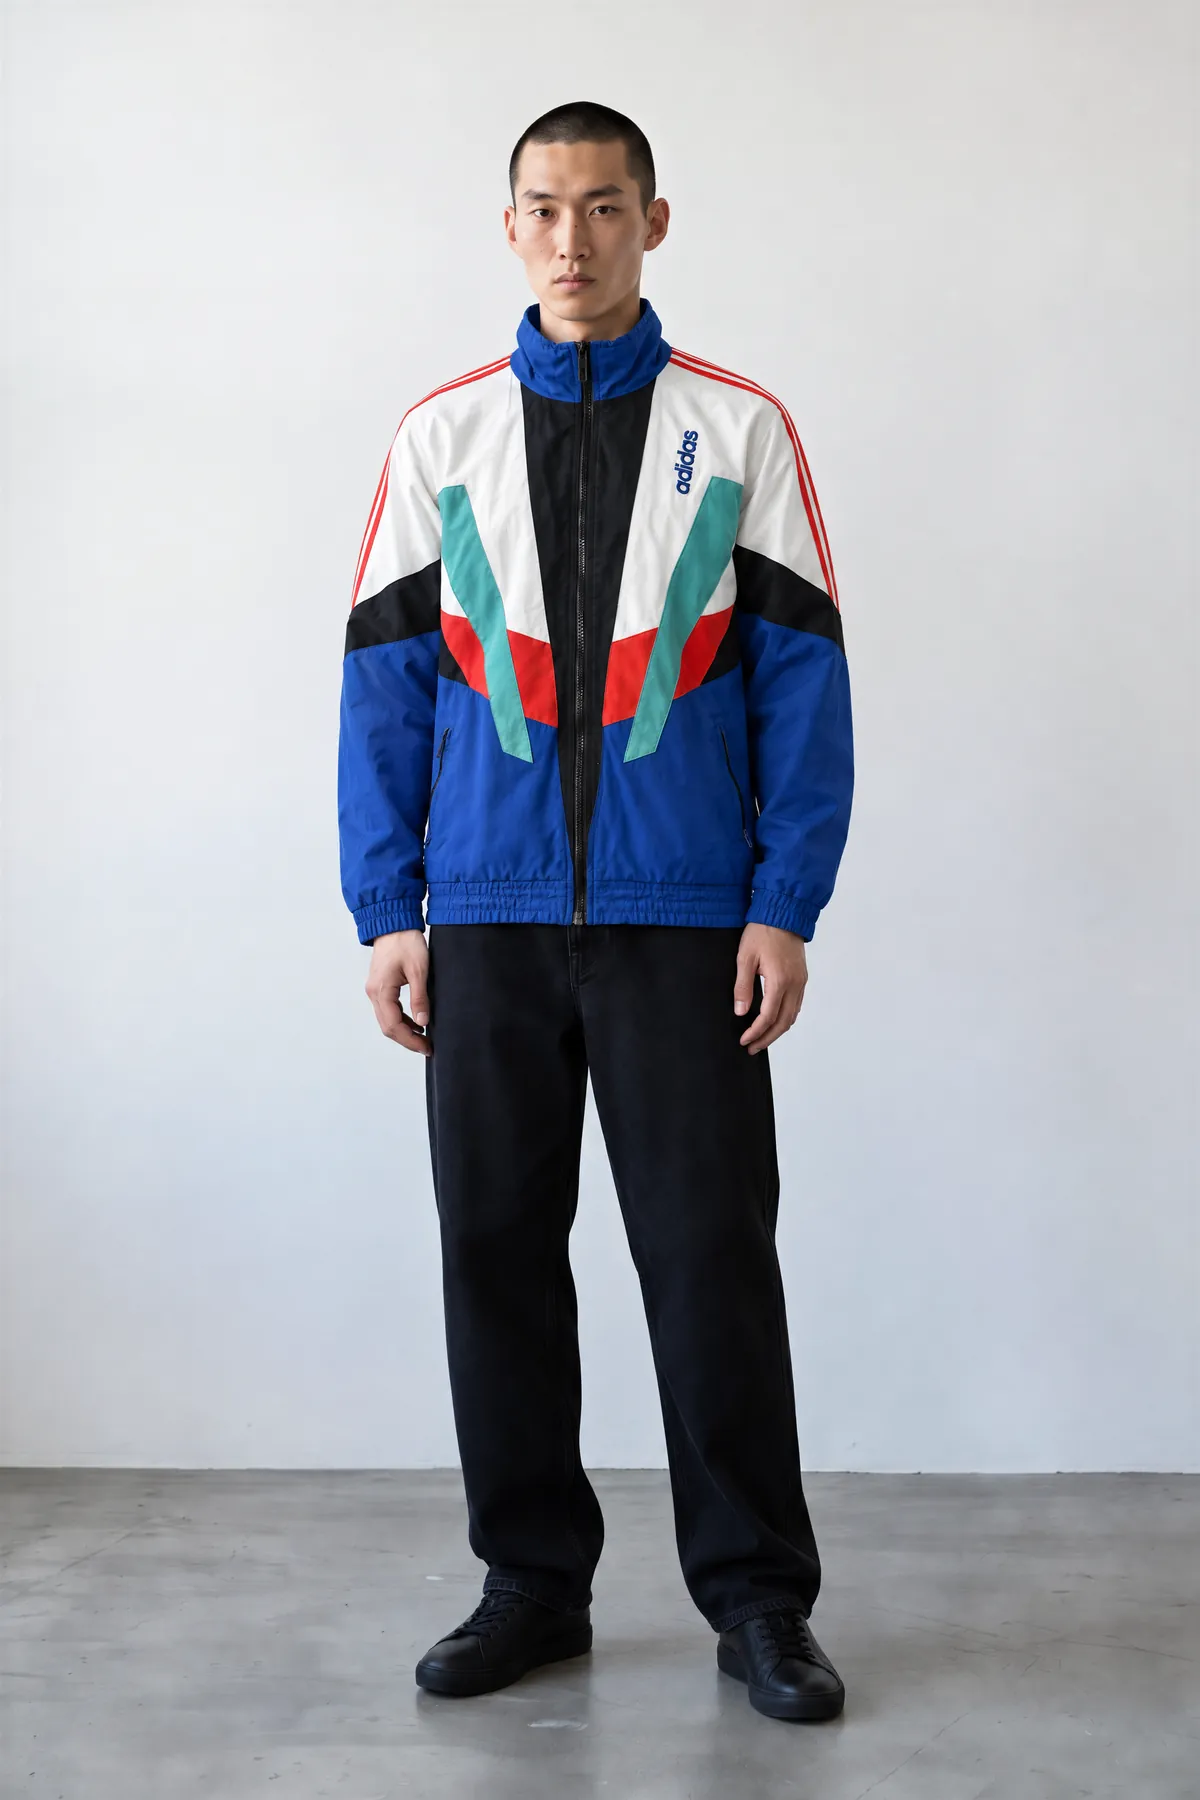
The flash on your phone points straight at the piece and leaves no shadows:
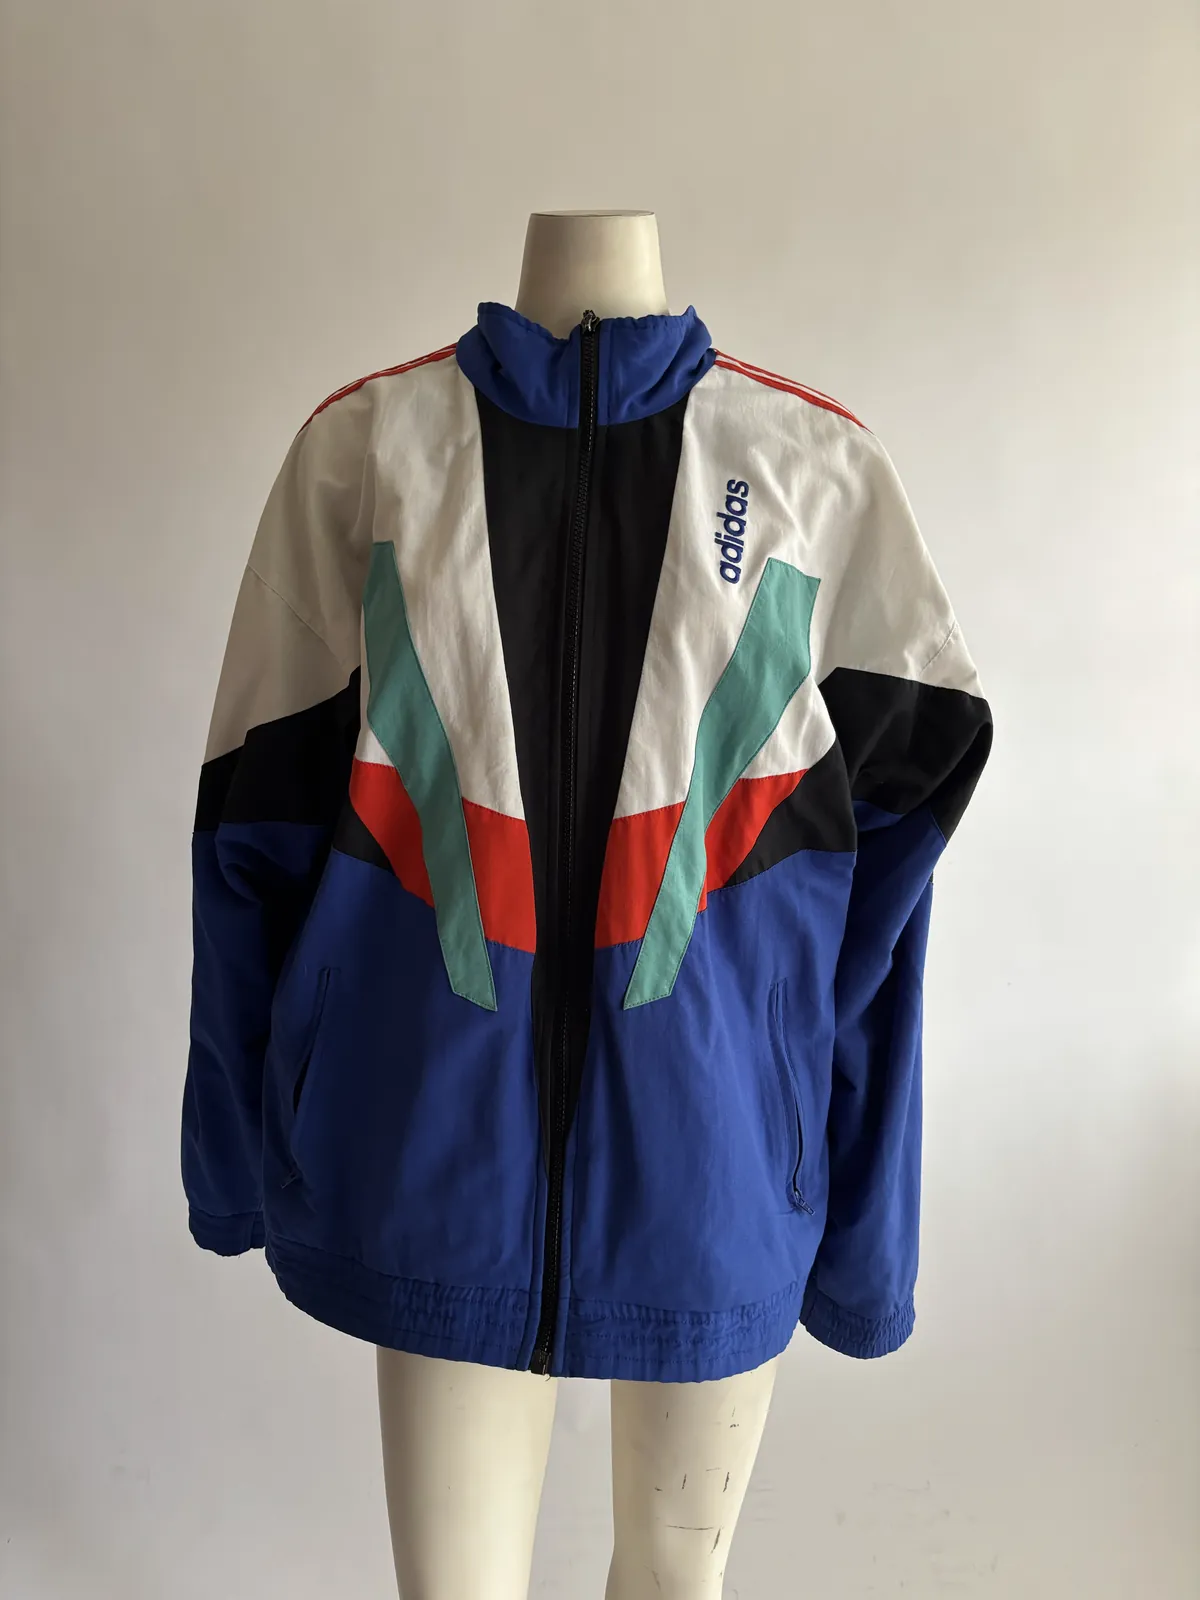
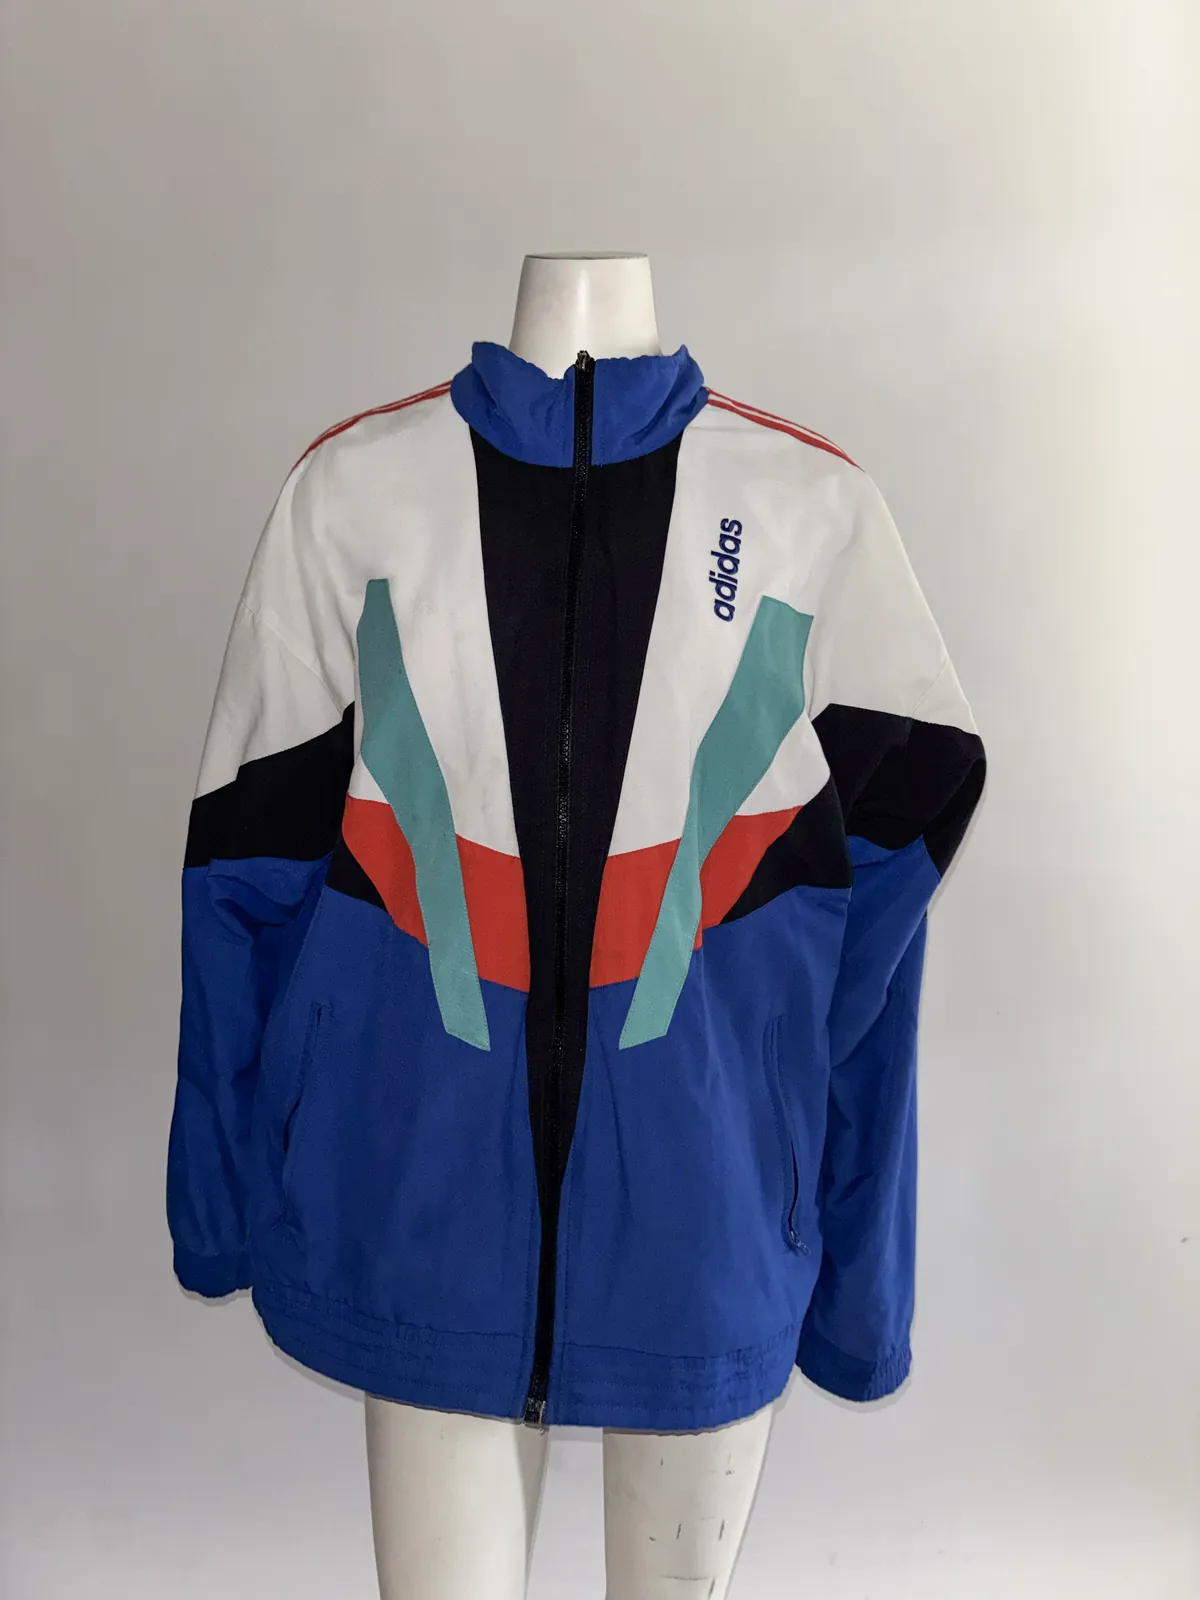
Details
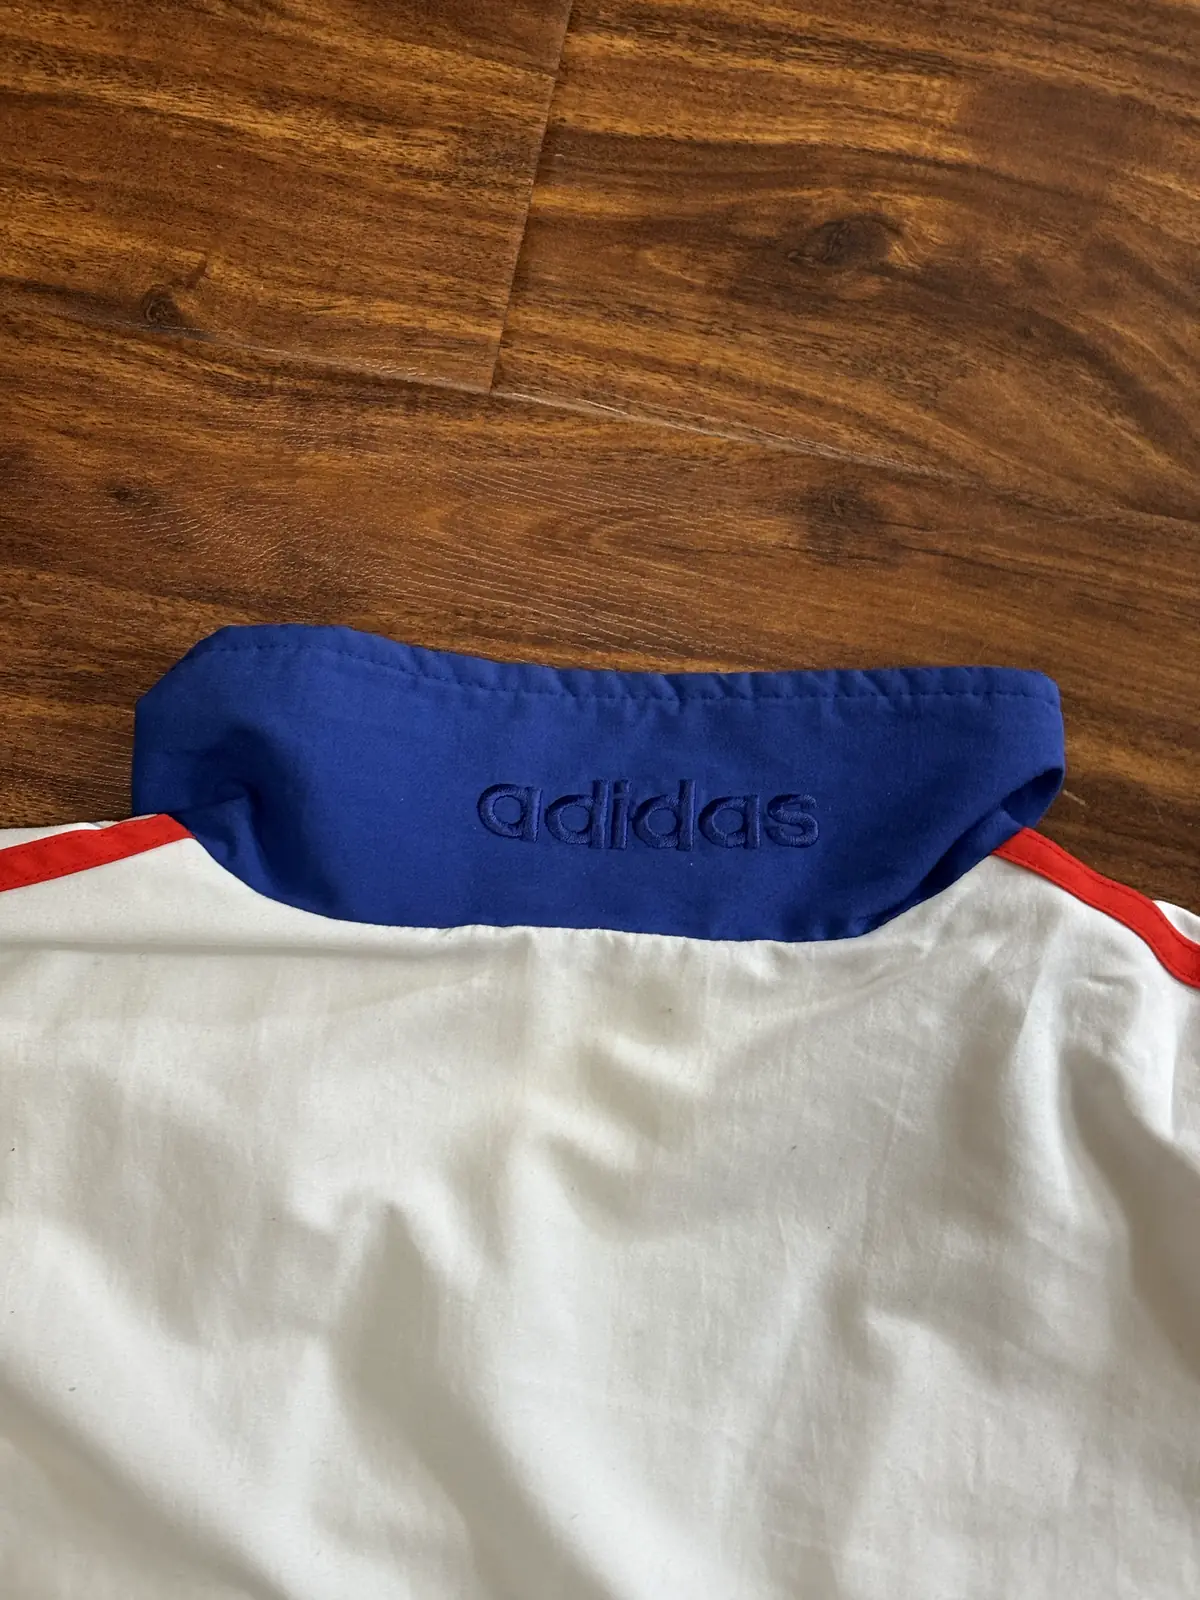
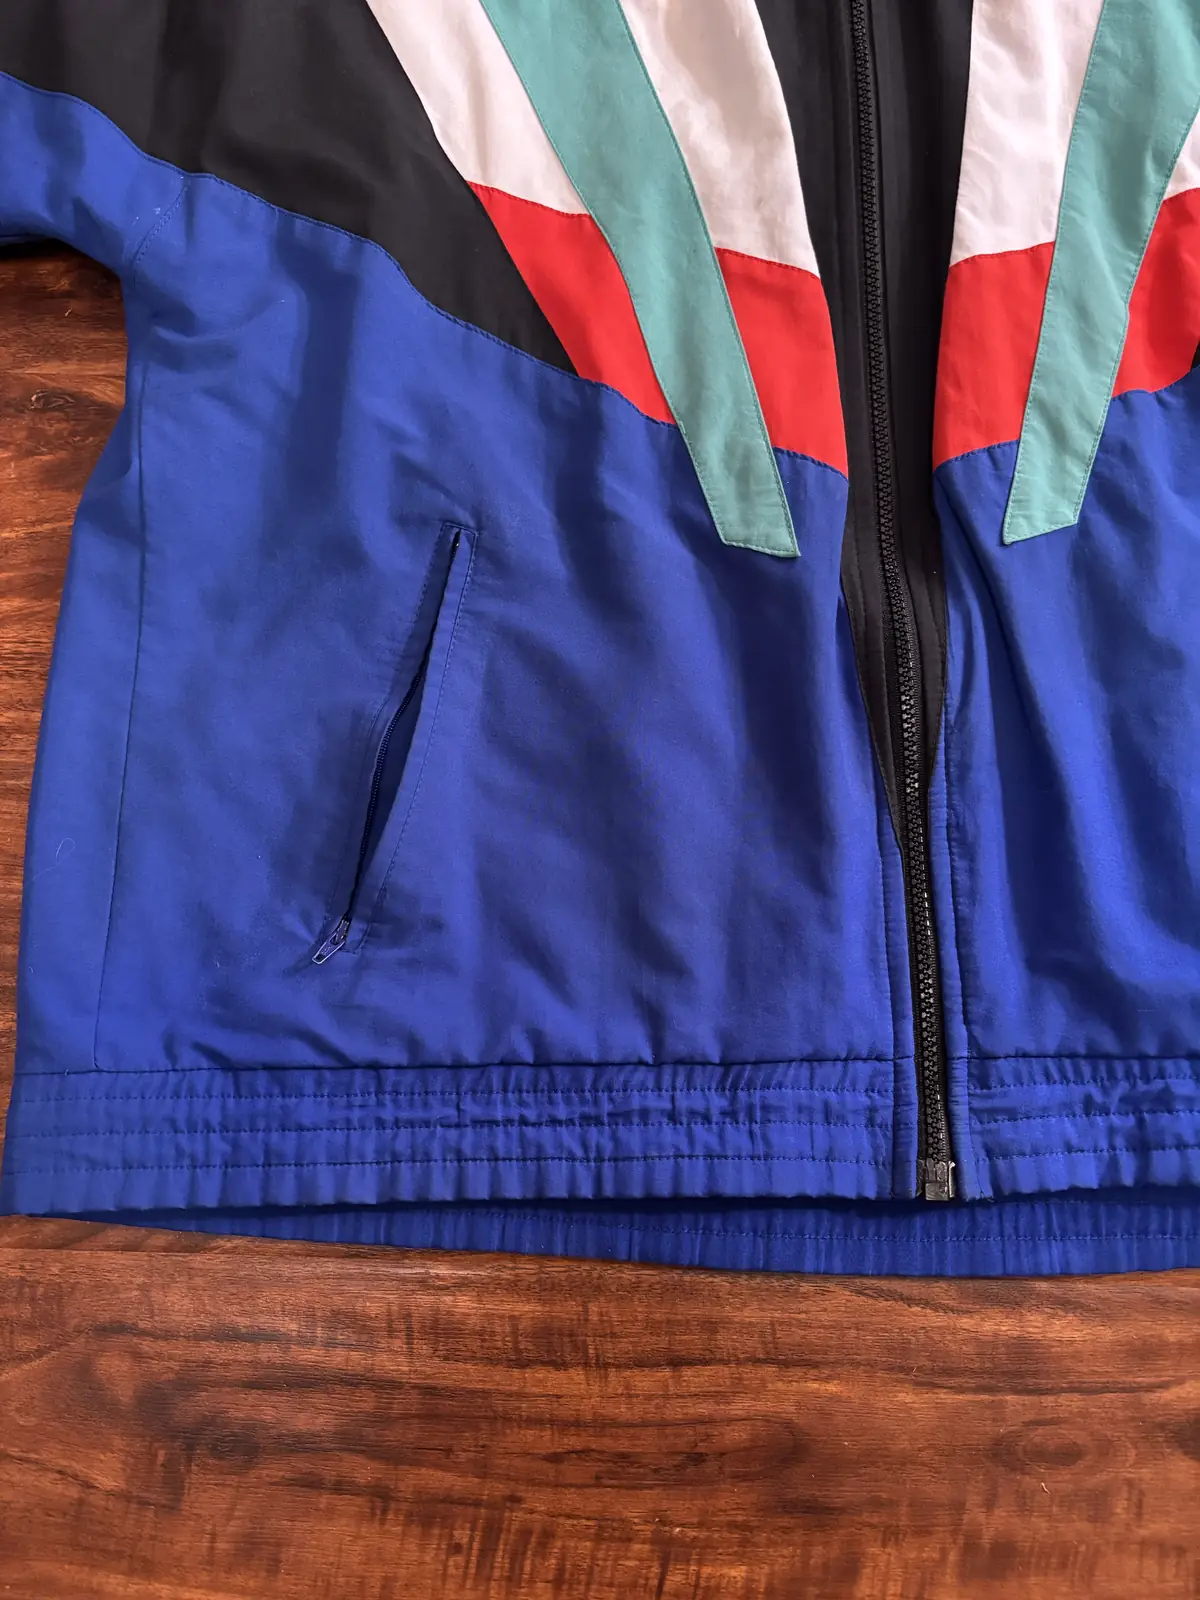
Shoot a close up of any small detail you care about, like stitching or a logo. A flat lay works great for close ups.
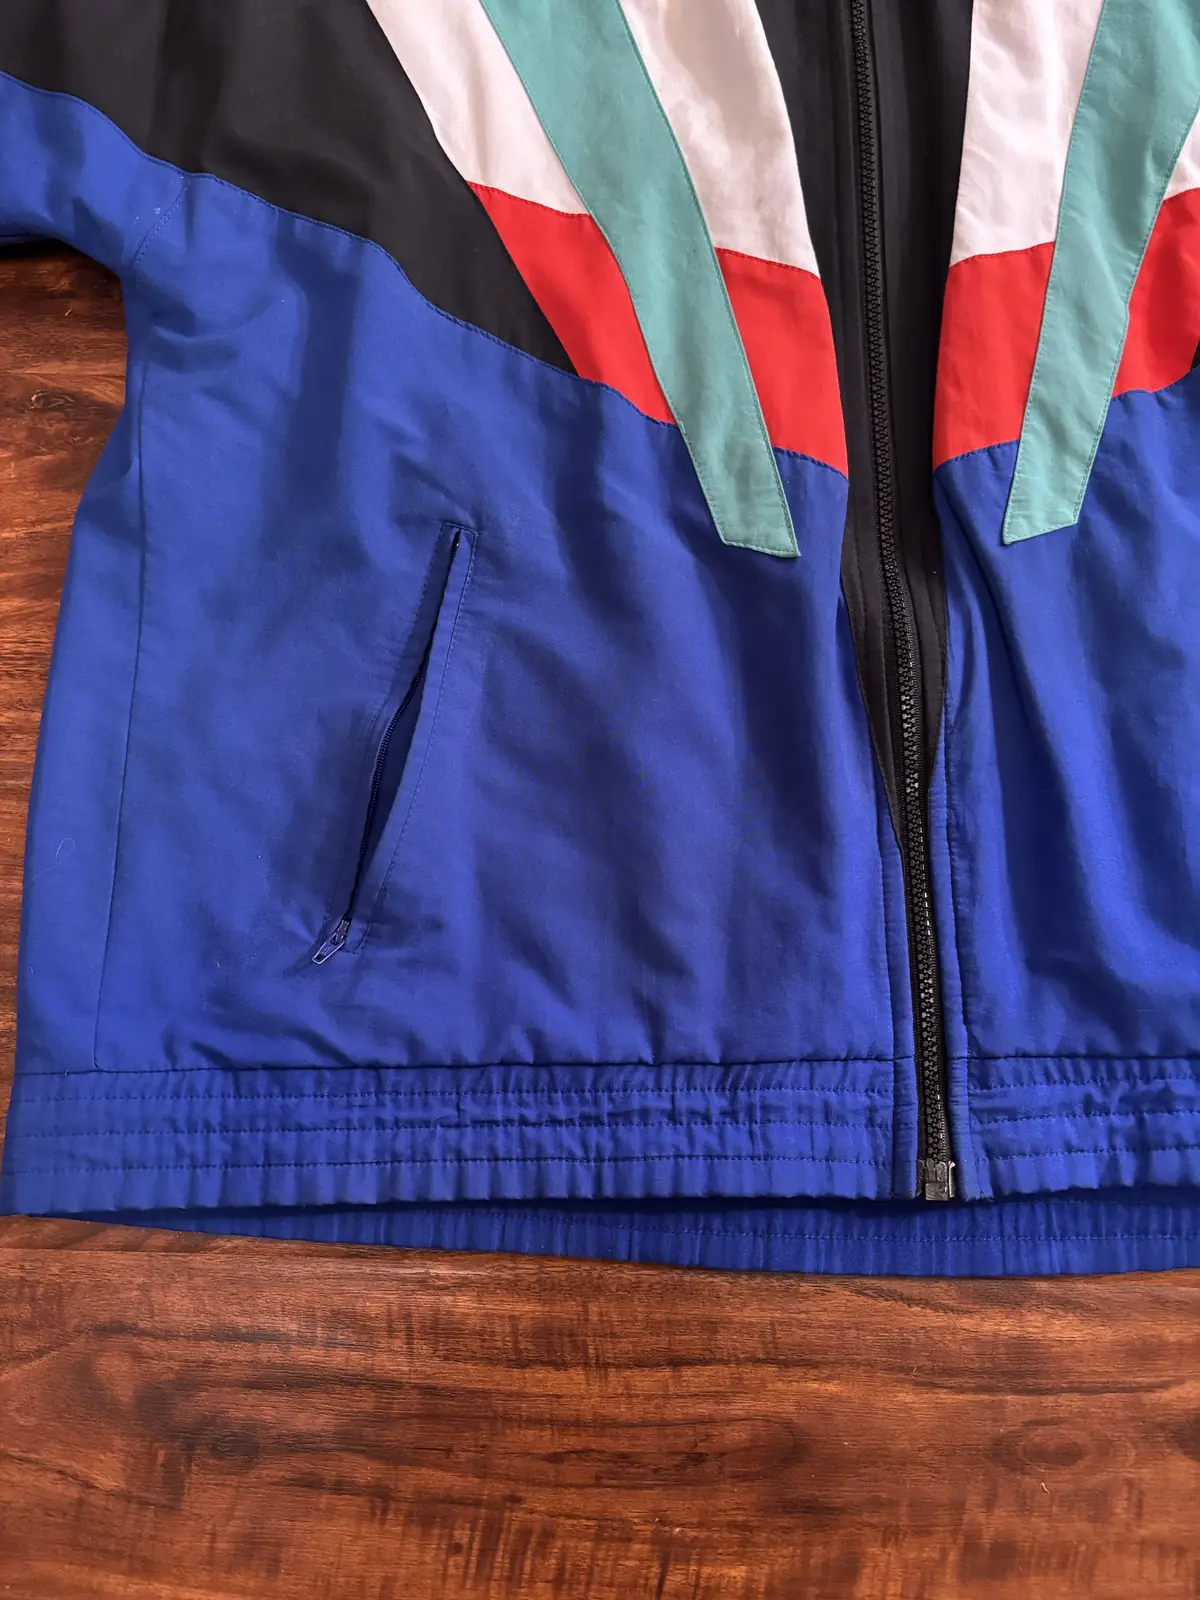
The waistband has three rows of stitching. Without the close up, it came back with two:

With the close up, it got all three:

Putting it together
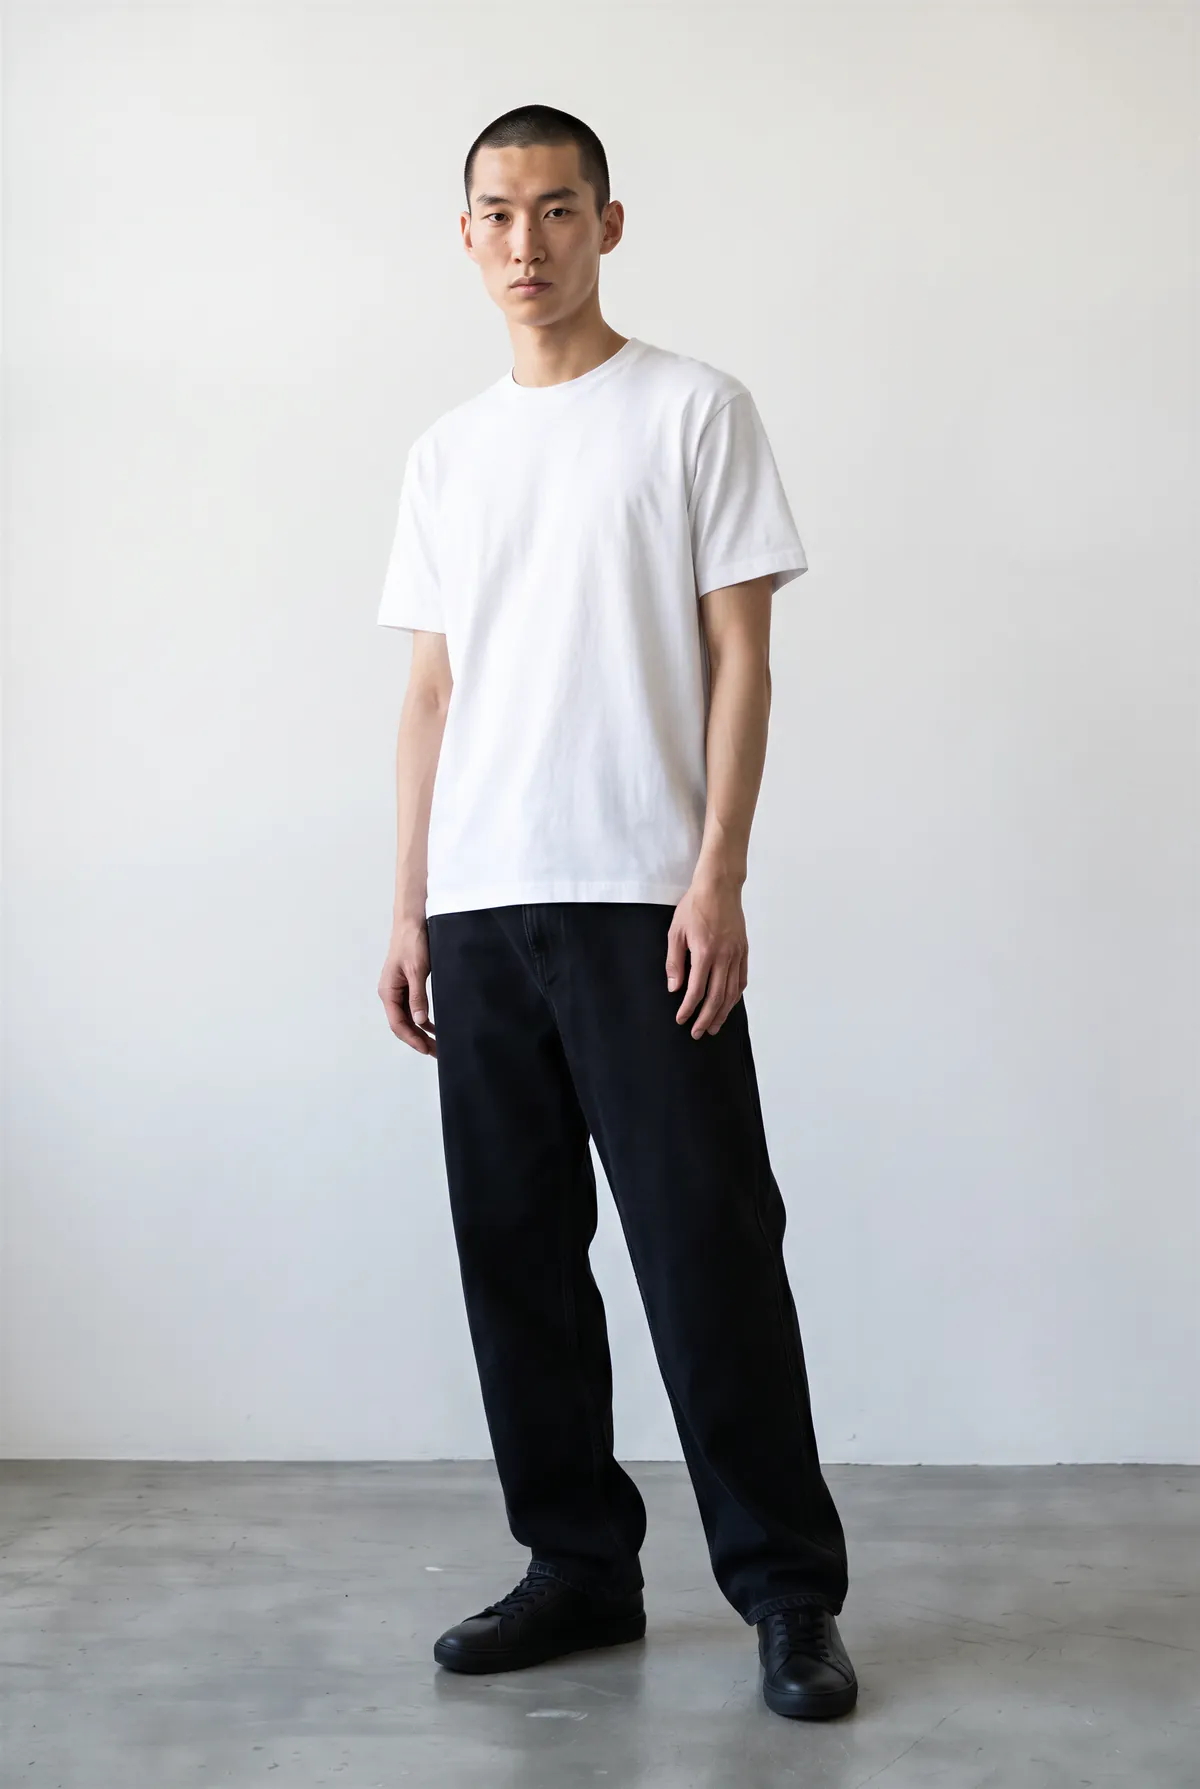
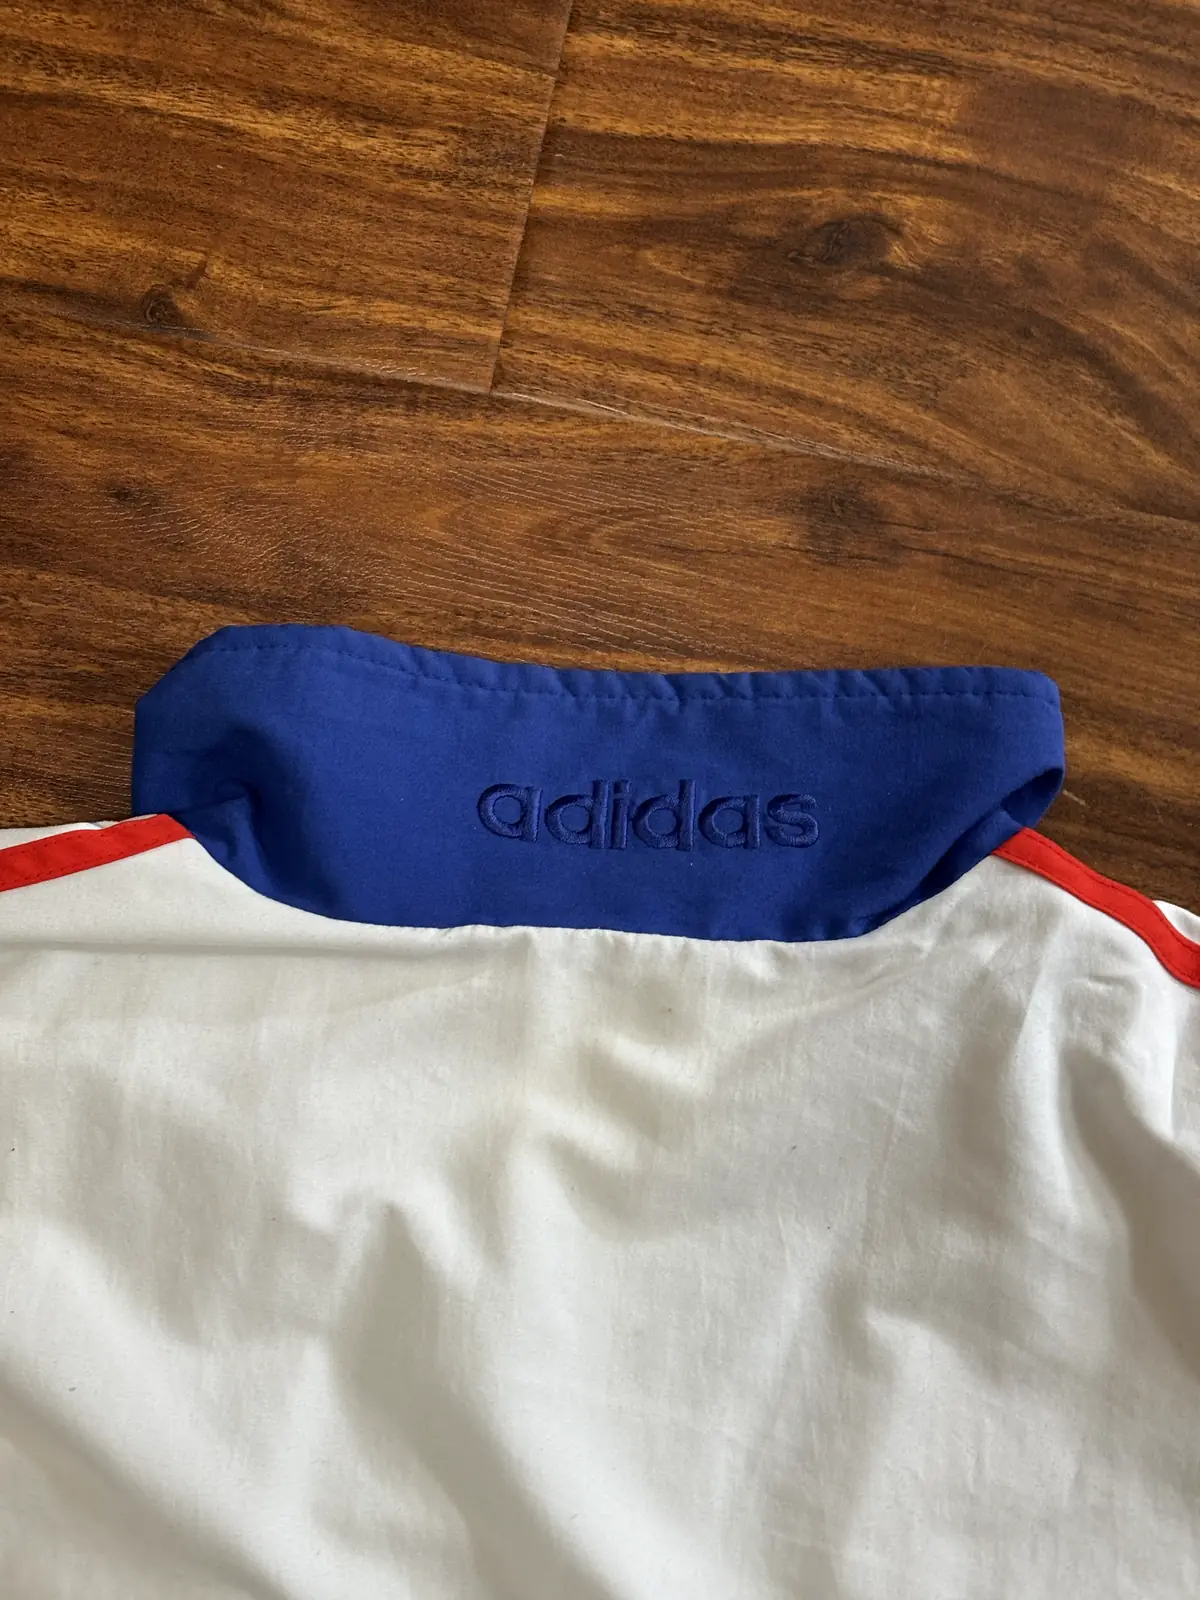
Attach the model image with your product photos and close ups.
New conversation
Put this jacket on him. Create three separate images: a front, a side and a back view.
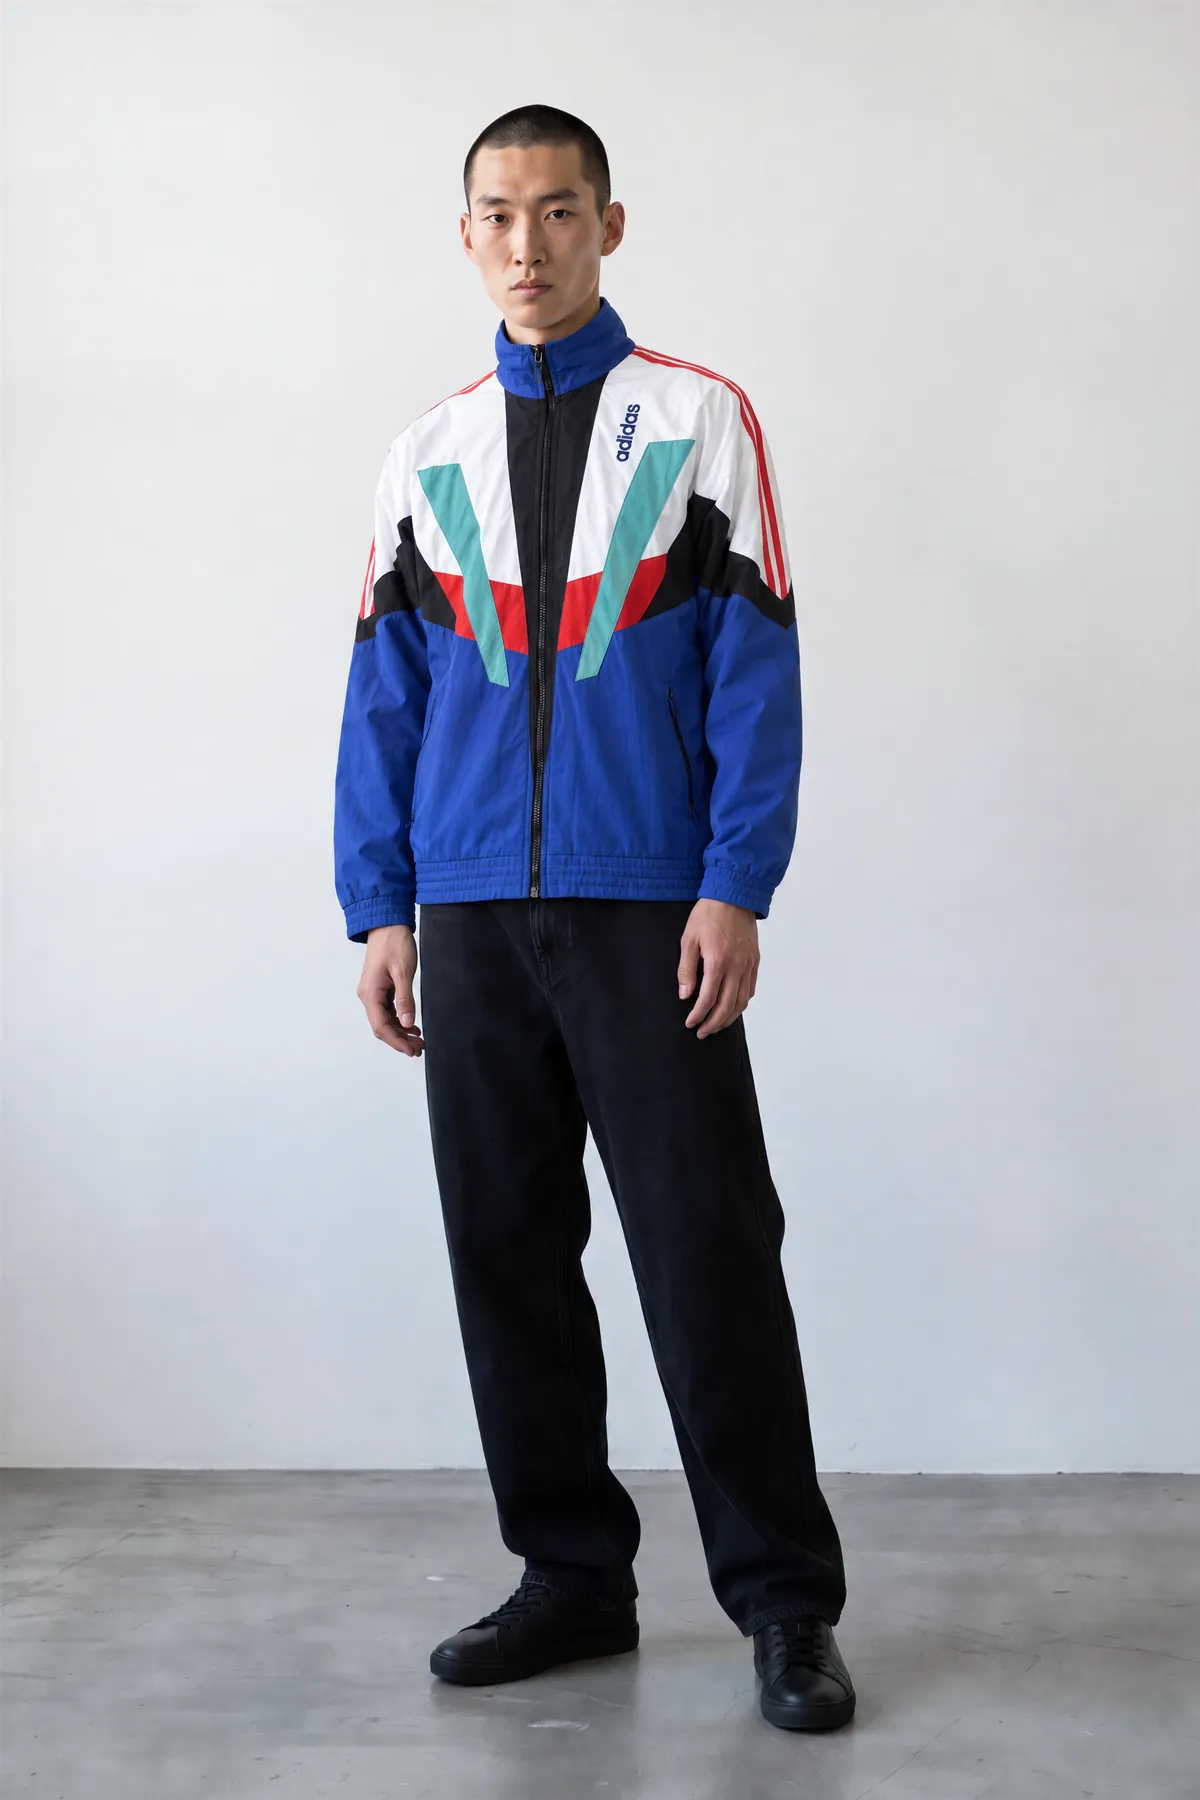
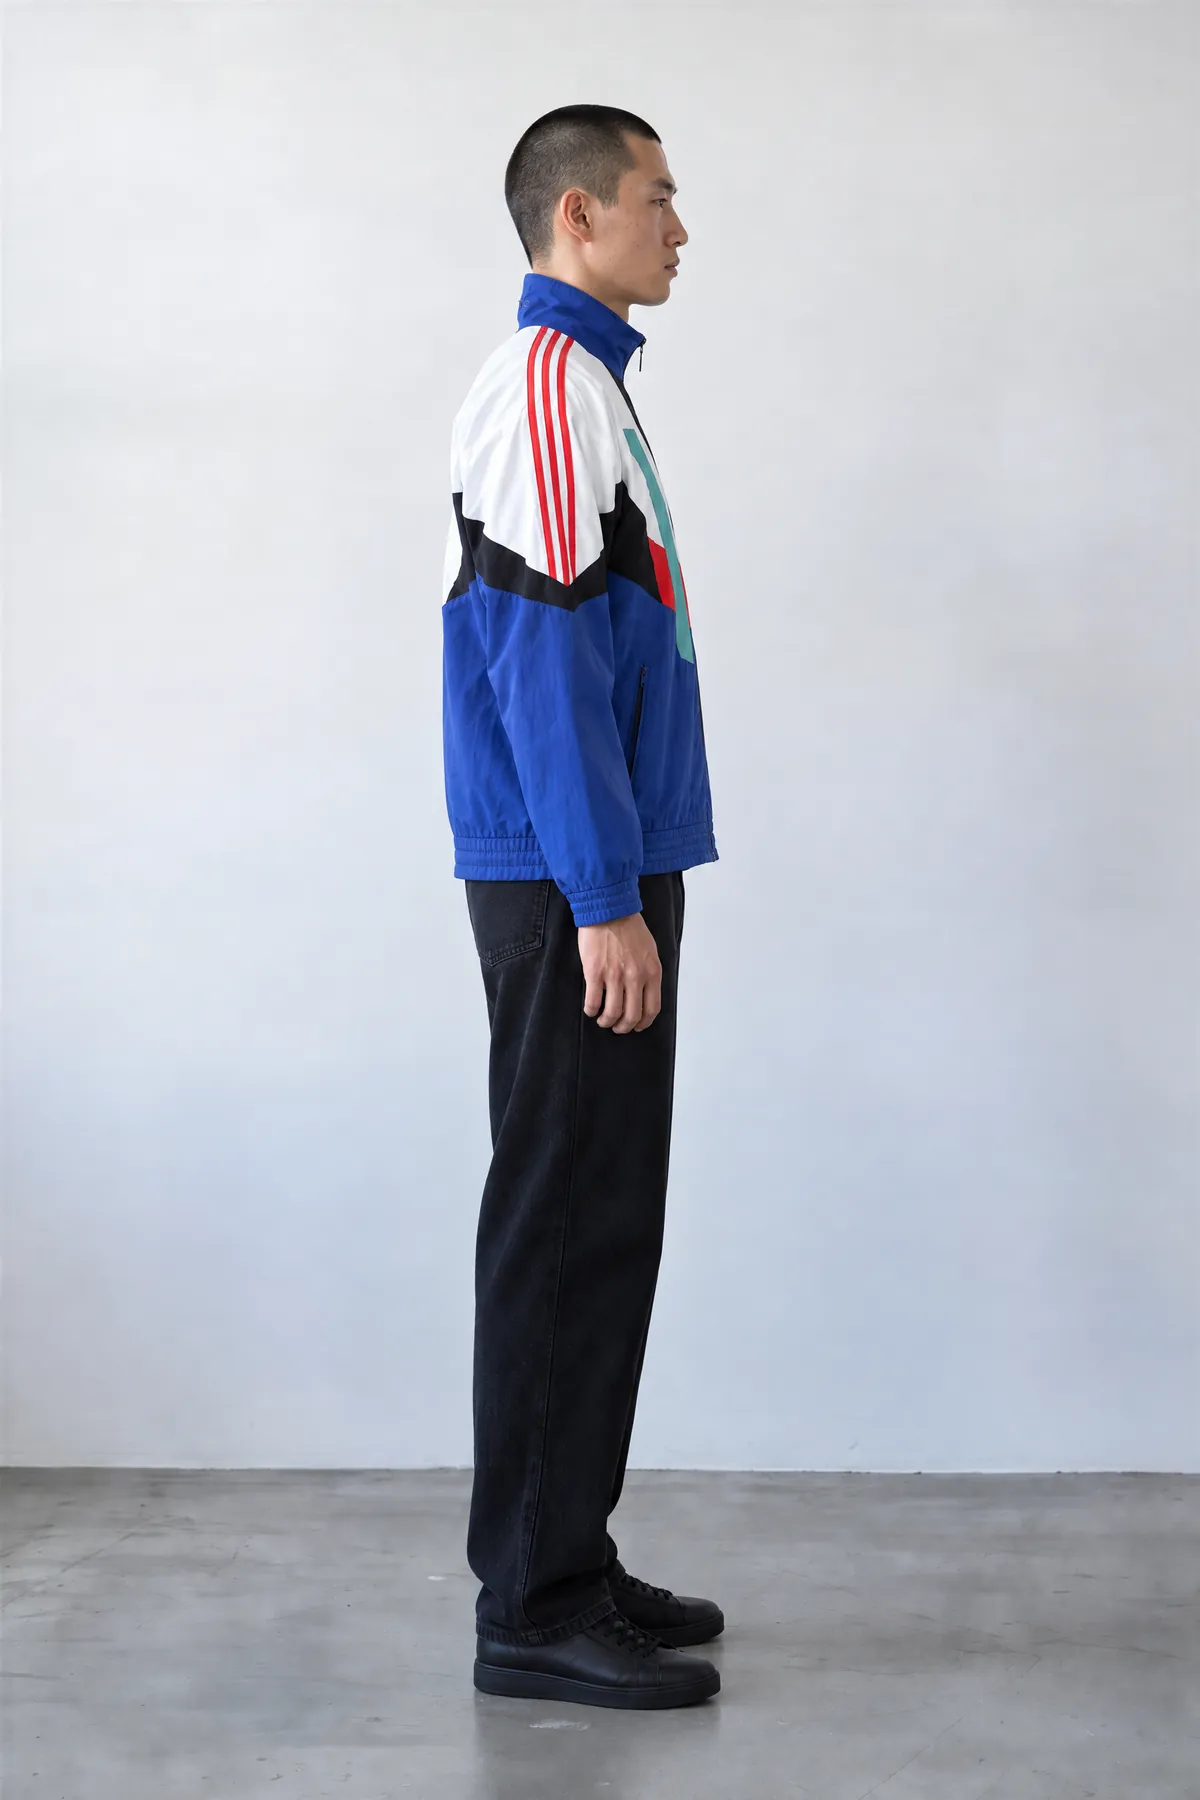
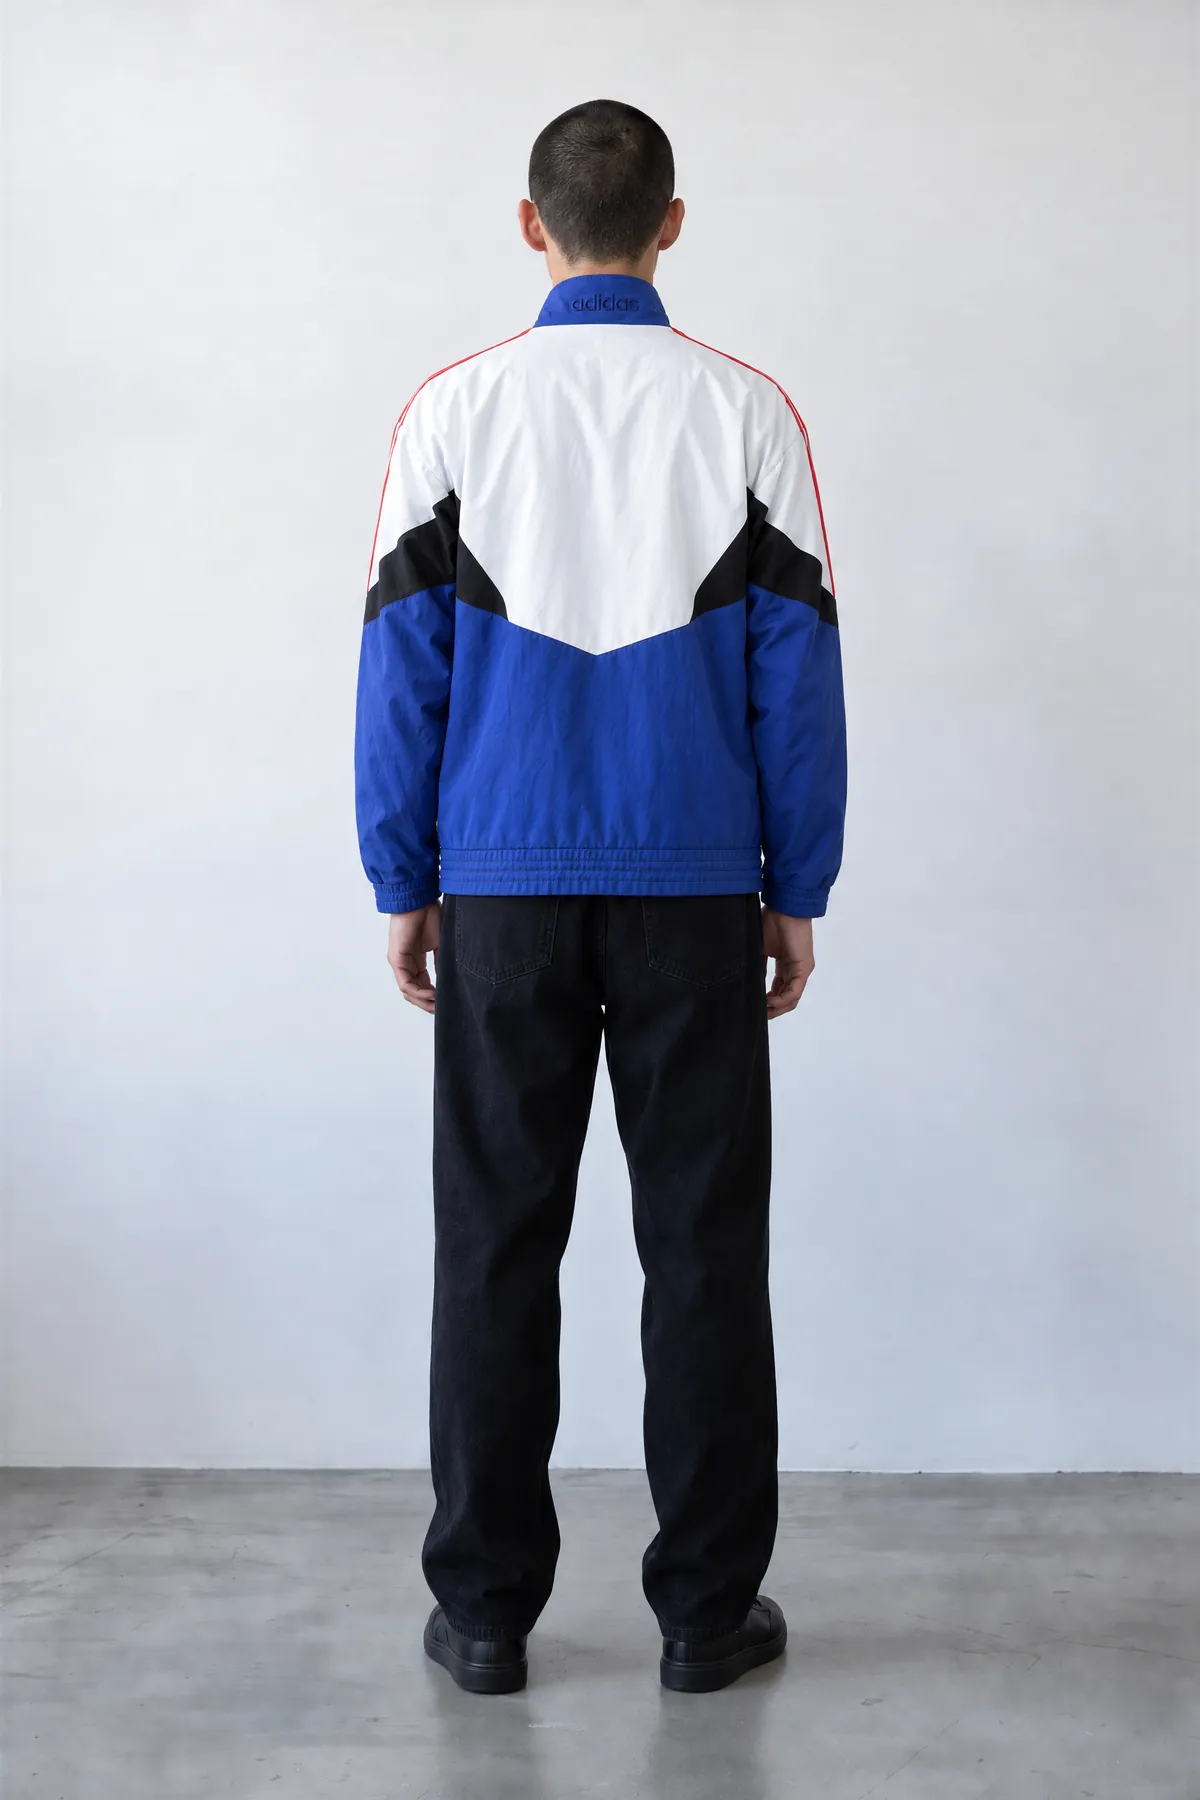
All three views keep the stripes, the colors, and the logo. Even the word on the back of the collar is there.
Ask for three separate images to get each view as its own picture.
What to remember
- Views: the front and the back at least. A side photo is a bonus.
- Fit: on a person is best, then a mannequin, then a flat lay.
- Light: neutral light or your phone's flash pointed straight at the piece.
- Details: close ups of anything small you care about.
Keep going
- Ready to dress a model? Read Getting Started with Virtual Try-On.
- Turn your photos into a whole photo shoot with Mannequin to Photo Shoot.
- Need a model first? Read How to Create a Realistic AI Model.