Image to Video
Create short motion clips from finished on-model images. Use Image to Video to add subtle camera movement and garment motion for Reels, Shorts, or other video platforms.
What is Image to Video?
After you have produced a high quality image (from Product to Model, Try On, or Model Swap), Image to Video adds subtle camera moves, garment motion, and lighting shifts to produce a short clip.
When to Use
Use Image to Video when you have a finished image and want to create a short video clip for social media or product pages. For best results, reframe your image to 9:16 first if targeting vertical video platforms.
How to Use It
Select Image to Video from the Toolbar
Select Image to Video from the toolbar in Studio, then upload an image or choose one from your history. Pick a finished image where model, garment, pose, and background are set.
Configure Settings
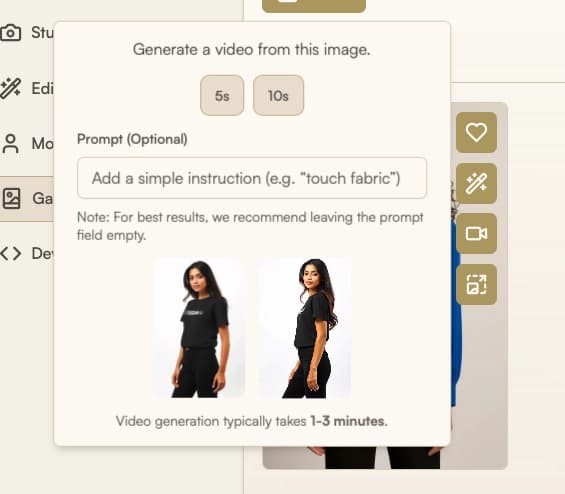
Set your preferences:
- Duration: 5 or 10 seconds
- Video Resolution: 480p, 720p, or 1080p
- Prompt (optional): short motion instruction
- End Image (optional): reference image for the final frame
See Parameters for details.
Generate
Click Run to start generation. Processing time varies by image and server load.
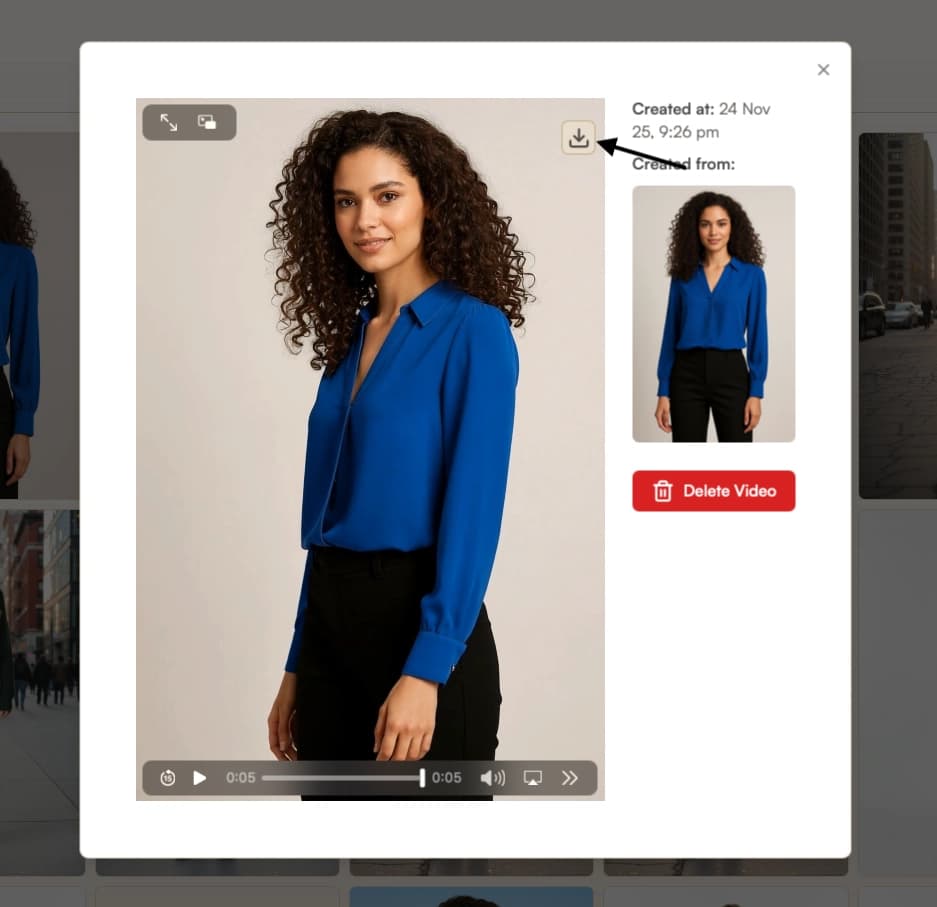
Review and Download
When processing completes, the video appears in your history and in Gallery. If motion looks natural and product appearance is preserved, download via the controls.
Publish
Upload to your channels such as Reels, Shorts, or store banners.
Parameters
| Parameter | Description |
|---|---|
| Base image | Finished on-model image, uploaded or selected from history. Higher resolution and clean backgrounds improve results. |
| Duration | Length of the clip: 5 seconds or 10 seconds. |
| Video Resolution | Output resolution and quality tier: 480p, 720p, or 1080p (Pro+). Each resolution uses a different AI model optimized for that fidelity level. See Resolution. |
| Prompt (optional) | Short instruction to influence motion emphasis, for example "touch fabric" or "subtle camera pan". |
| End Image (optional) | Second reference image that anchors the final frame of the video. See End Image. |
End Image
You can provide an optional End Image to anchor the final frame of the generated video. When an End Image is set, the clip smoothly transitions from the starting image toward the end image over its duration.

Why use an End Image
An End Image lets you specify transitions and movements that text prompts cannot reliably describe, such as a particular camera path, a specific final pose, or an exact scene composition.
A common fashion use case is rotating a model to show the back of a garment. Without a reference, the video model has no way to know what the back actually looks like. With a back-view image as the End Image, the rotation renders the real garment instead of an invented one.
How to set an End Image
In the Image to Video tool, open the End Image optional input in the toolbar and upload or select a reference image. Then choose the duration and video resolution you want to use.
Best Practices
- Running without a prompt produces more natural, subtle motion. If you must add special instructions, keep them short and specific (for example, "raises arm to touch face").
- 5-second clips are easier to control and guide compared to 10-second clips.
- Reframe your image to 9:16 with Reframe before generating video for Instagram Reels, TikTok, or YouTube Shorts.
Troubleshooting
If your video does not look as expected, try:
- Motion looks unnatural: Pick a base image that allows for more natural movement. If you used a special instruction, simplify or remove it. Try a 5-second version first to check for improvement.
Where Next?
- Download your finished video from Gallery